Part Two
Connecting Rod Bearing Replacement
Installation
16. Auto Tensioner Assembly
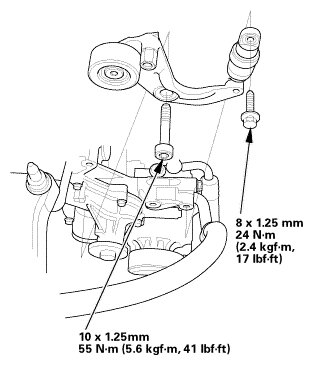
1. Install the drive belt auto-tensioner.
17. Water Pump Pulley
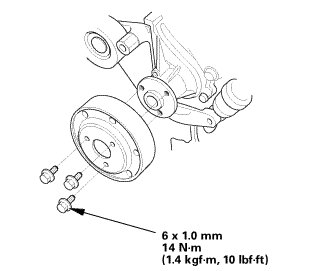
1. Install the water pump pulley.
18. A/C Compressor Bracket
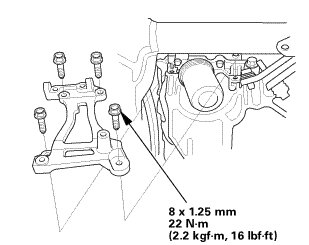
1. Install the A/C compressor bracket.
19. Intermediate Shaft Assembly
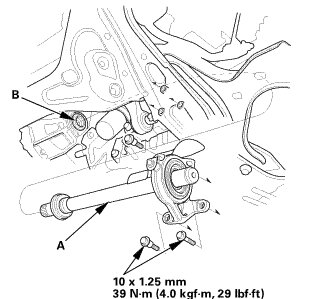
1. Insert the intermediate shaft (A) into the differential correctly.
NOTE: Insert the intermediate shaft carefully to prevent damaging the oil seal (B).
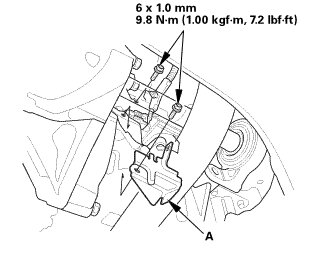
2. Install the crankshaft position (CKP) sensor cover (A).
20. Lower Torque Rod Bracket (A/T)
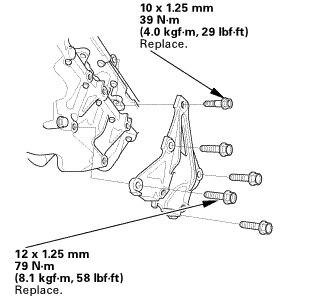
1. Install the lower torque rod bracket.
21. Alternator
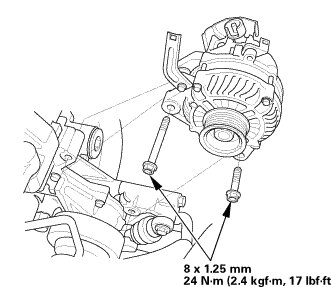
1. Install the alternator.
22. Thermostat Housing (Natural Gas Model)
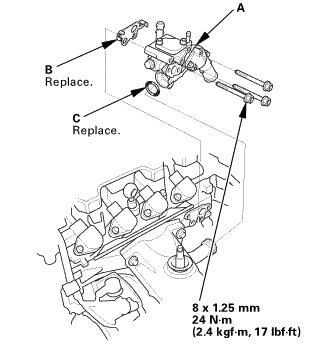
1. Install the thermostat housing (A), using a new gasket (B) and new O-ring (C).
23. Catalytic Converter (Natural Gas Model)
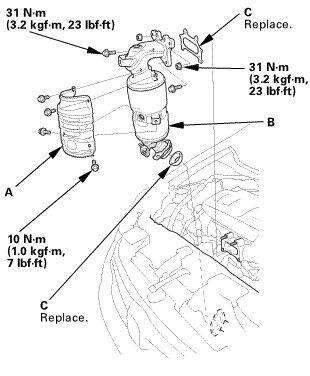
1. Install the catalytic converter cover (A).
2. Install the catalytic converter (B) with new gaskets (C).
24. Exhaust Chamber Cover (Natural Gas Model)
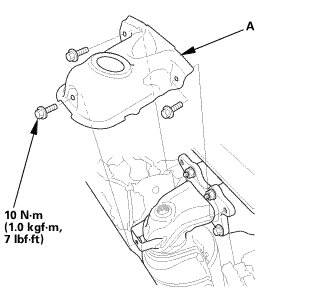
1. Install the exhaust chamber cover (A).
25. A/F Sensor (Sensor 1)
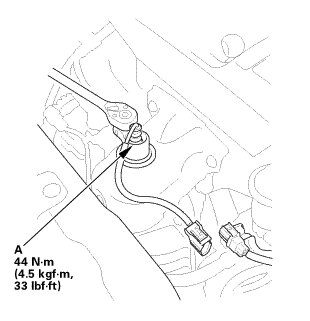
1. Install the A/F sensor (A).
2. Connect the connector.
26. Drive Plate Assembly
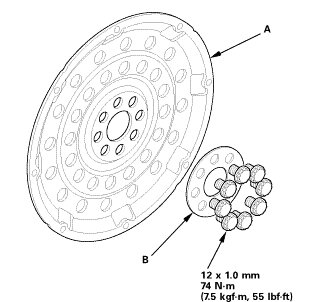
1. Install the drive plate (A) and the washer (B), and tighten the eight bolts in a crisscross pattern in at least two steps.
27. Automatic Transmission Assembly (A/T)
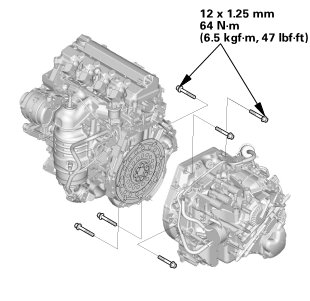
1. Install the automatic transmission.
28. Engine Wire Harness
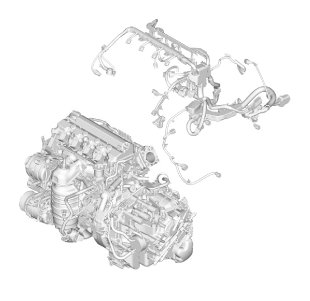
1. Install the engine wire harness.
29. Intake Manifold and Throttle Body Assembly (Natural Gas Model)
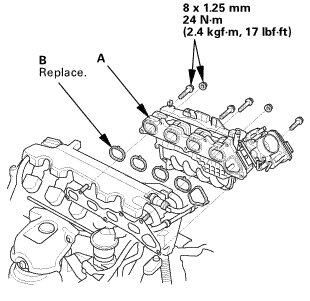
1. Install the intake manifold and throttle body assembly (A) with new gaskets (B).
2. Tighten the bolts and nuts in a crisscross pattern in three steps, beginning with the inner bolt.
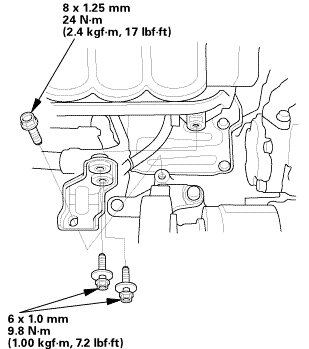
3. Install the intake manifold bracket.
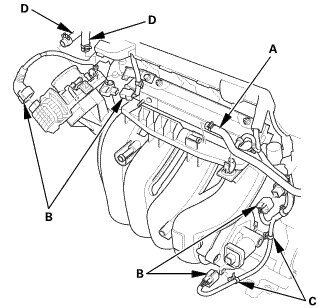
4. Connect the PCV hose (A).
5. Connect the connectors (B).
6. Install the harness clamps (C).
7. Connect the water bypass hoses (D).
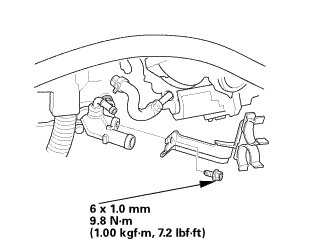
8. Install the heater hose clamp bracket.
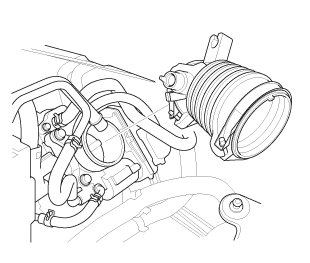
9. Install the intake air duct.