34. Piston and Connecting Rod Disassemble
PISTON AND CONNECTING ROD DISASSEMBLETOOLS REQUIRED
J 24086-C Piston Pin Remover/Installer Set
IMPORTANT:
- Disassembly of the piston, press-fit design piston pin, and connecting rod may create scoring or damage to the piston pin and piston pin bore. If the piston, pin, and connecting rod have been disassembled, replace the components as an assembly.
- The disassembly procedure, as shown, is to be used for diagnostic purposes only.
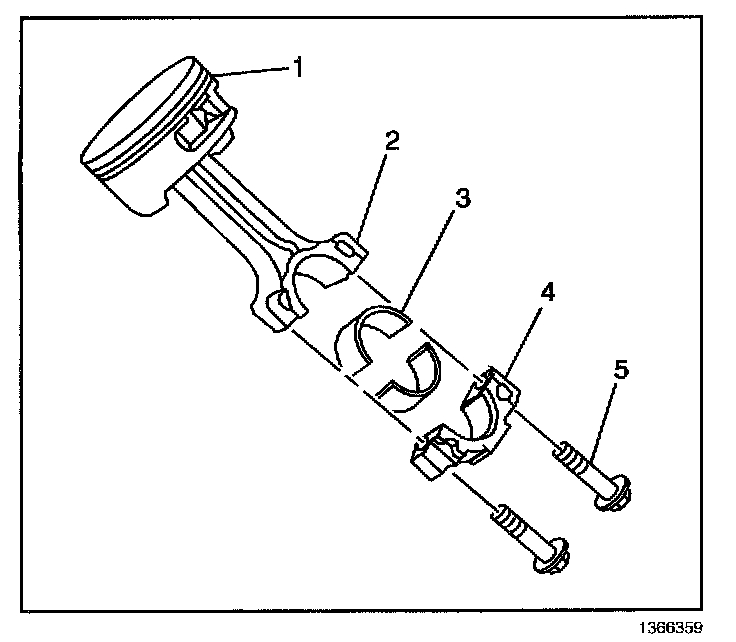
1. Remove the connecting rod bearings (3) from the rod (2) and cap (4).
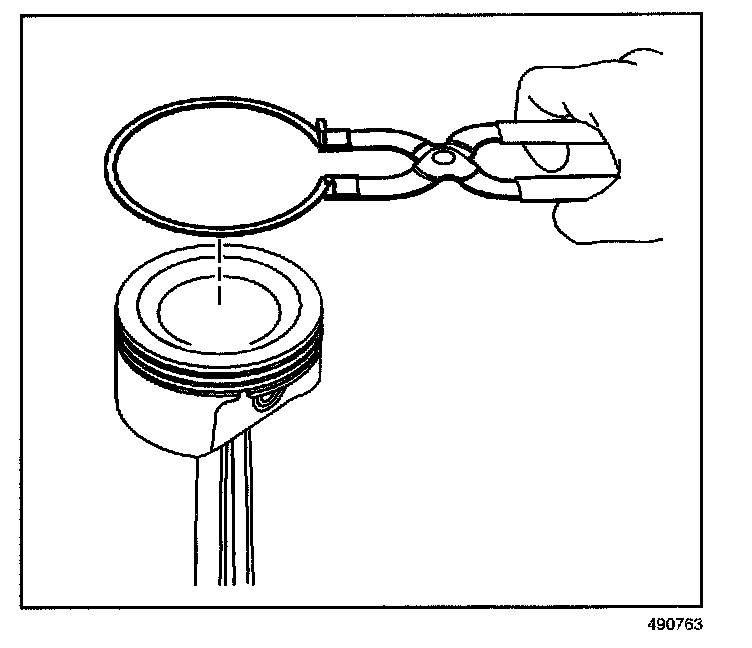
2. Using piston ring pliers, remove the piston rings from the piston.
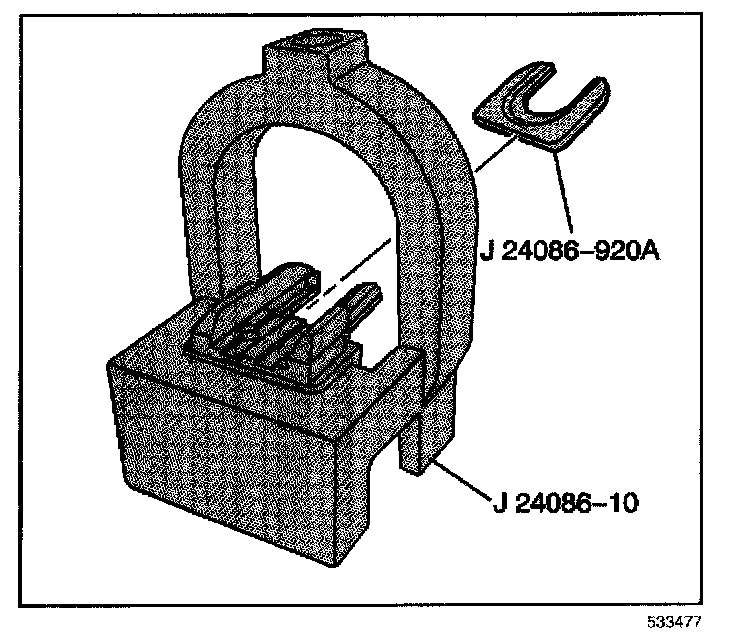
3. Install fork insert J 24086-920A into J 24086-10.
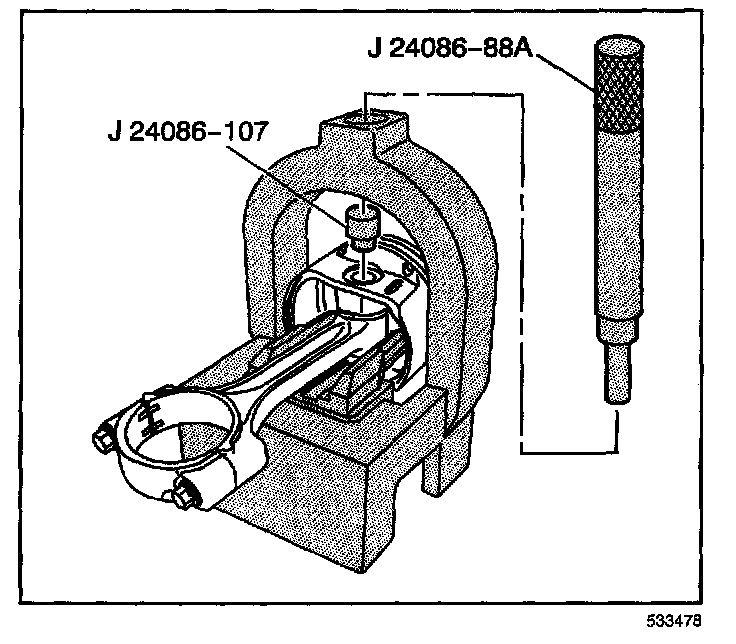
4. Install the piston and connecting rod assembly onto J 24086-10.
5. Install J 24086-107 into the piston pin.
6. Install J 24086-88A through the fixture and to the J 24086-107.
NOTE: After the installer hub bottoms on the support assembly, do not exceed 35,000 kPa (5,000 psi) pressure, this could cause damage to the tool.
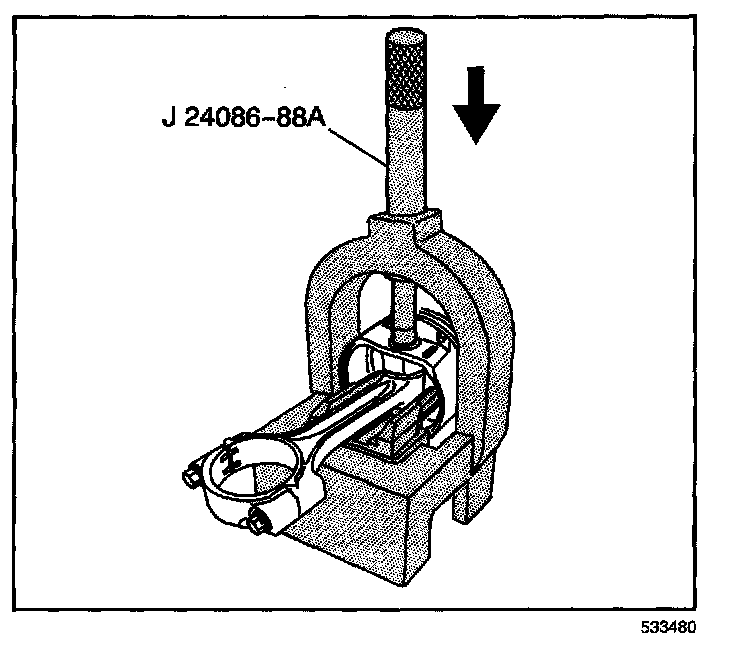
7. Press the piston pin from the piston and connecting rod assembly.