Tail Lamp Guard Replacement
Tail Lamp Guard Replacement
Removal Procedure

1. Open the liftgate.
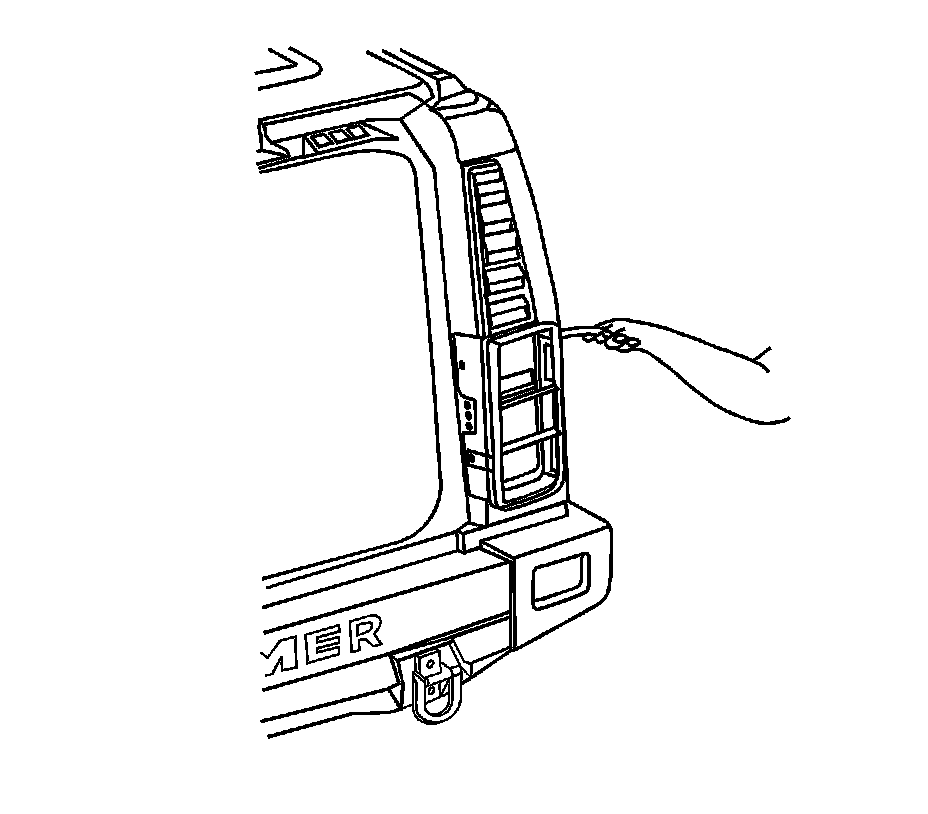
2. Remove the screws retaining the tail lamp guard.
3. Carefully separate adhesive strip from body.
4. Remove the tail lamp guard from the vehicle.
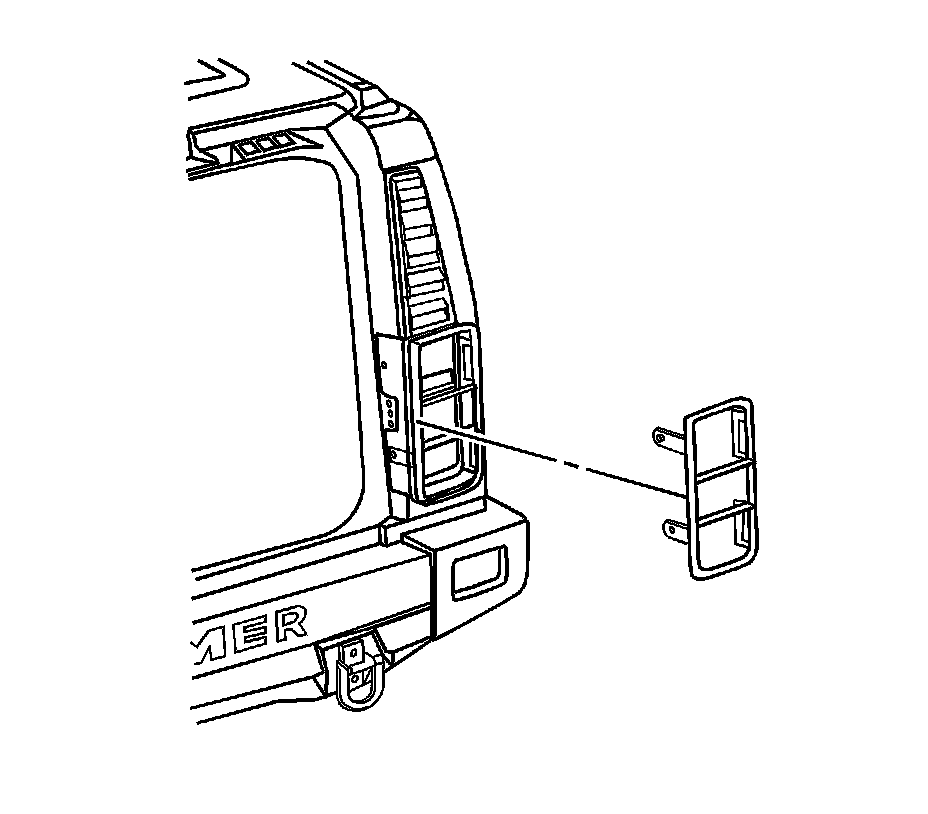
Installation Procedure
1. Position the tail lamp guard to the vehicle.
Caution: Refer to Fastener Caution (Fastener Caution).
2. Install the screws retaining the tail lamp guard.
Tighten to 6 Nm (53 lb in).
3. Clean the surface where the adhesive strip will mount with varnish and makers (VMP) naptha.
4. Carefully align adhesive strip to body and pull exposed tape lead down.
5. Apply approximately 30 psi to tail lamp guard to adhere guard to the body.
6. Close the liftgate.