Front Differential Carrier Hole Plug Replacement
Front Differential Carrier Hole Plug Replacement
Removal Procedure
1. Raise the vehicle. Refer Lifting and Jacking the Vehicle (Service and Repair).
2. Turn the front wheels to the left in order to provide access to the left side of the differential carrier assembly.
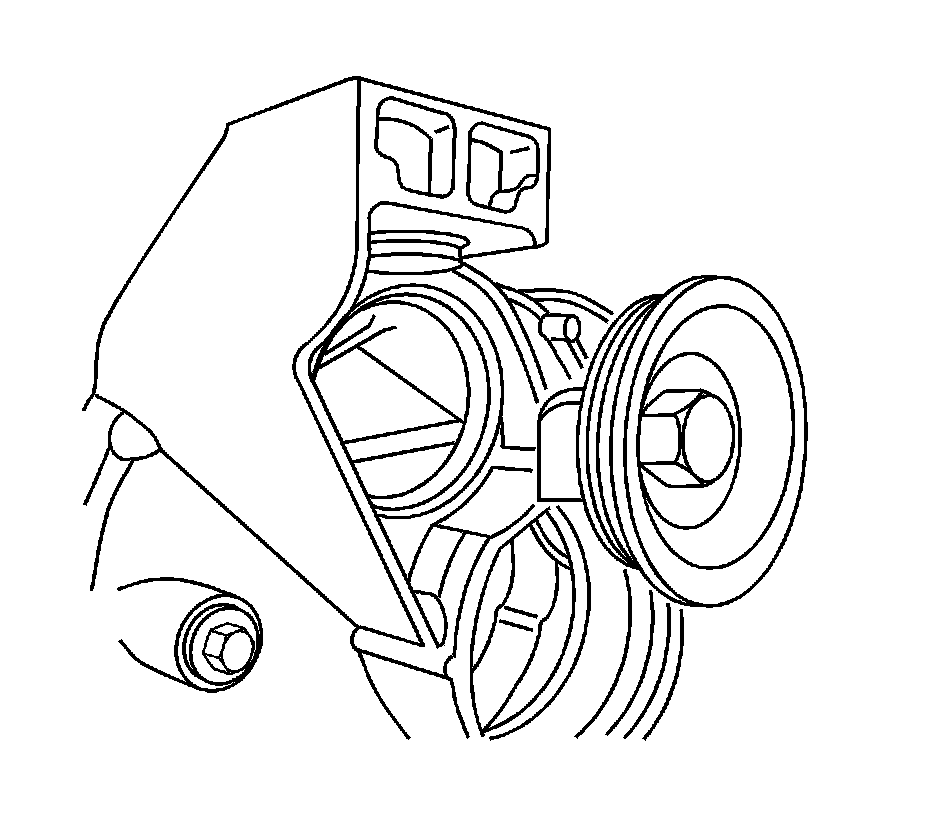
3. Remove the differential carrier assembly hole plug from the differential carrier assembly.
Installation Procedure
1. Install the differential carrier assembly hole plug into the differential carrier assembly.
Apply a small amount of sealer GM P/N 12346004 (Canadian P/N 10953480) or equivalent onto the threads.
Caution: Refer to Fastener Caution (Fastener Caution).
2. Tighten the differential carrier assembly hole plug.
Tighten the differential carrier assembly hole plug to 28 Nm (21 lb ft).
3. Turn the front wheels to the straight ahead position.
4. Lower the vehicle.