Front Cross-Member: Service and Repair
FRONT CROSSMEMBER
Removal
1. Raise the vehicle and position the jack stands.
2. Detach the front and rear roll stopper brackets from the engine mounting bracket.
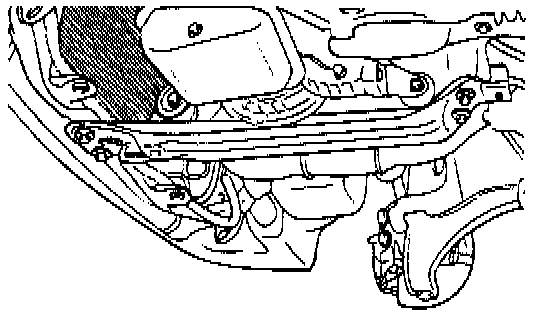
3. Remove the center member assembly.
4. Remove the stabilizer bar link mounting nut.

5. Remove the lower arm bushing mounting bolts and nuts.
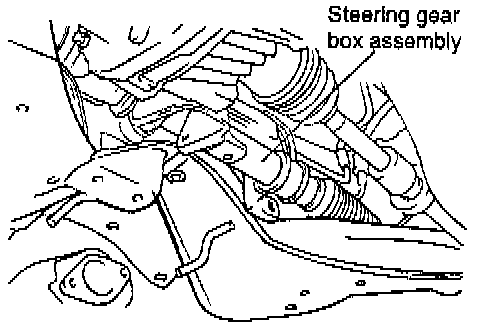
6. To remove the crossmember, remove steering gear box mounting bolts, and then support the steering gear and linkage on the vehicle side as in illustration.
7. Remove the crossmember.
Installation
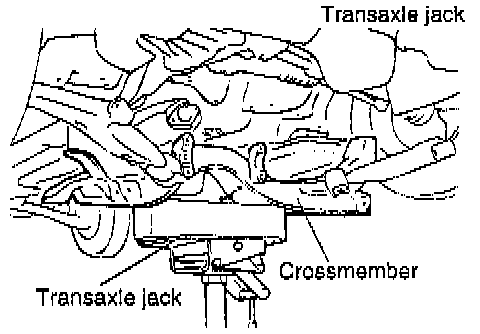
1. Install the crossmember while supporting it with a transaxle jack.
2. Install steering gear box assembly and stabilizer bar link to the vehicle.
3. Install lower arm bushing mounting bolts and nuts.
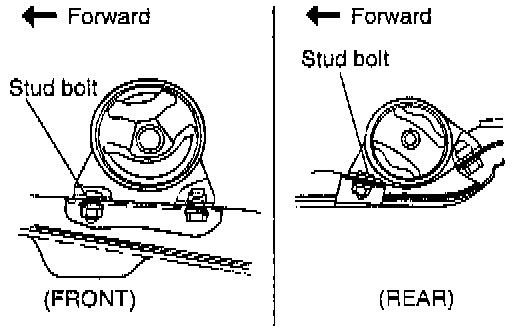
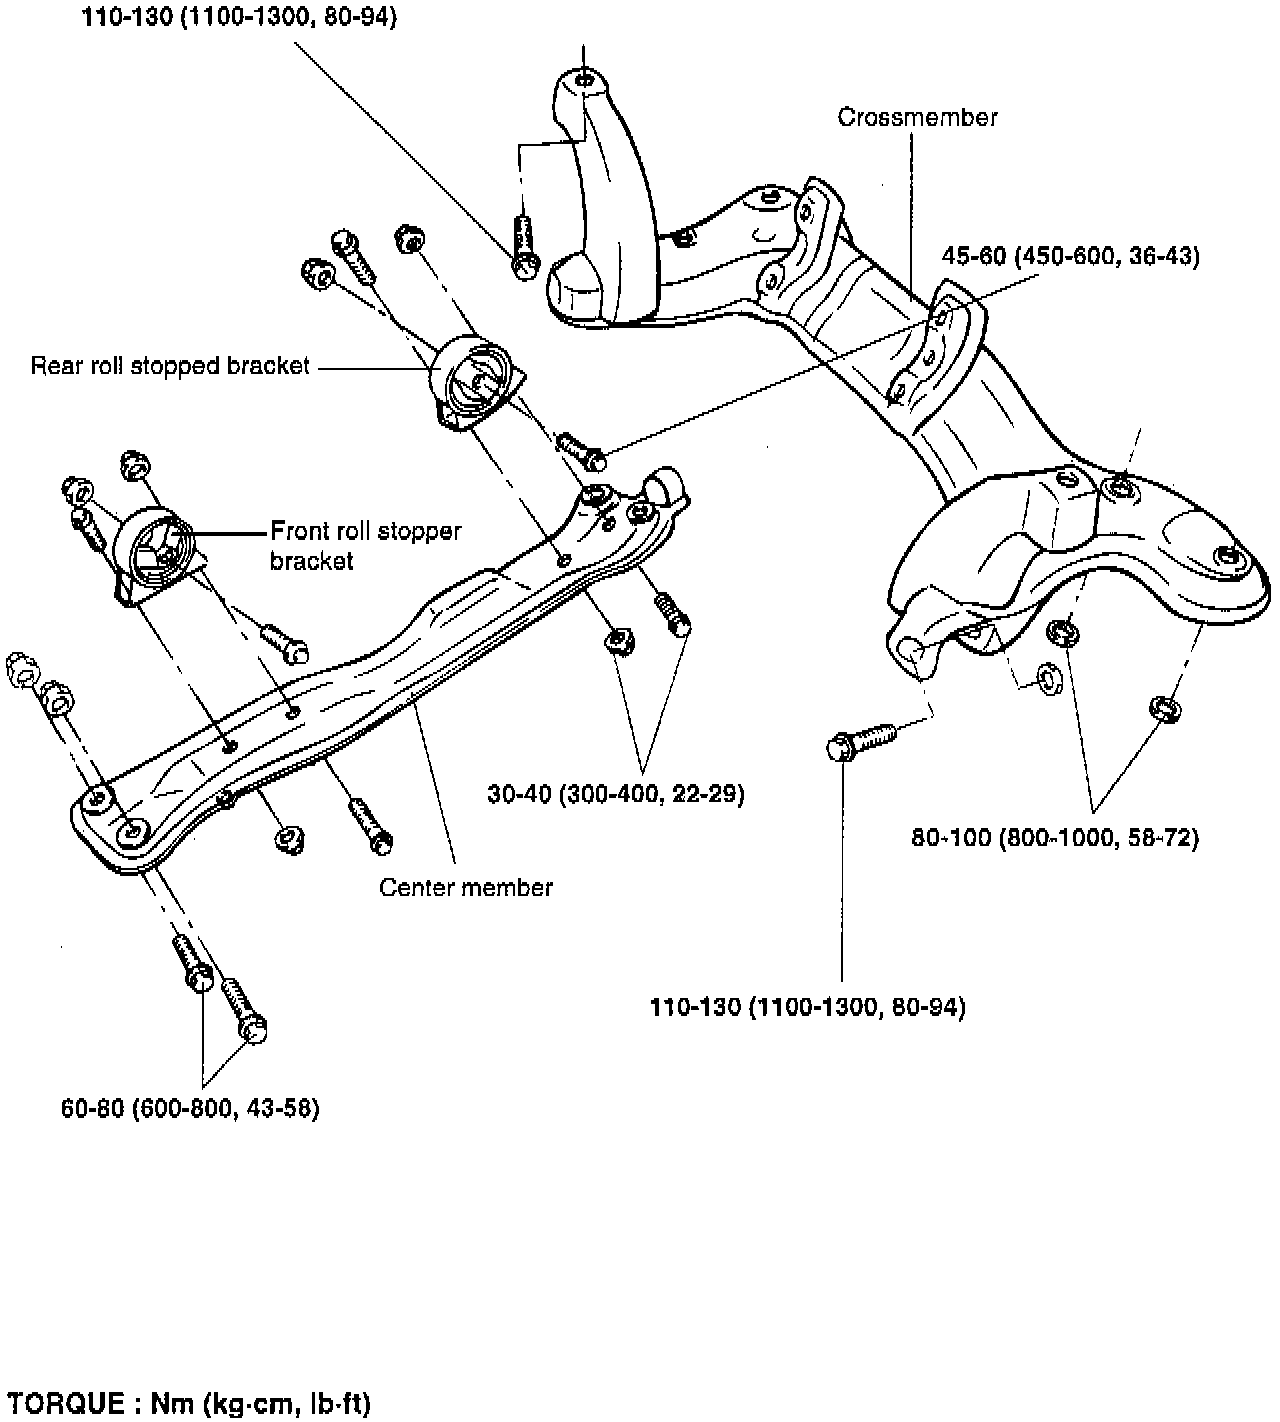
4. Install front and rear roll stopper brackets to the center member as in illustration.
5. Install the center member assembly.
6. Temporarily tighten the front roll stopper bracket bolt. After the total weight of the engine has been placed on the vehicle body, securely tighten the nut and the following bolts as specified below:
a. Center member mounting bolt 60-80 Nm (43-58 ft. lbs.).
b. Front roll stopper bracket to member bolt 30-40 Nm (25-29 ft. lbs.).
c. Rear roll stopper bracket to center member bolt 30-40 Nm (25-29 ft. lbs.).
d. Insulator to transaxle mounting bracket bolts 45-60 Nm (33-43 ft. lbs.).