Valve Spring: Service and Repair
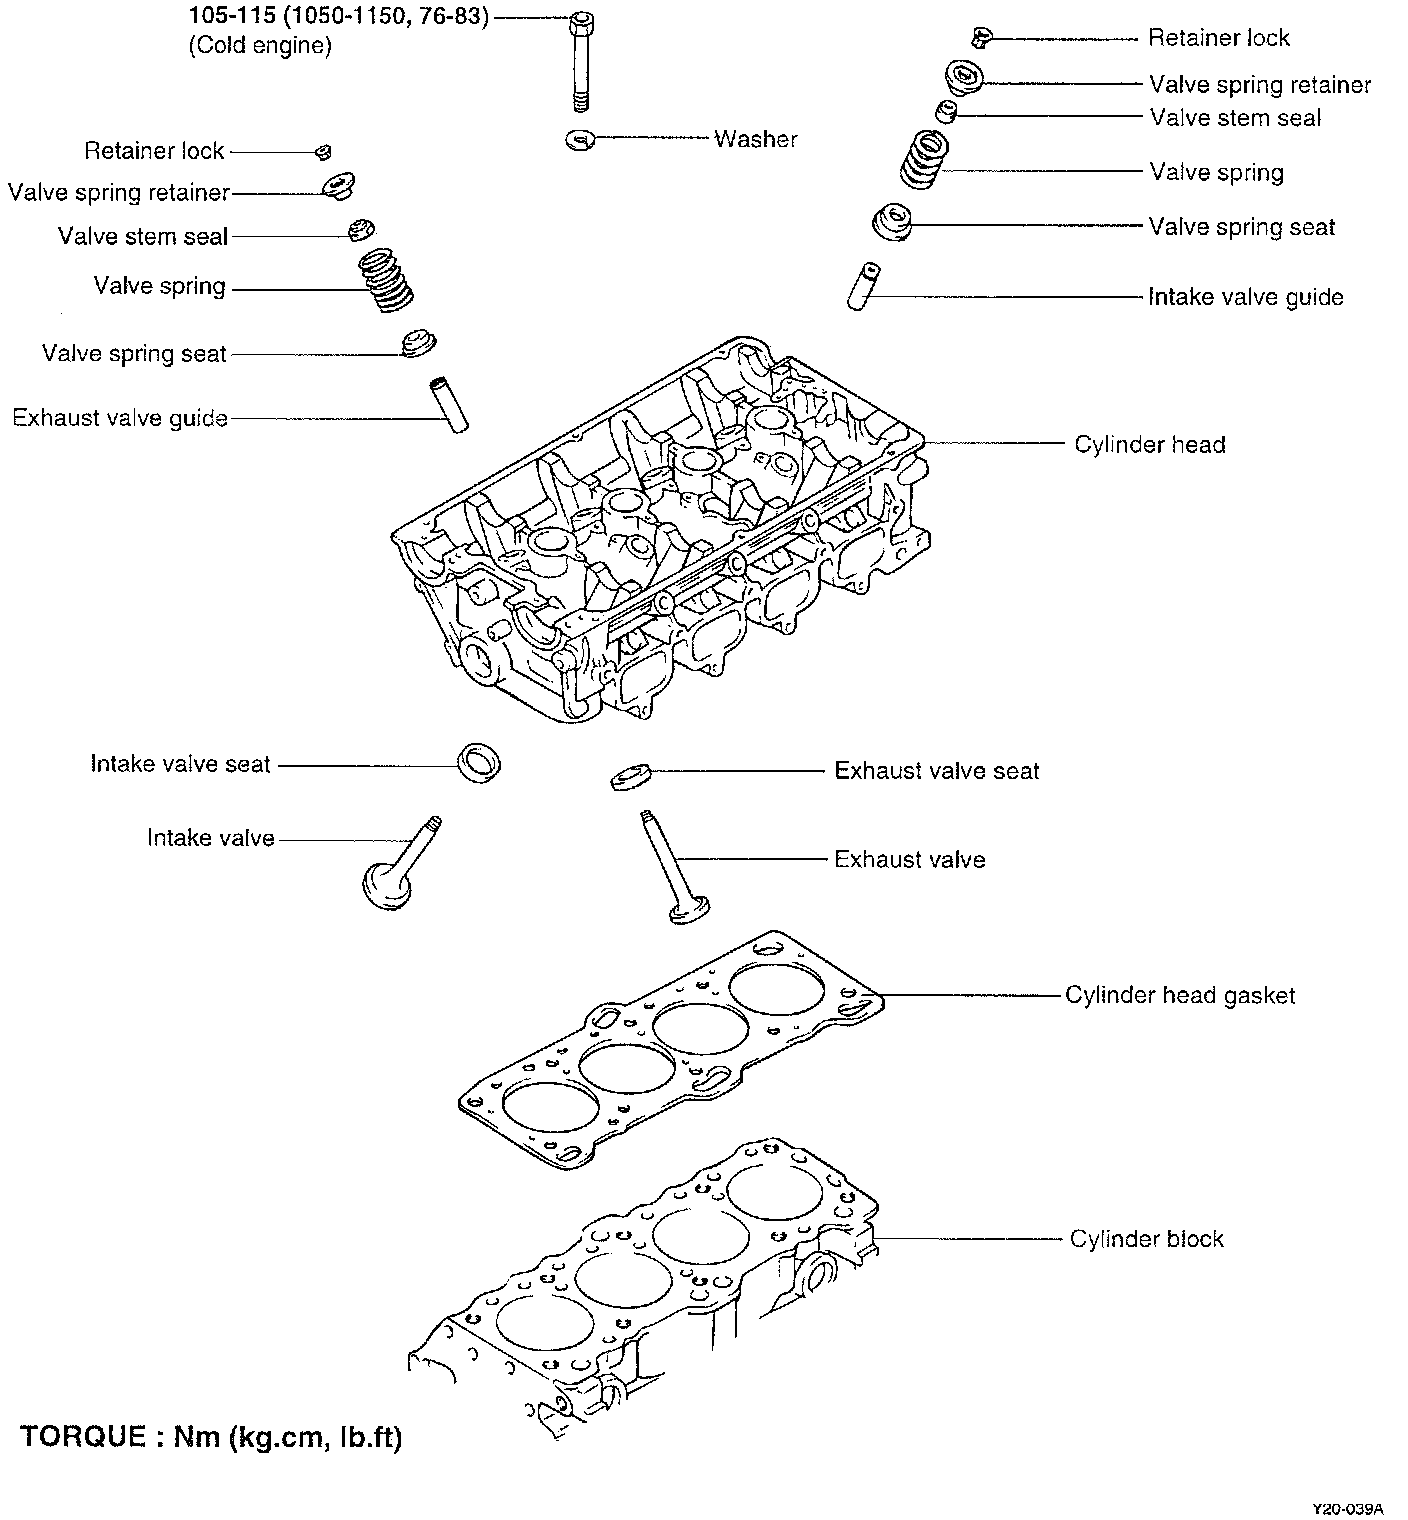
REMOVAL
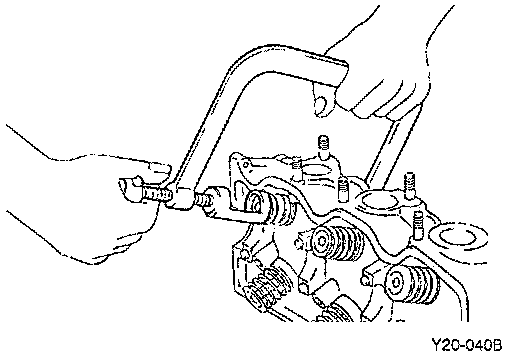
1. Using the valve spring compressor tool No. 09222-28000 with 09222-28100, or equivalent, remove the retainer lock.
2. Remove the spring retainer, valve spring, spring seat and valve.
NOTE: Keep these parts in order so they can be reinstalled in their original positions.

3. Remove the valve stem seals with pliers, and discard.
4. Remove the valve spring seat.
5. Refer to Testing and Inspection.
INSTALLATION
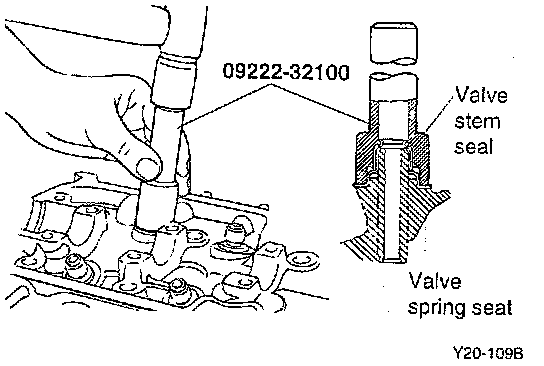
1. After installing the spring seat, fit the stem seal onto the valve guide, then position valve stem oil seal installer (tool No. 09222-32100, or equivalent) over seal and by lightly tapping on tool, seat the seal.
NOTE:
- The seal is installed in the specified position by means of the tool.
- Incorrect installation of the seal will adversely affect the lip I.D. and eccentricity, resulting in oil leaking down the valve guides. Therefore, when installing, be careful not to twist the seal.
- Do not reuse old stem seals.
- Clean each part before assembly.
2. Apply engine oil to each valve. Insert the valves into the valve guides.
NOTE: Avoid using force when inserting the valve into the seal.
After insertion, check to see if the valve moves smoothly.
3. Install springs and spring retainers.

NOTE: Valve springs should be installed with the enamel coated side toward the valve spring retainer.
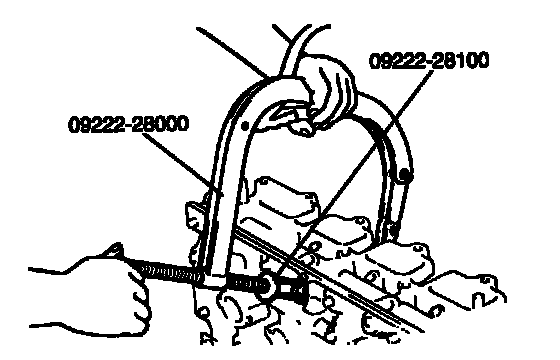
4. Using the spring compressor tool, install the retainer lock.