Removal and Installation
REMOVAL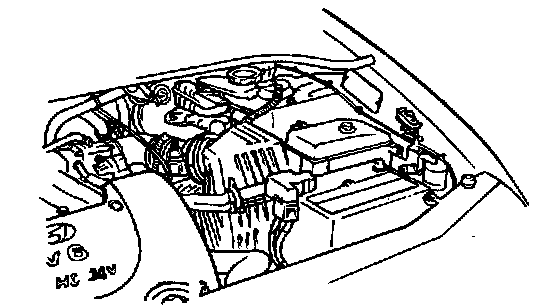
1. Remove the battery (-) cable.
2. Remove the air cleaner duct.
3. Remove the air cleaner and air flow hose assembly
4. Disconnect the backup light switch connector.
5. Disconnect the clutch line and clip.
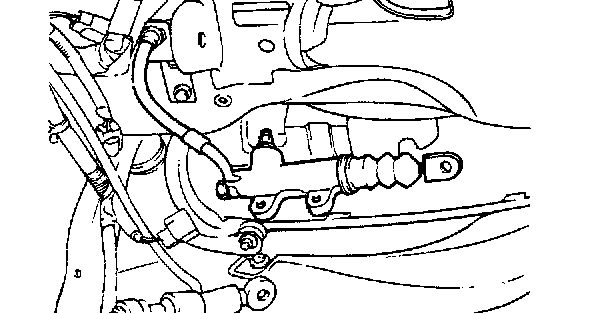
6. Remove the clutch release cylinder.
7. Remove the speedometer cable.
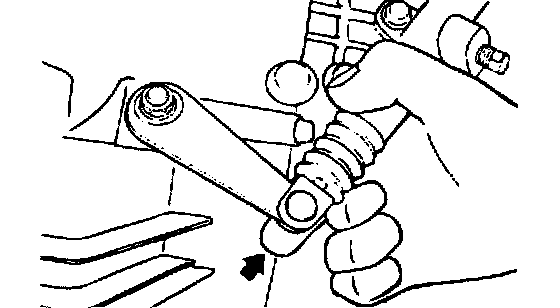
8. Remove the select or cable and shift cable.
9. Remove the starter motor mounting bolts, and remove the transaxle assembly upper connecting bolts.
10. Attach engine hooks using special tool (09200-38001).
11. Remove the transaxle mounting bracket and insulator.
12. Lift the vehicle up.
13. Remove the front tire.
14. Remove the drain plug and drain the transaxle gear oil.
15. Disconnect the tie rod end, lower arm ball joint and drive shaft.
16. Remove the gear box u-joint bolt and the return tube mounting bolts.
17. Remove the front muffler.
18. Remove the sub-frame mounting bolts and the sub frame.
19. Remove the transaxle front and rear mounting bracket.
20. Remove the transaxle side mounting bolts.
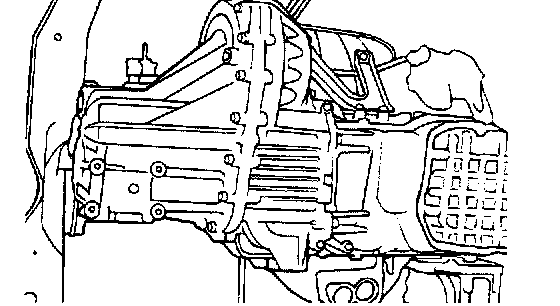
21. Lower the transaxle assembly, supporting it with a jack.
NOTE When supporting the transaxle assembly, make sure that the lifting force is applied to a wide area and, not to a small localized area.
CAUTION
1. Engine and transmission mounting insulators should be installed in the following order:
1) Engine mounting bracket.
2) T/M mounting bracket.
3) Rear roll stopper mounting bracket.
4) Front roll stopper mounting bracket.
2. When installing the front roll stopper mounting bracket, be especially careful not to crush the insulator. If crushed, idle vibration will most probably result.
INSTALLATION
1. Installation is the reverse of removal.