Front Upper Control Arm

REMOVAL
1. Remove the wheel and tire.
2. Loosen the ball joint nut, but do not remove it.
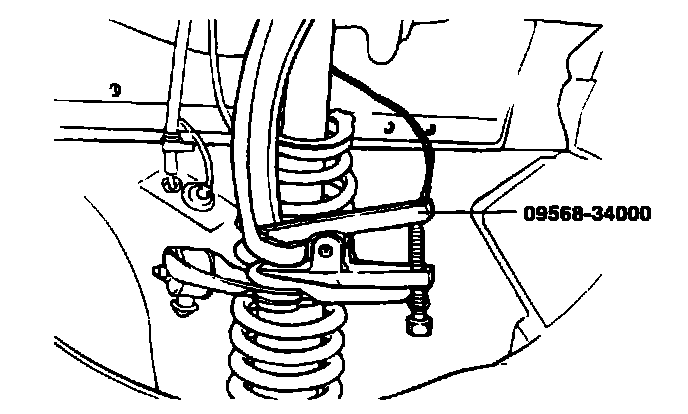
3. Using the special tool (09568-3400), disconnect the upper arm ball joint from the knuckle.
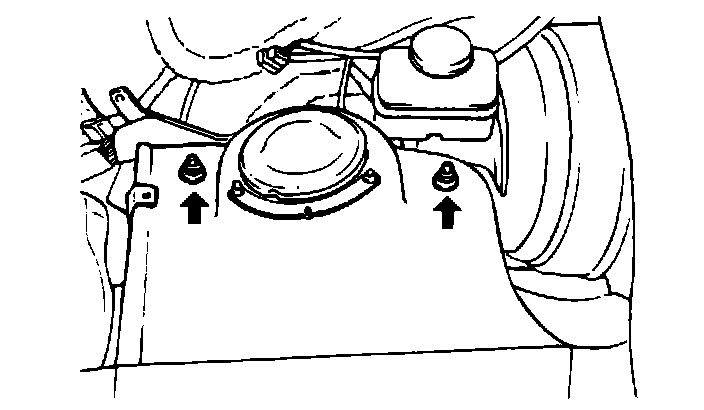
4. Remove the 2 nuts from the wheel house panel and then remove the upper arm assembly.
5. Remove the upper arm shaft.
INSPECTION
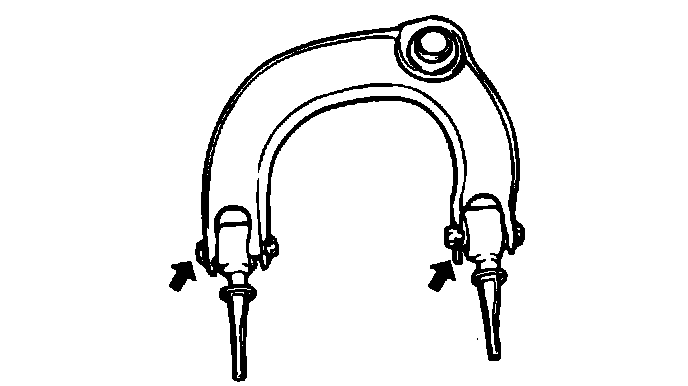
1. Check the bushing for wear and deterioration.
2. Check the upper arm for bending or breakage.
3. Check the ball joint for rotating torque.
1) If there is a crack in the dust cover, replace it and add grease.
2) Move the stabilizer link ball joint stud in a circular motion several times.
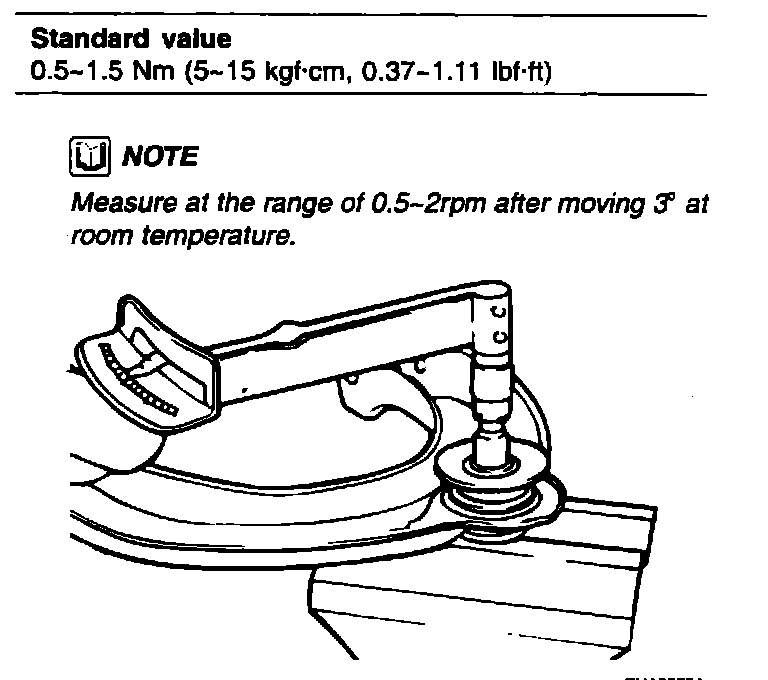
3) Mount the self-locking nut on the ball joint, and then measure the ball joint rotating torque.
4) If the rotating torque exceeds the upper limit of standard value, replace the upper arm assembly.
5) If the rotating torque is below the lower limit of the standard value, and it doesn't have any drag and excessive play, the ball joint may be reused.
INSTALLATION
Installation is in the reverse order of removal.