Interior - Roof Assist Handles Loose
Group: BODYNumber: 08-BD-006
Date: MAY, 2008
Model: 2006 TO 2008 ENTOURAGE
Subject:
ROOF ASSIST HANDLE ATTACHMENT
DESCRIPTION:
This TSB contains instructions for re-securing a loose roof assist handle.
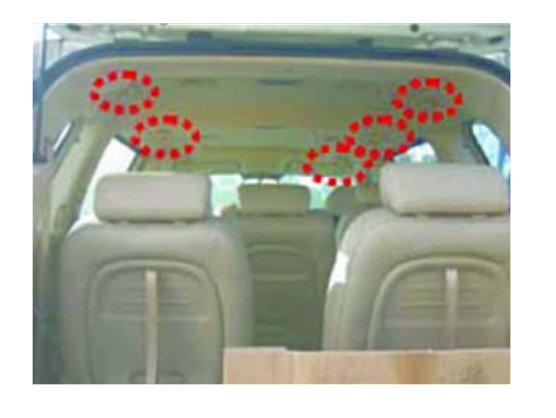
If there is a need to inspect one handle, all of them should be inspected at the same time. This procedure covers inspecting all 5 handles in one repair.
APPLICATION:
^ ENTOURAGE vehicles produced from October 2005 through November 2, 2007
PROCEDURE:
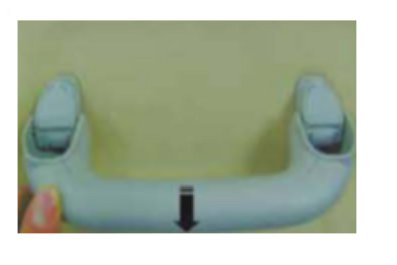
1. Pull the roof assist handle downwards as shown in the picture to access the screw caps.
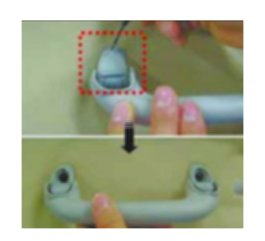
2. Open the 2 screw caps using a small flat head screwdriver.
NOTE:
Be careful not to scratch the roof assist handle.
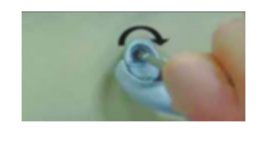
3. Verify the 2 roof assist handle mounting screws are securely tightened.
Tightening Torque: 7.5 +/- 0.5 lbf.in (0.85 Nm +/- .05 Nm)
NOTE:
Do not use excessive force.
4. Repeat the above steps 1 to 3 on the 4 other assist handles.
5. Check if all the headliner mounting clips are firmly attached to the roof by pulling the roof assist handles gently downwards.
^ If all the headliner mounting clips are securely attached, no further action is required. Close all of the roof assist handle mounting screw caps when done.
6. If a "click" sound is heard from an assist handle or the portion of headliner behind a roof assist handle moves noticeably, secure the loose clip in place according to the following procedure.
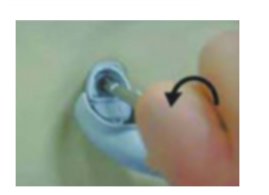
^ Loosen the screw cap about 2 turns.
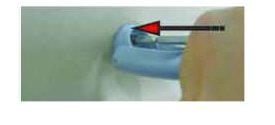
7. Push the mounting clip into the roof by pushing the screw with the screwdriver. Push the screw in until a "click" sound is heard as the mounting clip snaps into the roof mounting hole.
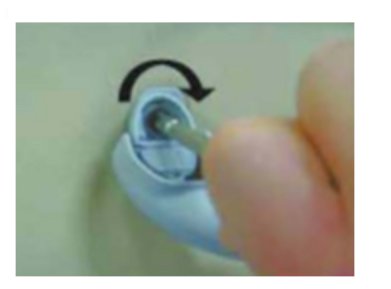
8. Check if the headliner mounting clip is secured by tightening the screws and pulling on the handles again. If it is still loose, repeat steps 2 and 3 above.
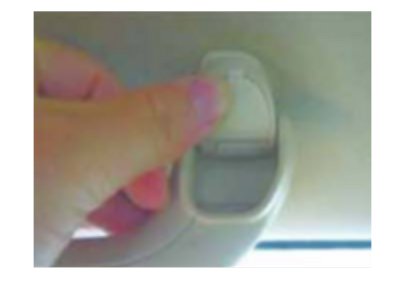
9. Close all the assist handle mounting screw caps when done.

OPERATION CODE AND TIME