Shifter A/T: Service and Repair
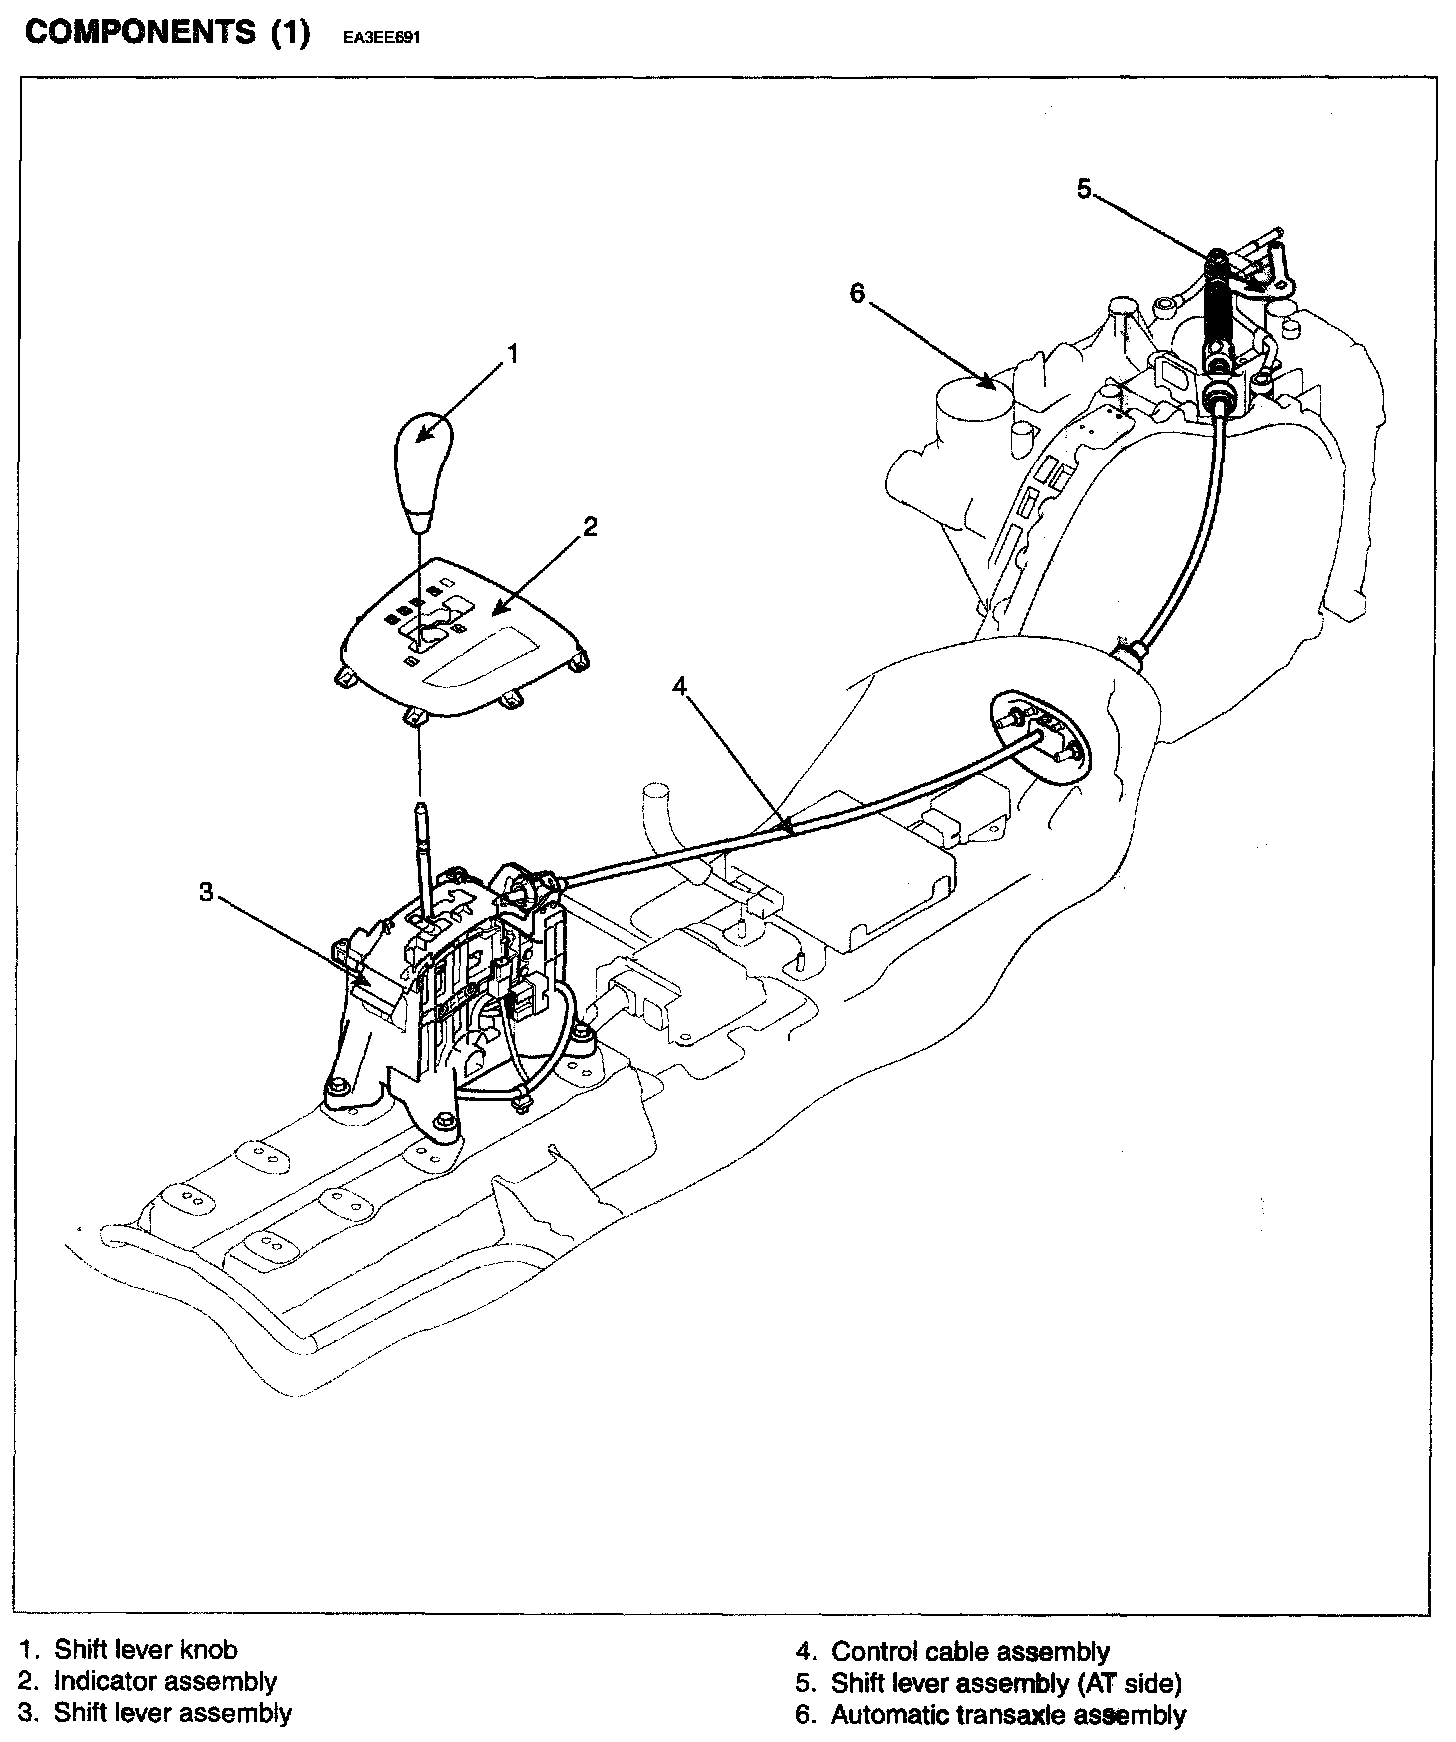
SHIFT LEVERCOMPONENTS (1):
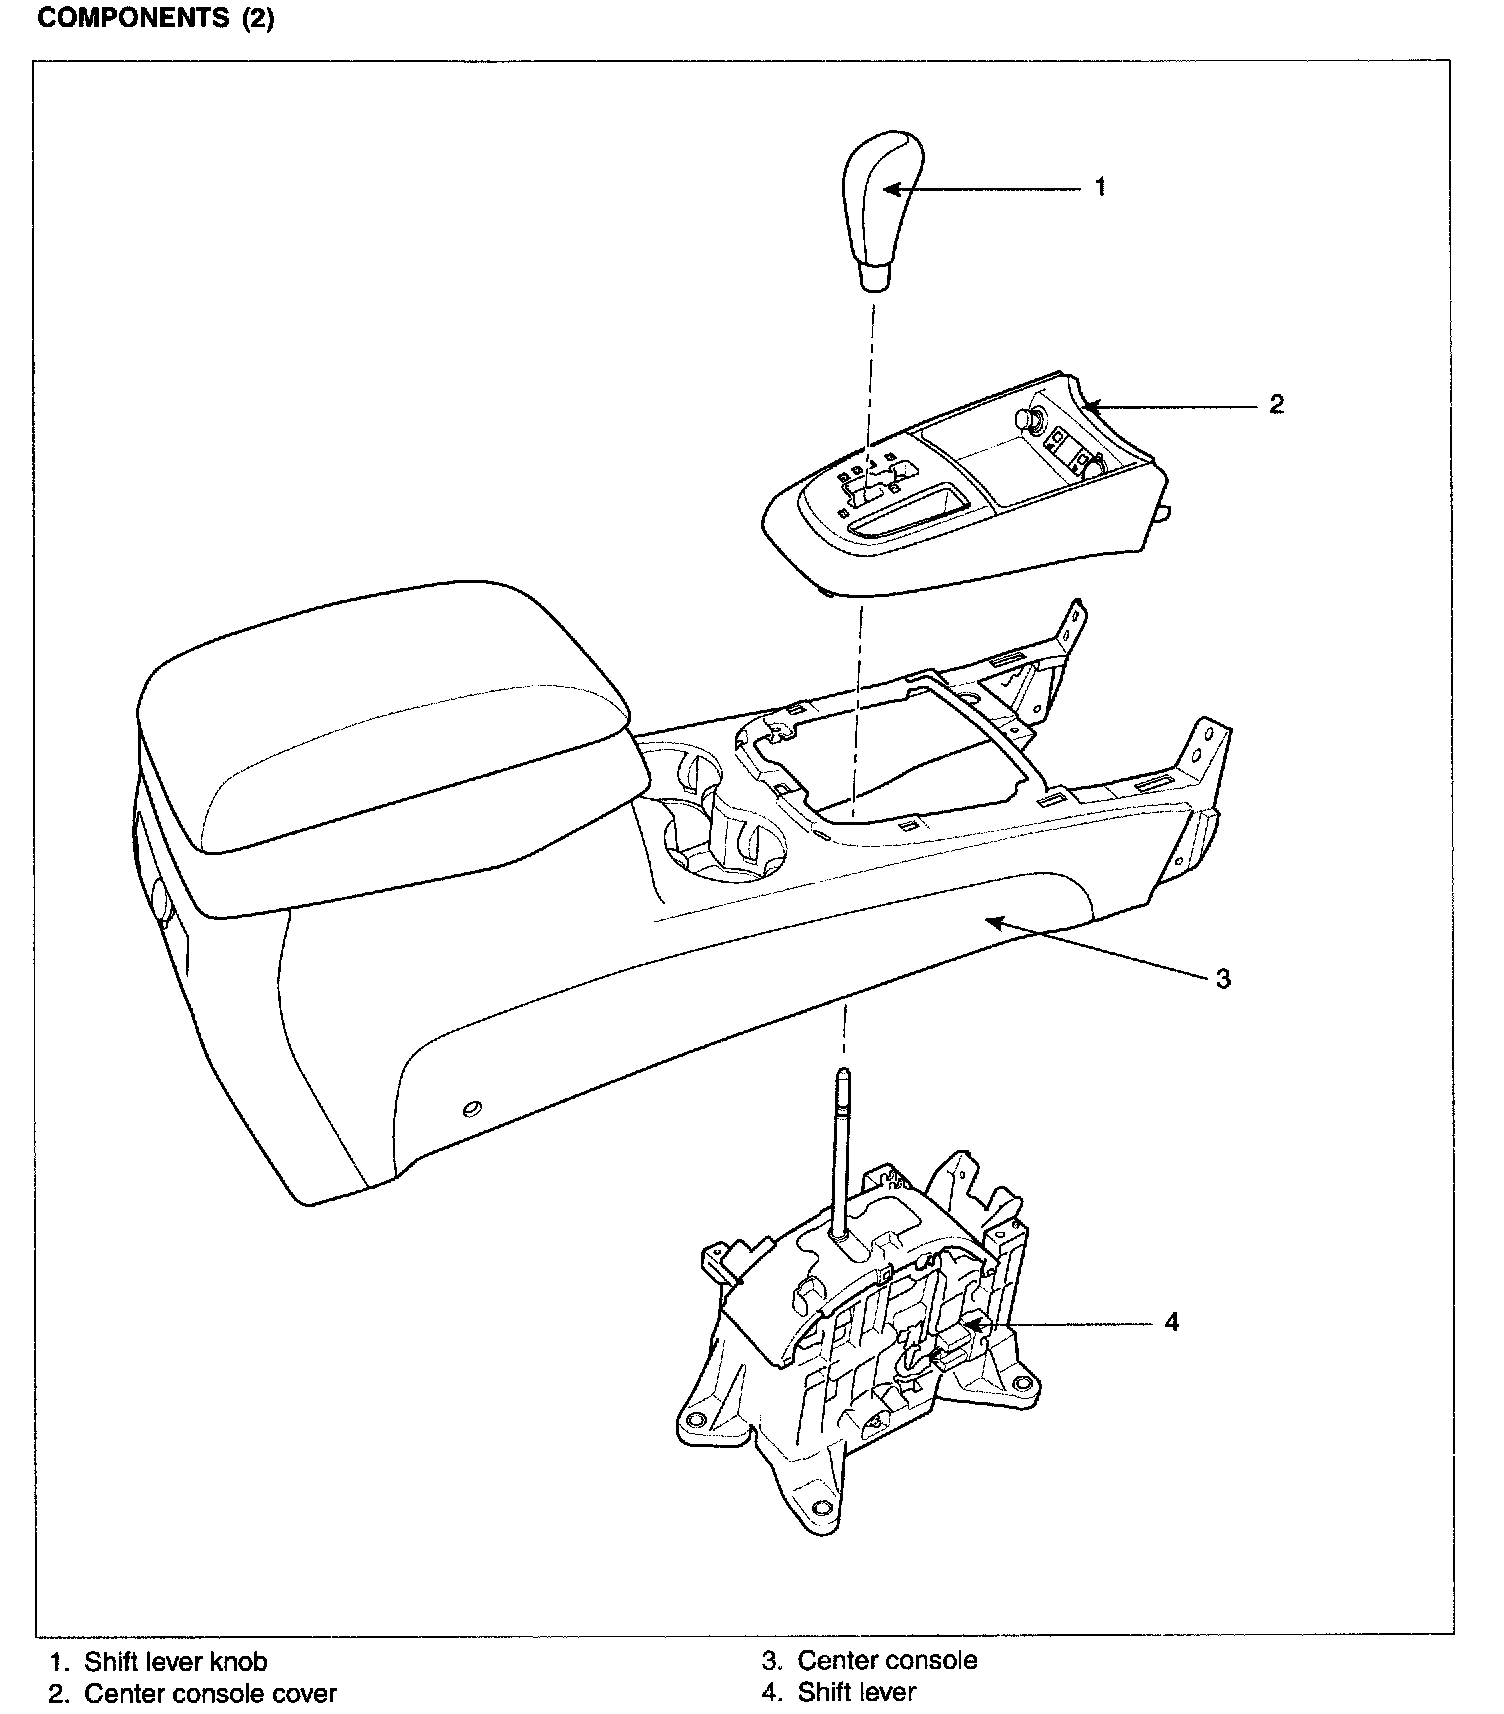
COMPONENTS (2):
REMOVAL
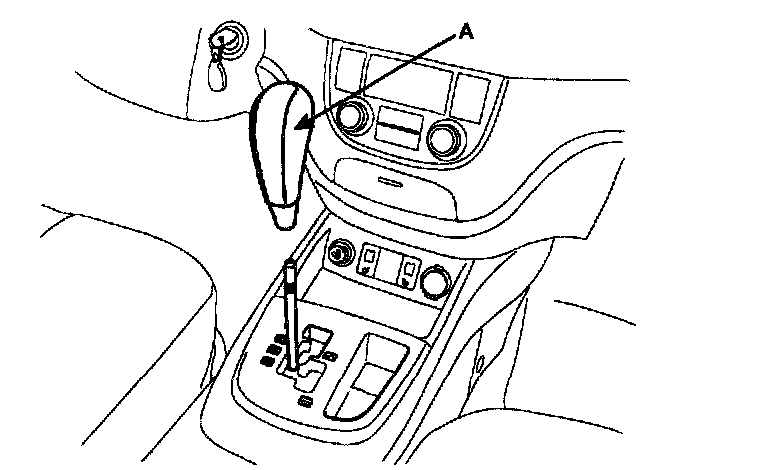
1. Remove the shift lever knob (A).
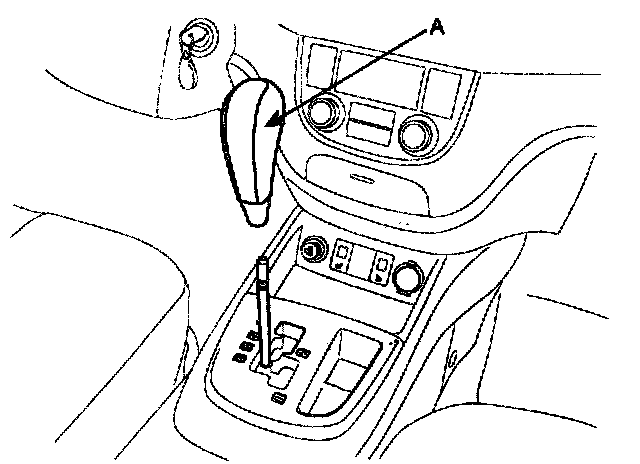
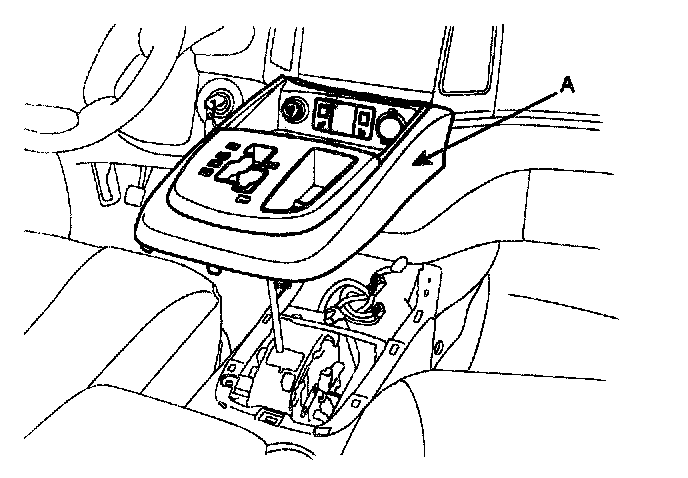
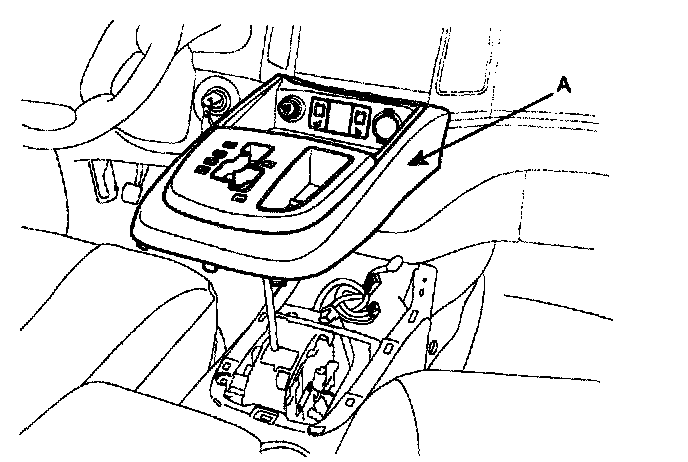
2. Remove the center console cover (A).
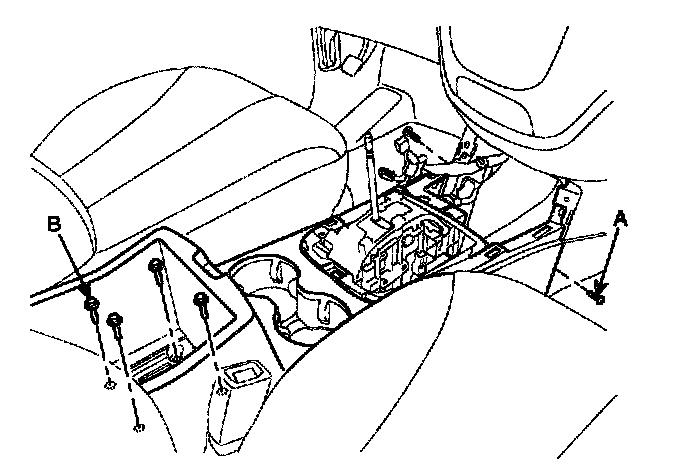
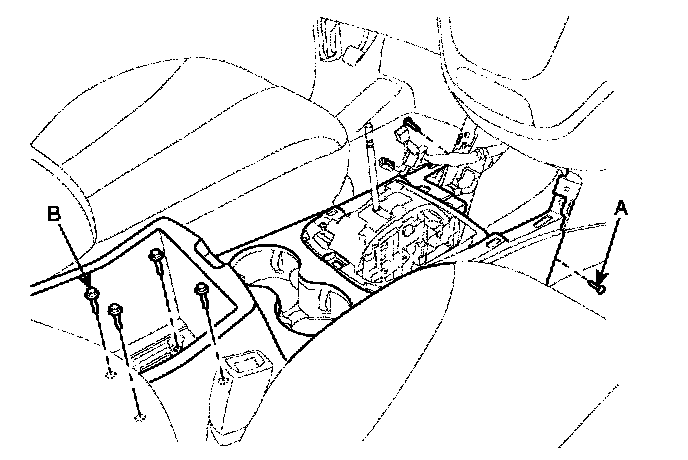
3. Remove the center console by removing the two screws (A) and the four bolts (B).
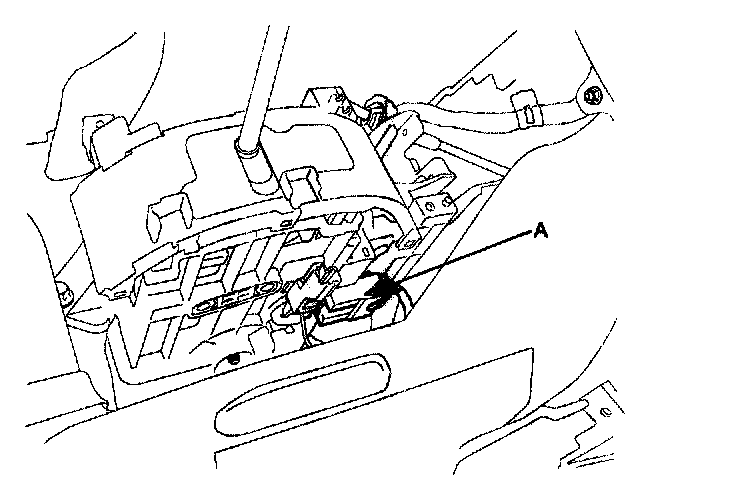
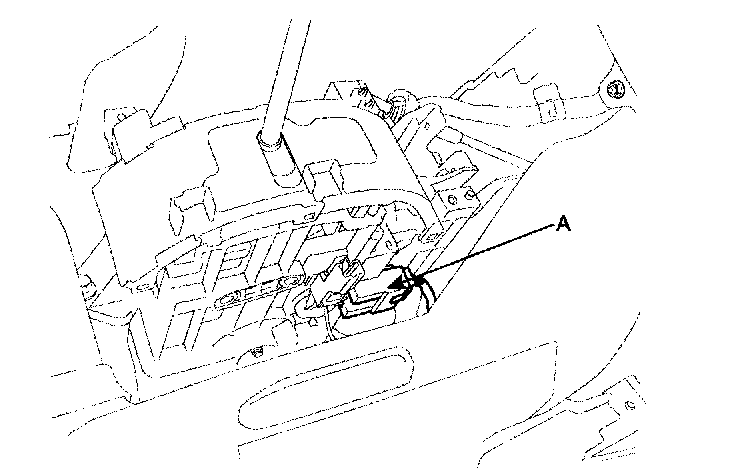
4. Disconnect the interlock switch connector (A).
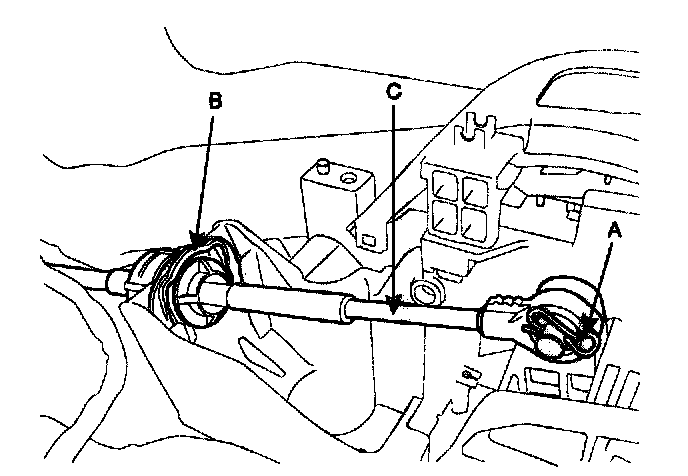
5. Remove the control cable assembly (C) by removing the snap pin (A) and the clip (B).
6. Remove the shift lever bolts (A-4ea).
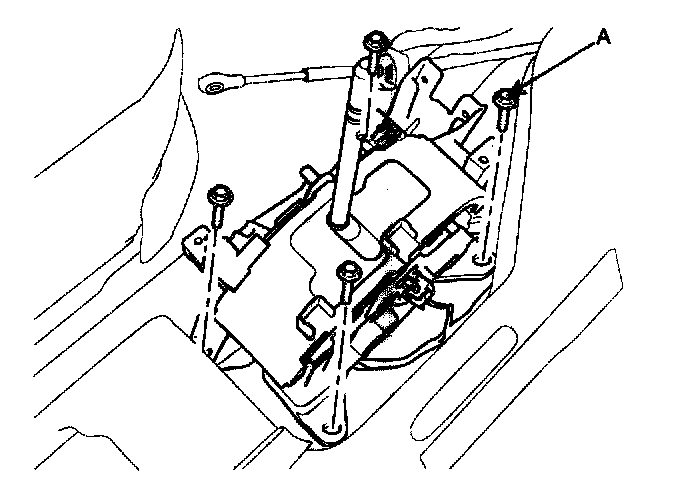
7. Remove the shift lever assembly.
INSPECTION
Adjusting method for the control cable
1. Set room side lever and T/M side lever (A) to "N" position.
2. Connect the room side lever and shift cable.
3. Connect the T/M side lever (A) to cable (B) in this following order.
1. Push the cable (B) lightly to "F" direction shown to eliminate FREE PLAY of the cable (B).
2. Tighten the adjusting nut (C).
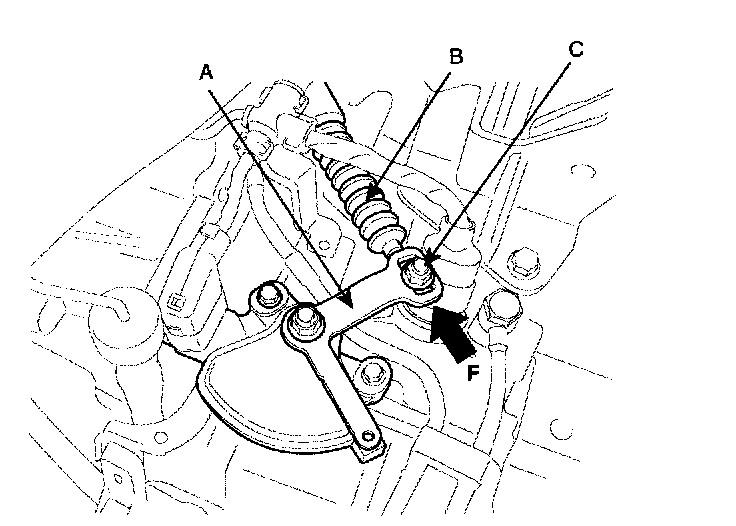
4. After adjusting the cable (B) according to (2)-(4), check to be sure that this part operates surely at each range of T/M side corresponding to each position of room lever.
INSTALLATION
1. Install the shift lever bolts (A-4ea).
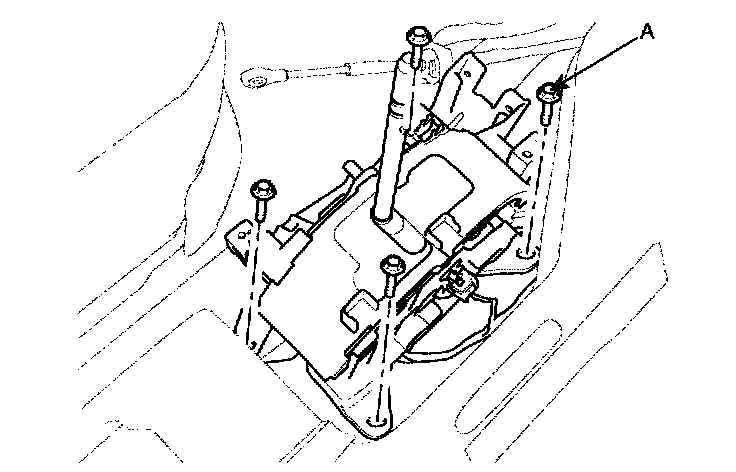
2. Install the control cable assembly (C) by inserting the snap pin (A) and the clip (B).
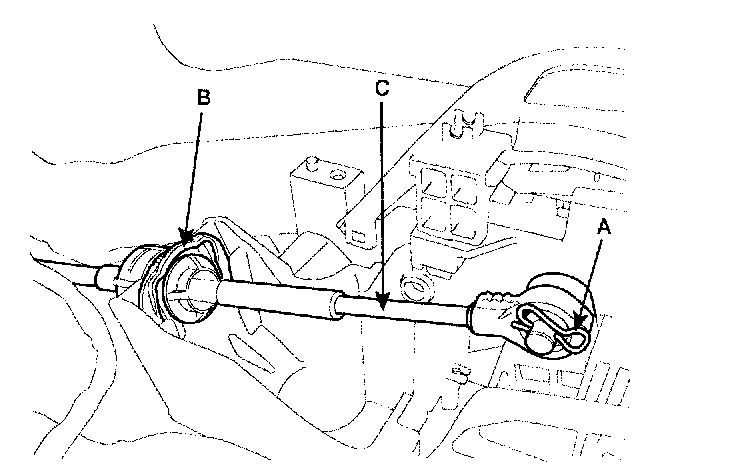
3. Connect the interlock switch connector (A).
4. Install the center console by installing the two screws (A) and the four bolts (B).
5. Install the center console cover (A).
6. Install the shift lever knob (A).