Repair Procedures
Replacement
Sunvisor Replacement
1. Loosen the mounting screws, then sunvisor (A) and holder (B).
2. Disconnect the connector (C).
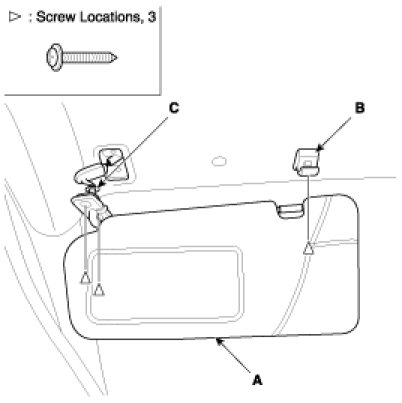
3. Installation is the reverse of removal.
S/G Case Replacement
1. Using a screwdriver, remove the side tray (A).
2. Installation is the reverse of removal.
Rear Seat Entertainment (DVD Only)
1. Disconnect the negative(-) battery terminal.
2. Remove the DVD rear monitor cover(A) and disconnect the interior lamp connector.
3. Remove the DVD rear monitor (A) mounting screws (4EA) and disconnect the DVD rear monitor connector.
4. Installation is the reverse of removal.
Rear Heater Control Unit Replacement
1. Remove the rear heater control unit (A).
2. Disconnect the connector (B).
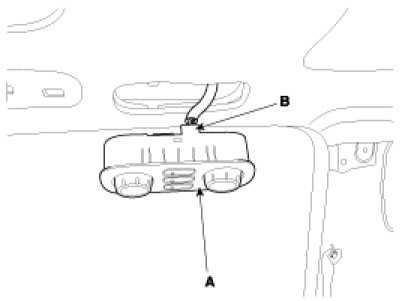
3. Installation is the reverse of removal.
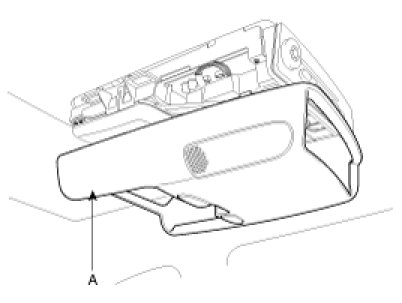
Assist Handle Replacement
1. Remove the assist handle (A).
2. Installation is the reverse the removal.
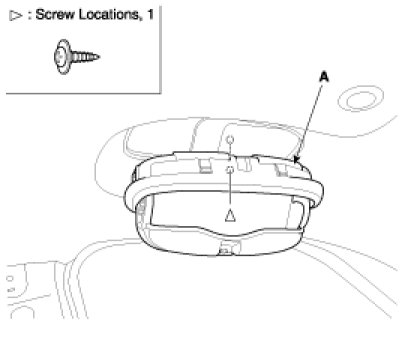
Overhead Console Replacement
1. Loosen the overhead console mounting screws, remove the overhead console assembly (A).
2. Disconnect the connector (B).
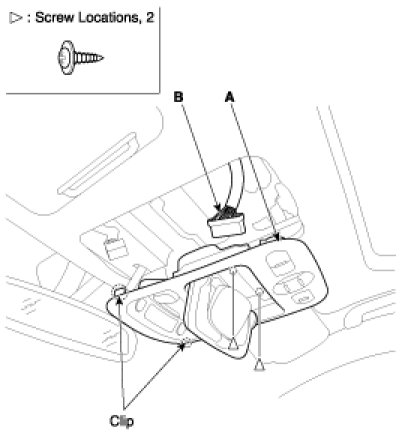
3. Installation is the reverse the removal.
Roof Air Vent Replacement
1. Using a screwdriver, remove the roof air vent (A).
2. Installation is the reverse the removal.
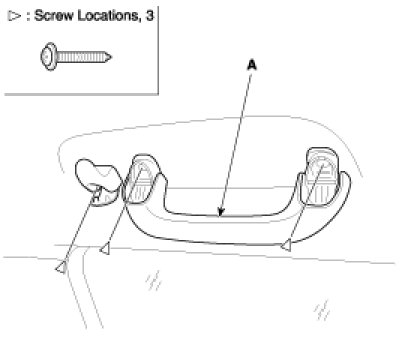
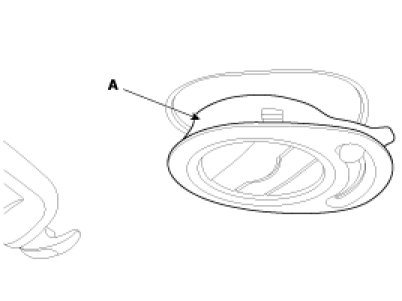
Room Lamp Replacement
1. Remove the room lamp.
A. Remove the lens (A).
B. Remove the screw.
C. Pull out the room lamp (B).
D. Disconnect the connector (C).
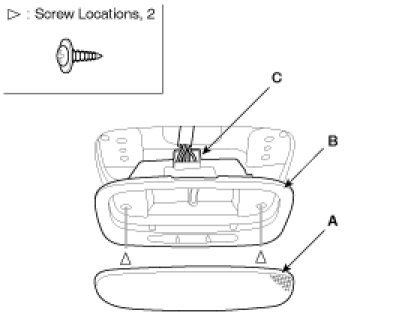
2. Installation is the reverse of removal.
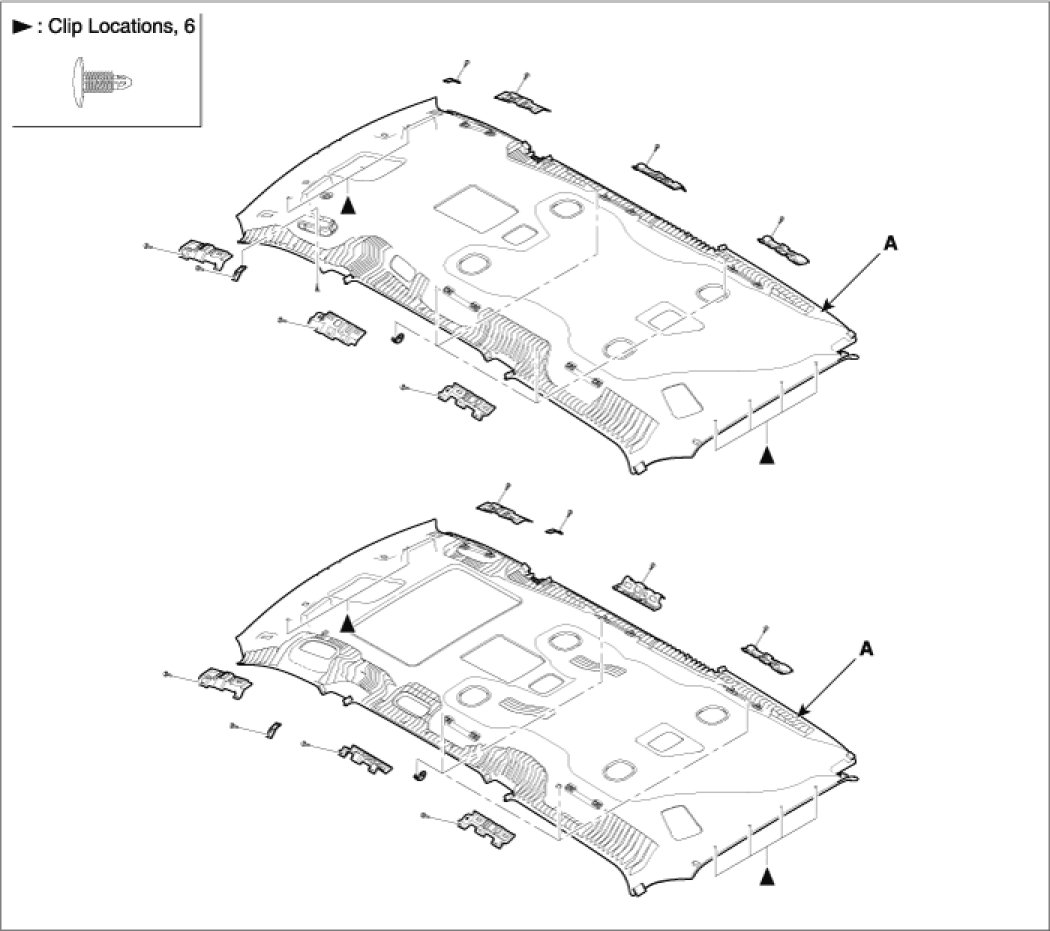
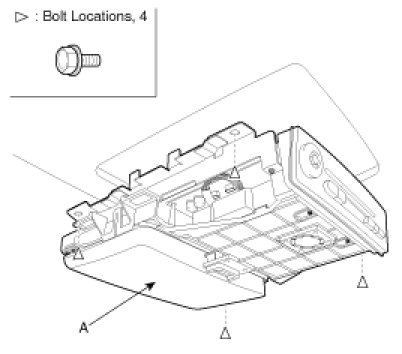
Roof Trim Replacement
NOTE:
- When prying with a flat-tipped screwdriver, wrap it with protective tape, and apply protective tape around the related parts, to prevent damage.
- Put on gloves to protect your hands.
1. Remove the following item.
A. Sunvisor.
B. Overhead console.
C. Room lamp.
D. Roof air vent.
E. Interior trim.
F. Assist handle.
G. Side tray.
H. Rear seat entertainment.
2. Using a clip remover, detach the clips, and remove the roof trim (A).
3. Installation is the reverse the removal.
NOTE:
- Replace any damage clips.