Repair Procedures
Replacement
Seat Assembly Replacement
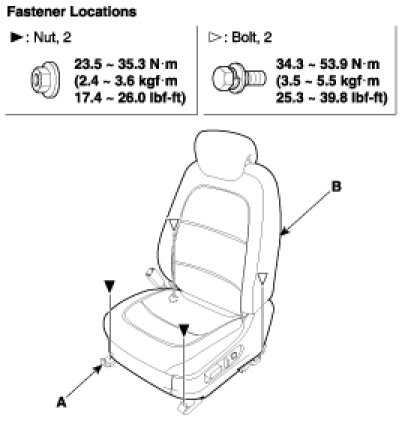
1. Remove the seat assembly mounting cover (A).
2. After loosening the seat assembly mounting bolts and nuts, remove the seat assembly (B).
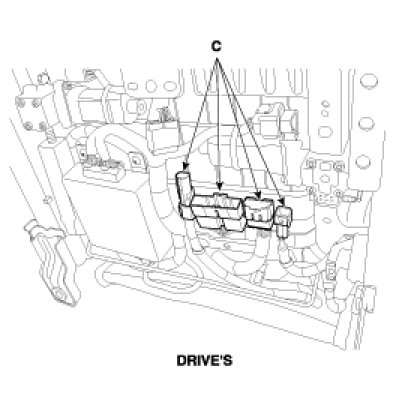
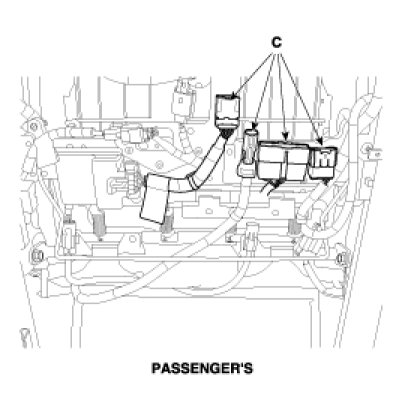
3. Disconnect the connector (C), and remove the seat assembly.
4. Installation is the reverse of removal.
NOTE:
- Be sure to perform PODS re-zero with Hi-scan (pro) after replacing parts (Passenger's)
CAUTION:
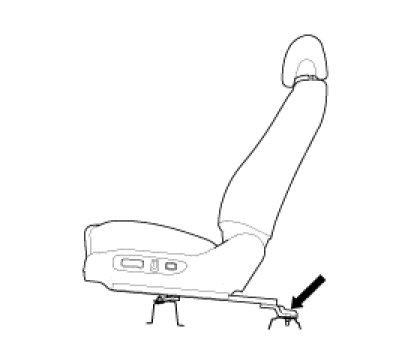
SEAT MOUNTING BOLT INSTALLATION PROCEDURE
- Set the into the most rearward position.
Check then each slide is locked, and then Tighten the front mounting bolt temporarily.
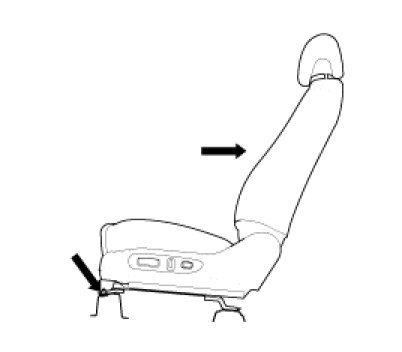
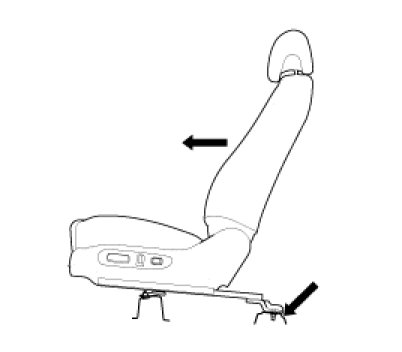
- Set the seat into most forward position.
Check that each slide is locked, and then Tighten the rear mounting bolt completely.
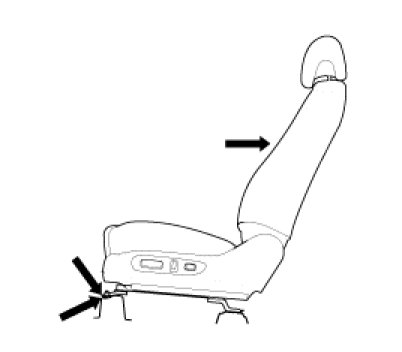
- Set the seat into the most rearward position.
Check the front mounting bolt completely.
- Check that the seat operates to and fro smoothly and the locking portion locks properly.
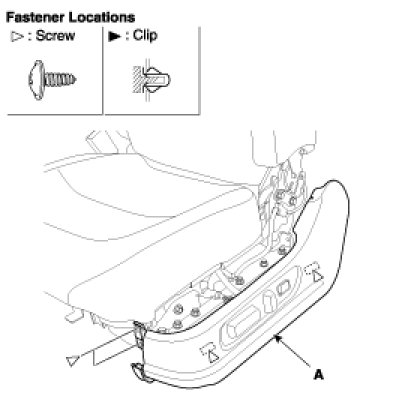
Recliner Cover Replacement
1. Remove the cover (A).
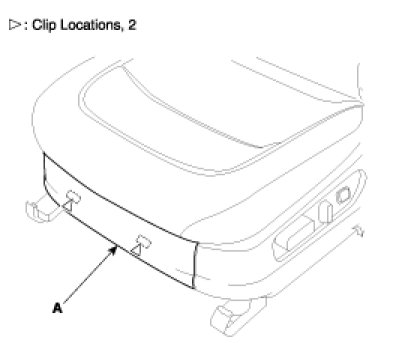
2. Loosen the recliner mounting screw and clip, then remove the recliner cover (A).
3. Remove the front seat buckle.
4. Loosen the mounting screw, then remove the cover (A).
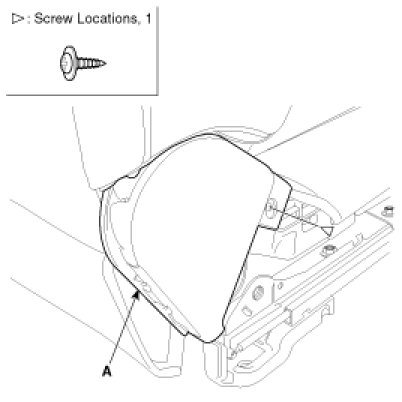
5. Installation is the reverse of removal.
NOTE:
- Be sure to perform PODS re-zero with Hi-scan (pro) after replacing parts (Passenger's)