Repair Procedures
Replacement
[Sedan]
NOTE:
- Put on gloves to protect your hands.
- When prying with a flat-tip screwdriver, wrap it with protective tape to prevent damage.
- Take care not bend or scratch the cover and other parts.
1. Remove the trunk trim.
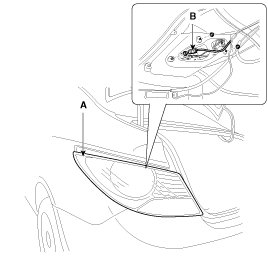
2. Disconnect the connector (B) and then loosening the combination lamp mounting nuts.
3. Remove the rear combination lamp (A).
4. After loosening the rear bumper side's mounting screws, then disconnect the side's.
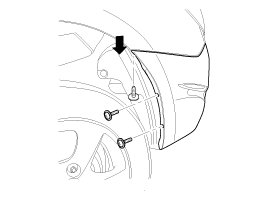
5. Remove the rear bumper mounting clips.
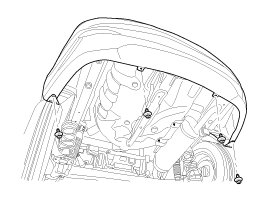
6. Loosen the mounting bolts.
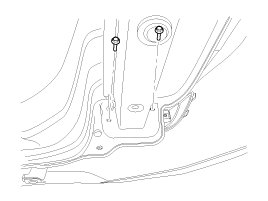
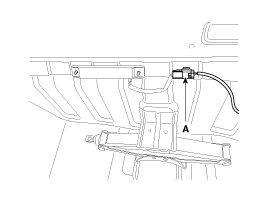
7. Push the lock pin, disconnect the rear bumper main connector (A).
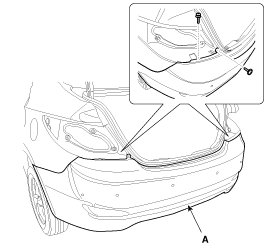
8. After loosening the mounting screw and clip, then remove the rear bumper (A).
9. Installation is the reverse of removal.
NOTE:
- Make sure the connector is plugged in properly.
- Replace any damaged clips.
[5 Door]
NOTE:
- Put on gloves to protect your hands
- Use a plastic panel removal tool to remove interior trip pieces to without marring the surface.
- Take care not bend or scratch the cover and other parts.
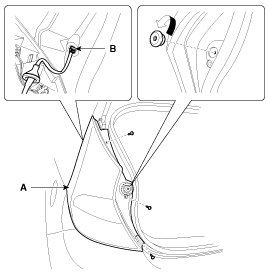
1. After loosening the mounting screws, then remove the rear combination lamp (A).
2. Push the lock pin, disconnect the connector (B).
3. After loosening the rear bumper side's mounting screws, then disconnect the side's.
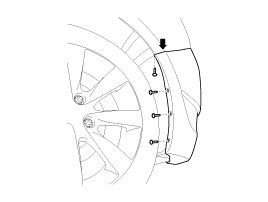
4. Loosen the mounting clips.
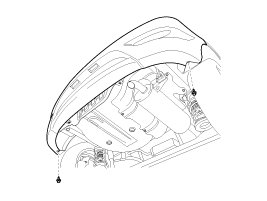
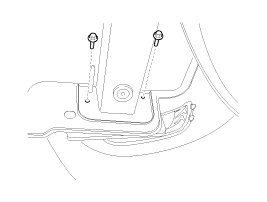
5. Loosen the mounting bolts.
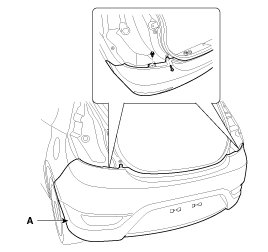
6. After loosening the mounting screw and clip, then remove the rear bumper (A).
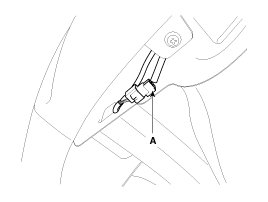
7. Push the lock pin, disconnect the rear bumper main connector (A).
8. Installation is the reverse of removal.
NOTE:
- Make sure the connector is plugged in properly.
- Replace any damage clips.