Assembly
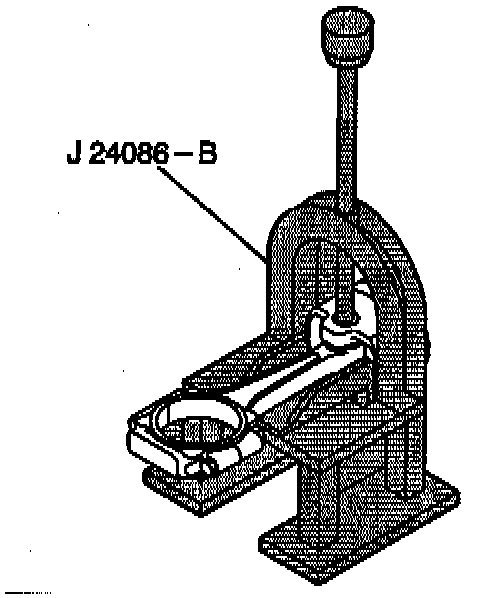
TOOL REQUIRED
J 24086-C Piston Pin Remover/Installer Set, or equivalent.
NOTE: Mount the piston on the connecting rod correctly. Make sure that the mark on the piston that points toward the front of the engine is aligned with the side of the connecting rod that faces the front of the engine.
PROCEDURE
1. Place the piston and the connecting rod in piston pin remover/installer.
2. Adjust the plunger of the fixture.
3. Coat the piston pin with clean engine oil.
4. Press the piston pin into place.
5. Inspect the piston. Make sure that the piston moves freely.
6. Install the oil control ring assembly.
a. Install the expander.
b. Install the lower oil control ring.
c. Install the upper oil control ring.
CAUTION: Use a piston ring expander in order to install the piston rings. Do not expand the piston rings any more than necessary.
7. Install the lower compression ring. The mark of the manufacturer must face up.
NOTE: Stagger the piston ring gaps when you install the piston rings. This provides an effective ring-compression seal.
8. Install the upper compression ring. The mark of the manufacturer must face up.
9. Install the oil control ring assembly.
a. Install the expander.
b. Install the lower oil control ring.
c. Install the upper oil control ring.
CAUTION: Use a piston ring expander in order to install the piston rings. Do not expand the piston rings any more than necessary.
10. Install the lower compression ring. The mark of the manufacturer must face up.