Fuel Filter: Service and Repair
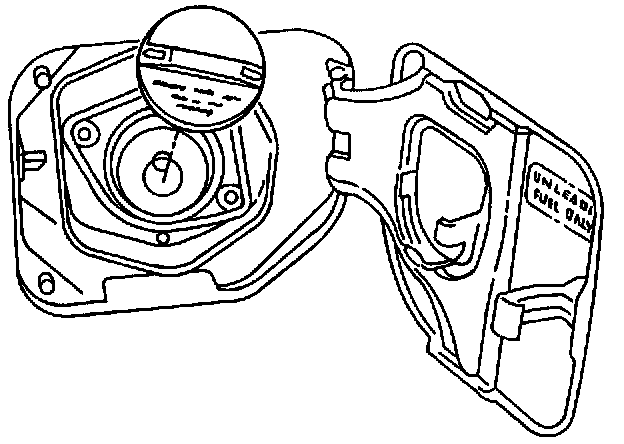
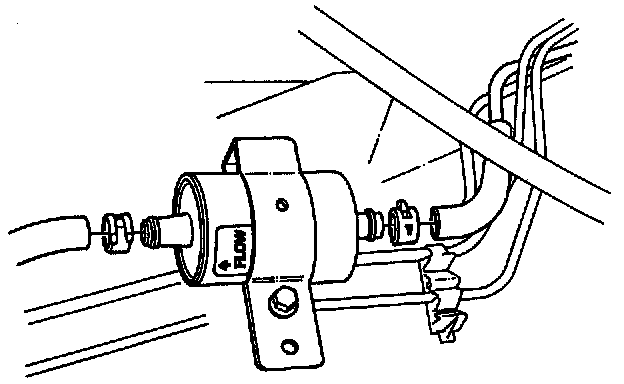
Fuel Filter - Location:
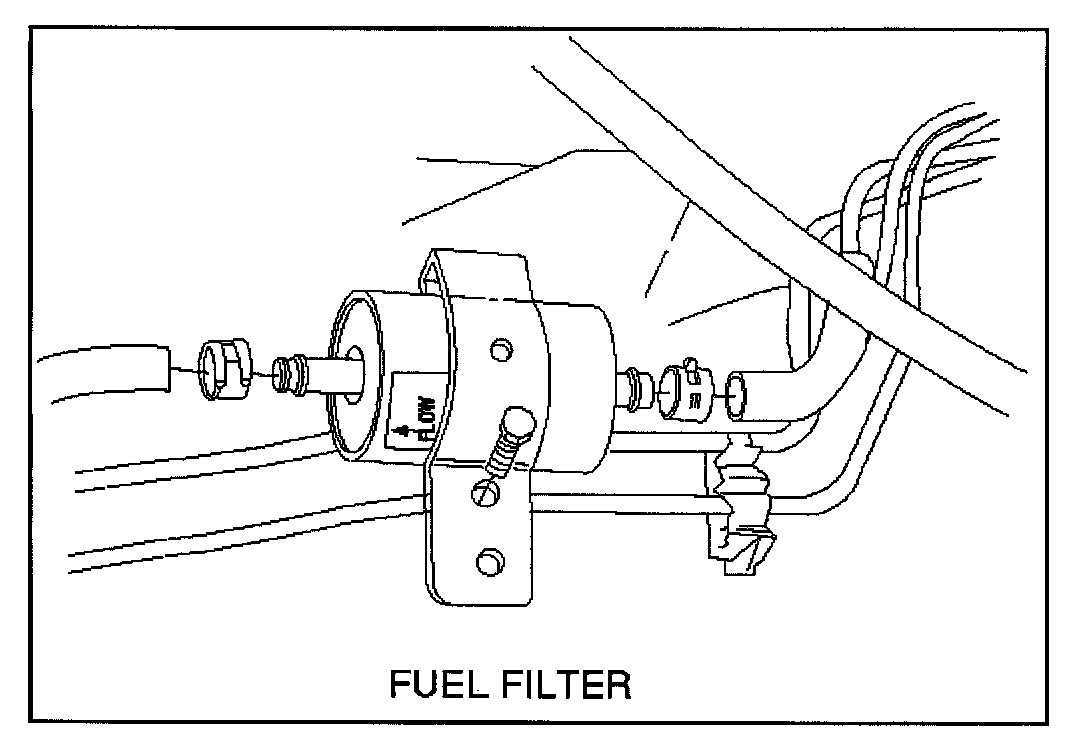
Removal Procedure
1. Disconnect the negative battery cable.
2. Remove the fuel filler cap.
3. Disconnect the fuel line from the fuel filter on the engine side.
4. Disconnect the fuel line from the fuel filter on the fuel tank side.
5. Remove the bolt on the fuel filter holder.
6. Remove the fuel filter.
Inspection Procedure
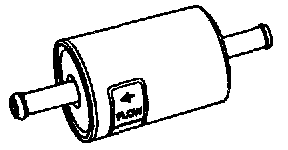
1. Replace the fuel filter when the following occur:
- Fuel leaks from the fuel filter body
- The fuel filter body is damaged
- The fuel filter is clogged with dirt or sediment
2. If the drain hole is clogged with dust, clean the drain hole with air.
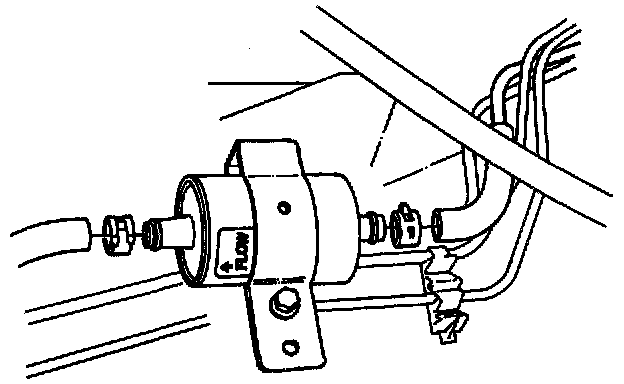
Installation Procedure
1. Install the fuel filter in the correct direction.
2. Install the bolt on the fuel filter holder.
3. Connect the fuel line on the engine side.
4. Connect the fuel line on the fuel tank side.
5. Install the fuel filler cap.
6. Connect the negative battery cable.
Inspection
After installation, start engine and check for fuel leakage.
In-Tank Fuel Filter
The filter is located on the lower end of fuel pickup tube in the fuel tank. It prevents dirt from entering the fuel pipe and also stops water unless the filter is completely submerged in the water. It is a self-cleaning type, not requiring scheduled maintenance. Excess water and sediment in the tank restricts fuel supply to the engine, resulting in engine stoppage. In such a case, the tank must be cleaned thoroughly.