Front Engine Plate: Service and Repair
Vehicle Damage WarningsREMOVAL PROCEDURECAUTION: Refer to Battery Disconnect Caution in Service Precautions. Vehicle Damage Warnings

1. Disconnect the battery negative cable.
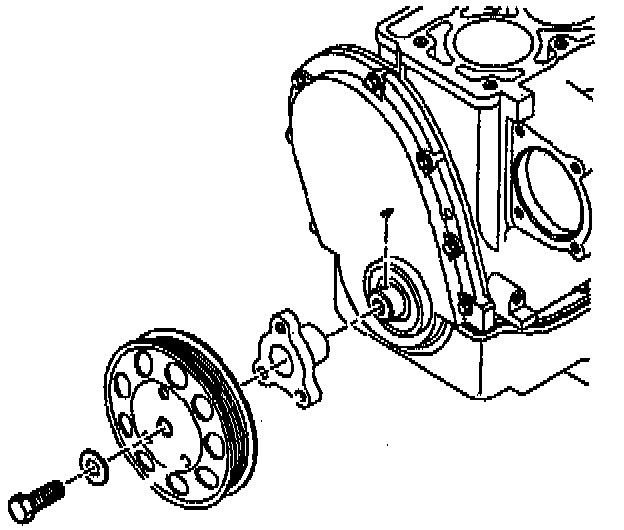
2. Remove the crankshaft pulley. Refer to Crankshaft Balancer and Hub Replacement.
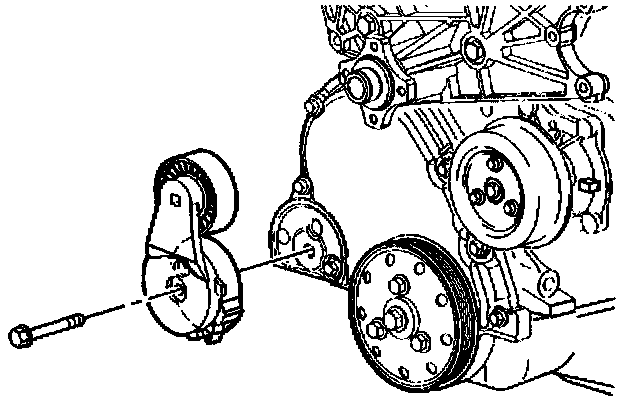
3. Remove the drive belt tensioner. Refer to Drive Belt Tensioner Replacement.
4. Remove the two nuts at the front of the oil pan.
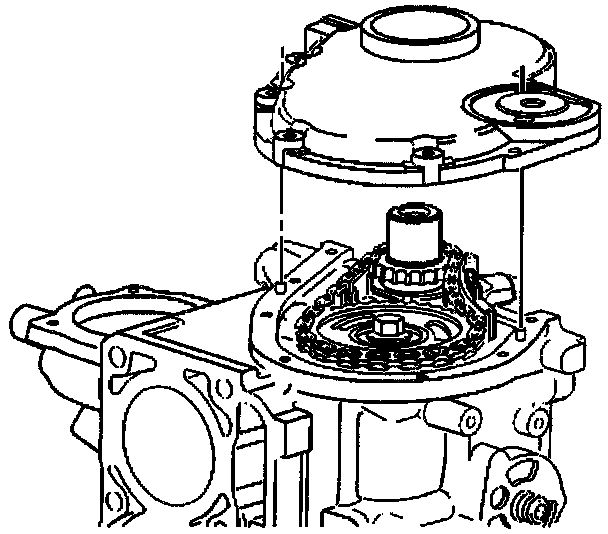
5. Remove the studs holding the engine front cover to the oil pan.
6. Remove the engine front cover.
IMPORTANT: Inspect the engine front cover for warping or damage. Replace if needed.
7. Clean all sealing surfaces.
INSTALLATION PROCEDURE
Tools Required
J 35468 Oil Seal Installer.

1. Install the crankshaft front oil seal using the following procedure.
1.1. Lubricate the seal lips with engine oil.
1.2. Use the J 35468 and a hammer in order to install the seal.
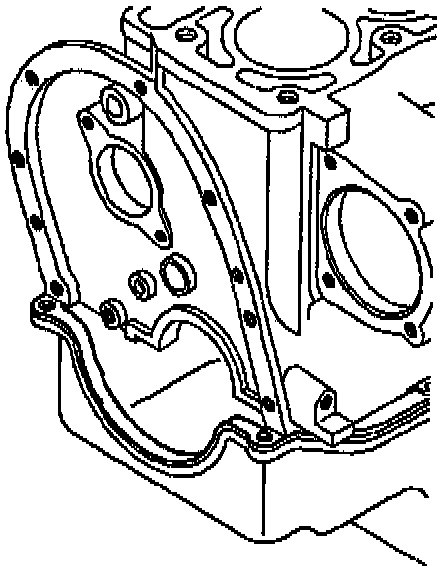
2. Apply a 10 mm (3/8 inch) wide, by 5 mm (3/16 inch) thick bead of RTV to the oil pan to the place where the oil pan and the engine front cover meet.
3. Install the engine front cover over the cowl pins in the engine block.
NOTICE: Refer to Fastener Notice in Service Precautions. Vehicle Damage Warnings
Install the engine front cover bolts.
Tighten
Tighten the engine front cover bolts to 10 Nm (89 inch lbs.).
5. Install the studs in the engine front cover.
6. Install the nuts on the studs.
Tighten
Tighten the oil pan nuts to 10 Nm (89 inch lbs.).

7. Install the crankshaft balancer hub and the crankshaft pulley. Refer to Crankshaft Balancer and Hub Replacement.
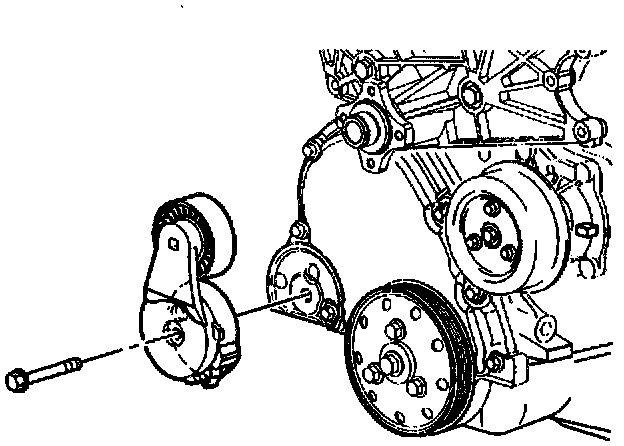
8. Install the drive belt tensioner. Refer to Drive Belt Tensioner Replacement.
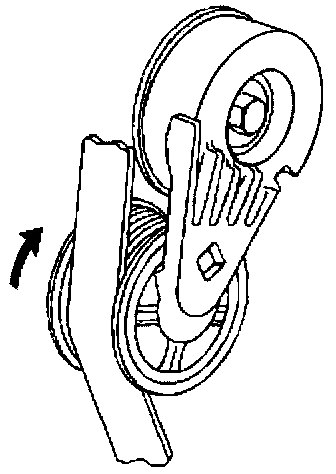
9. Install the drive belt. Refer to Drive Belt Replacement.
10. Connect the battery negative cable.