Headliner: Service and Repair
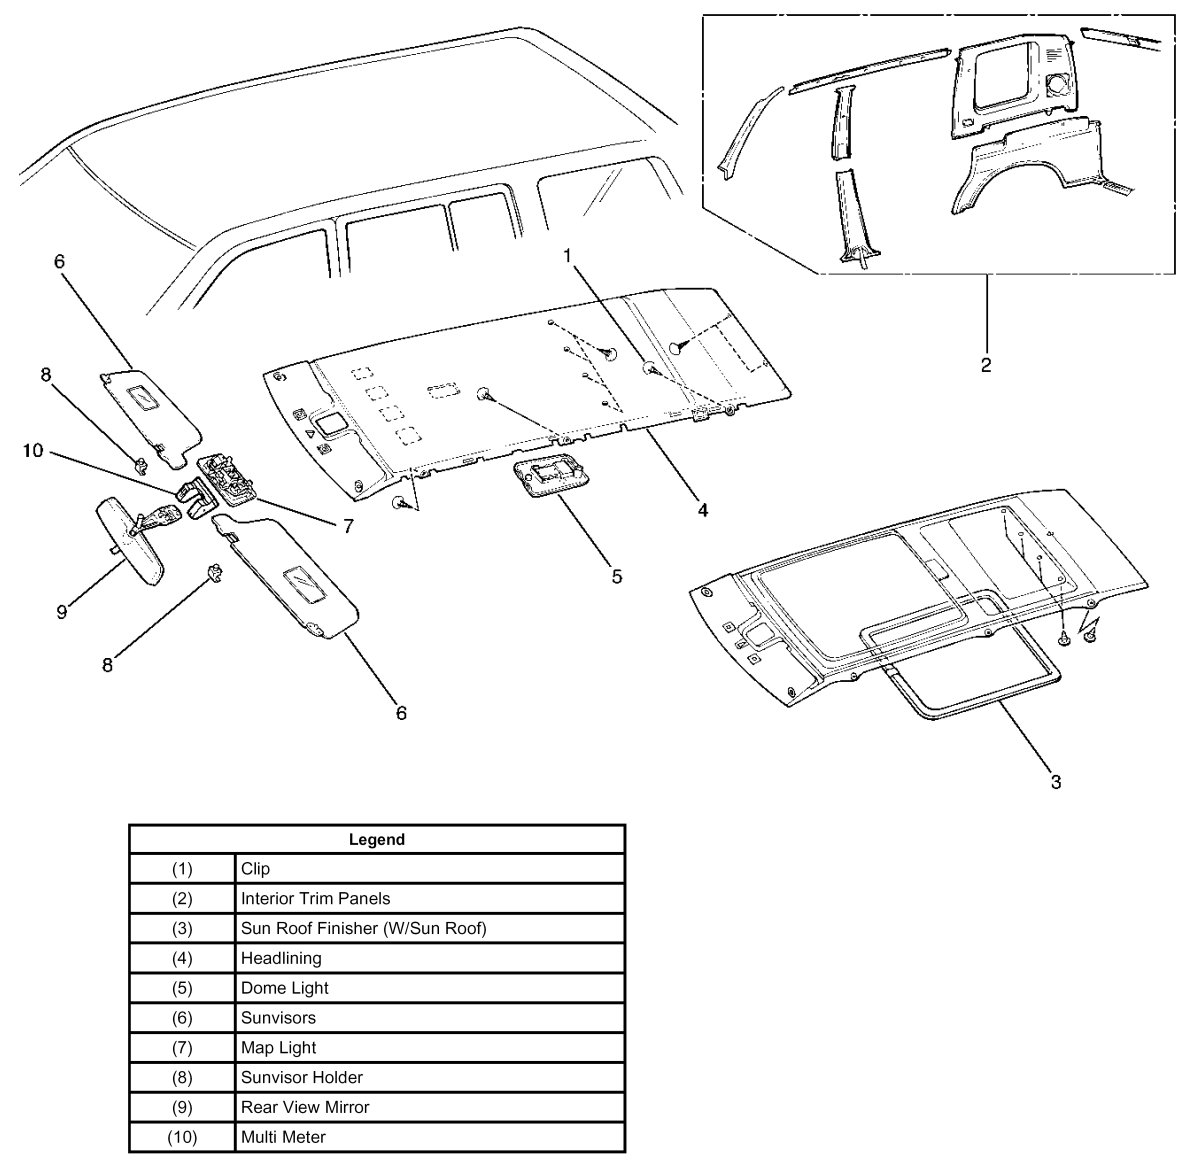
HeadliningParts Location:
Removal
1. Disconnect the battery ground cable.
2. Remove interior trim panels.
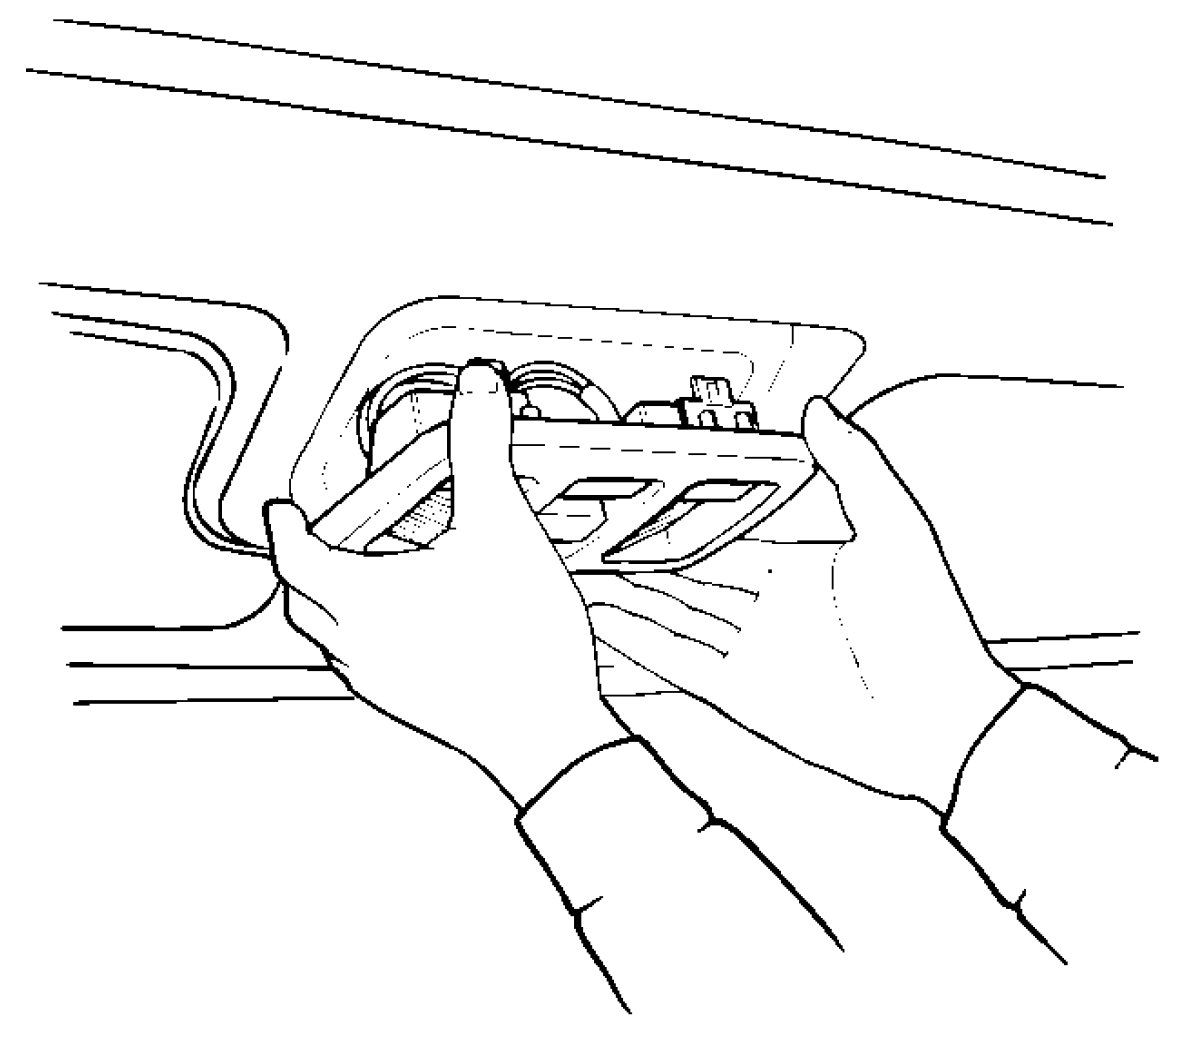
3. Remove dome light.
- Remove the dome light lens and the fixing screws.
- Disconnect the dome light connectors.
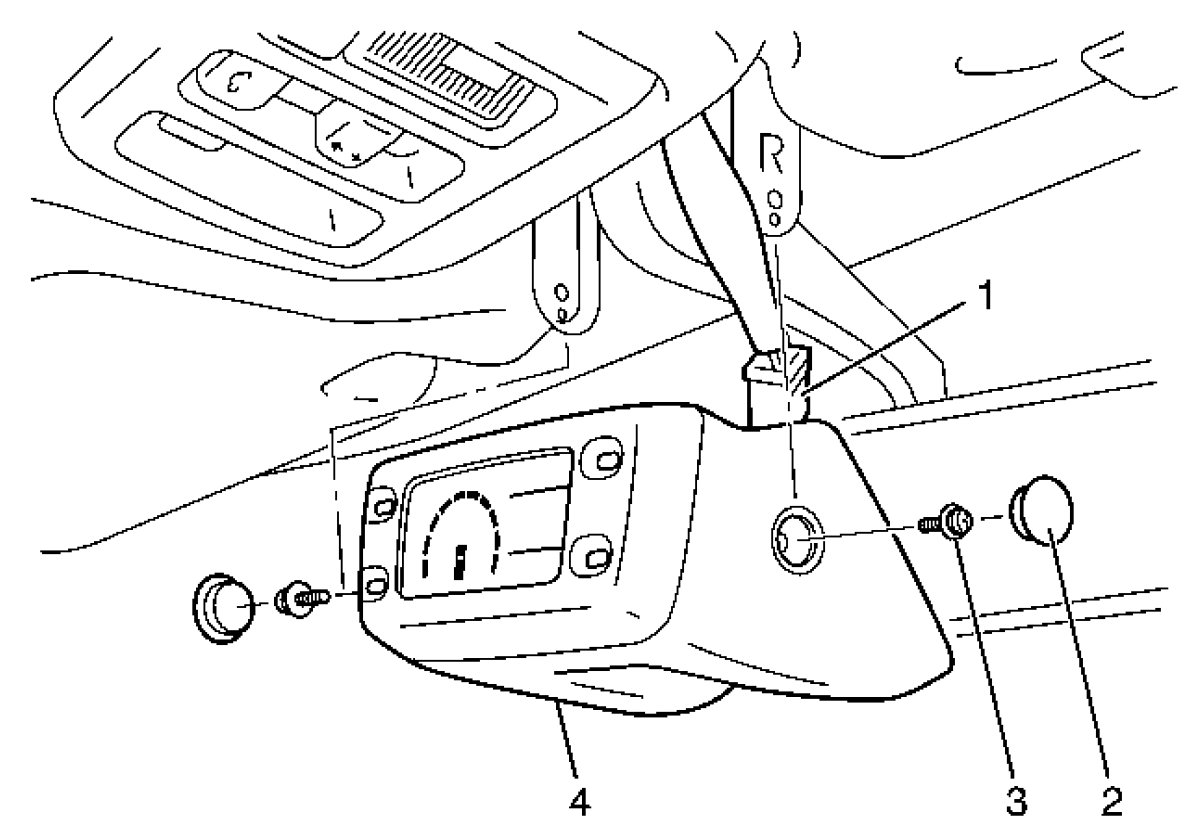
4. Remove multi meter (4).
- Remove two caps (2), two screws (3) and disconnect the connector (1).
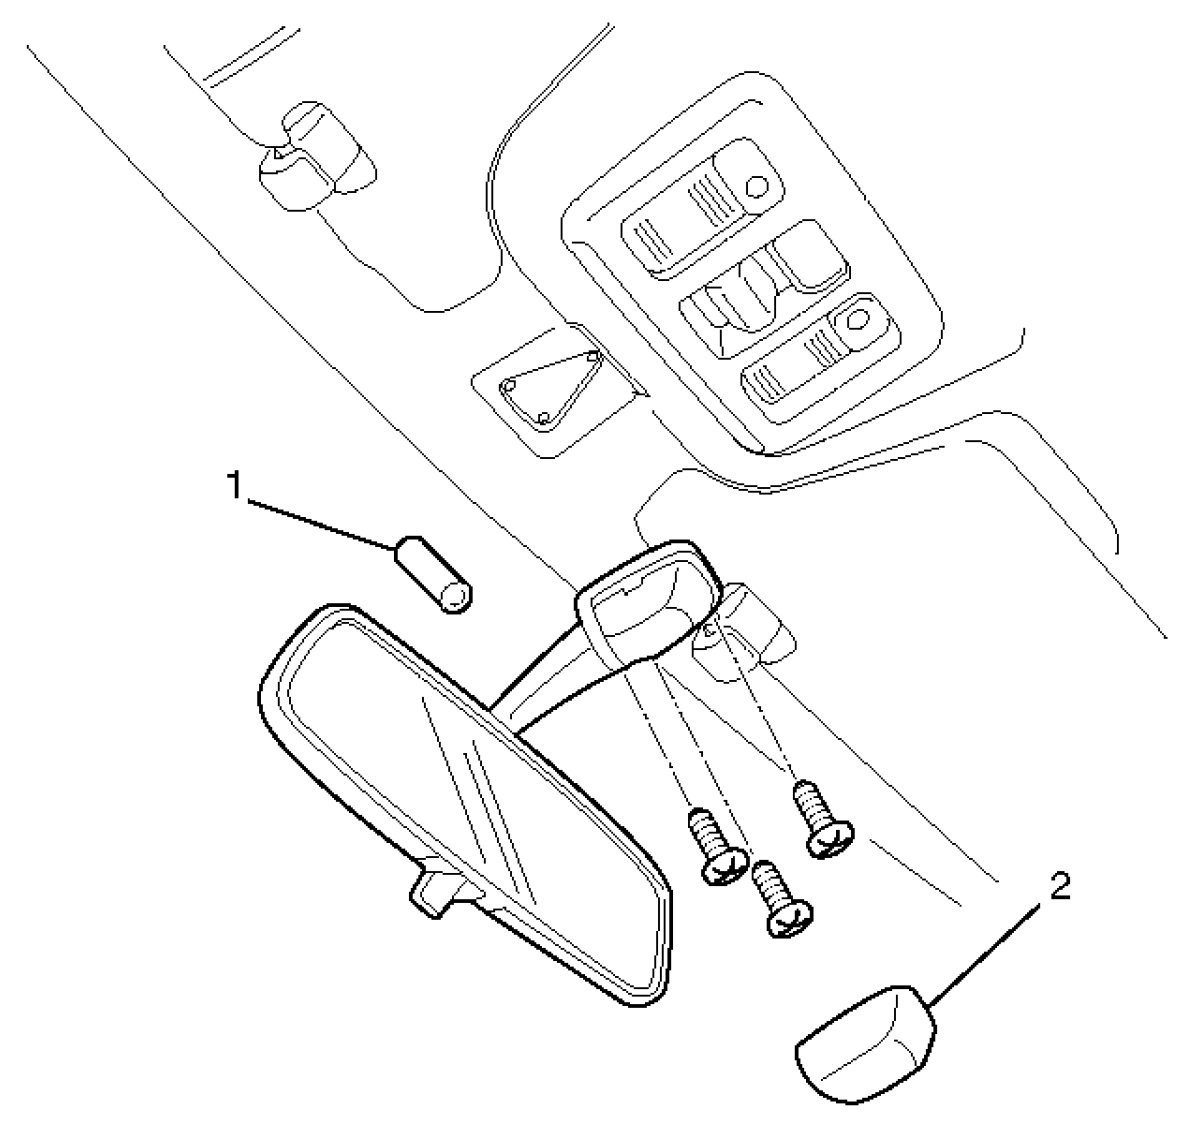
5. Remove rear view mirror.
- Remove the rubber stopper (1).
- Pry off the mirror stay cover (2) and remove 3 screws.
6. Remove map light/sun roof switch.
- Pry the map light clip free from the map light/sun roof switch bracket and disconnect the connector.
7. Remove sunvisors.
- Remove the fixing screw and turn the sunvisor holder (1) to remove it.
- Disconnect the vanity mirror illumination connector.

8. Remove sun roof finisher (W/Sun roof).
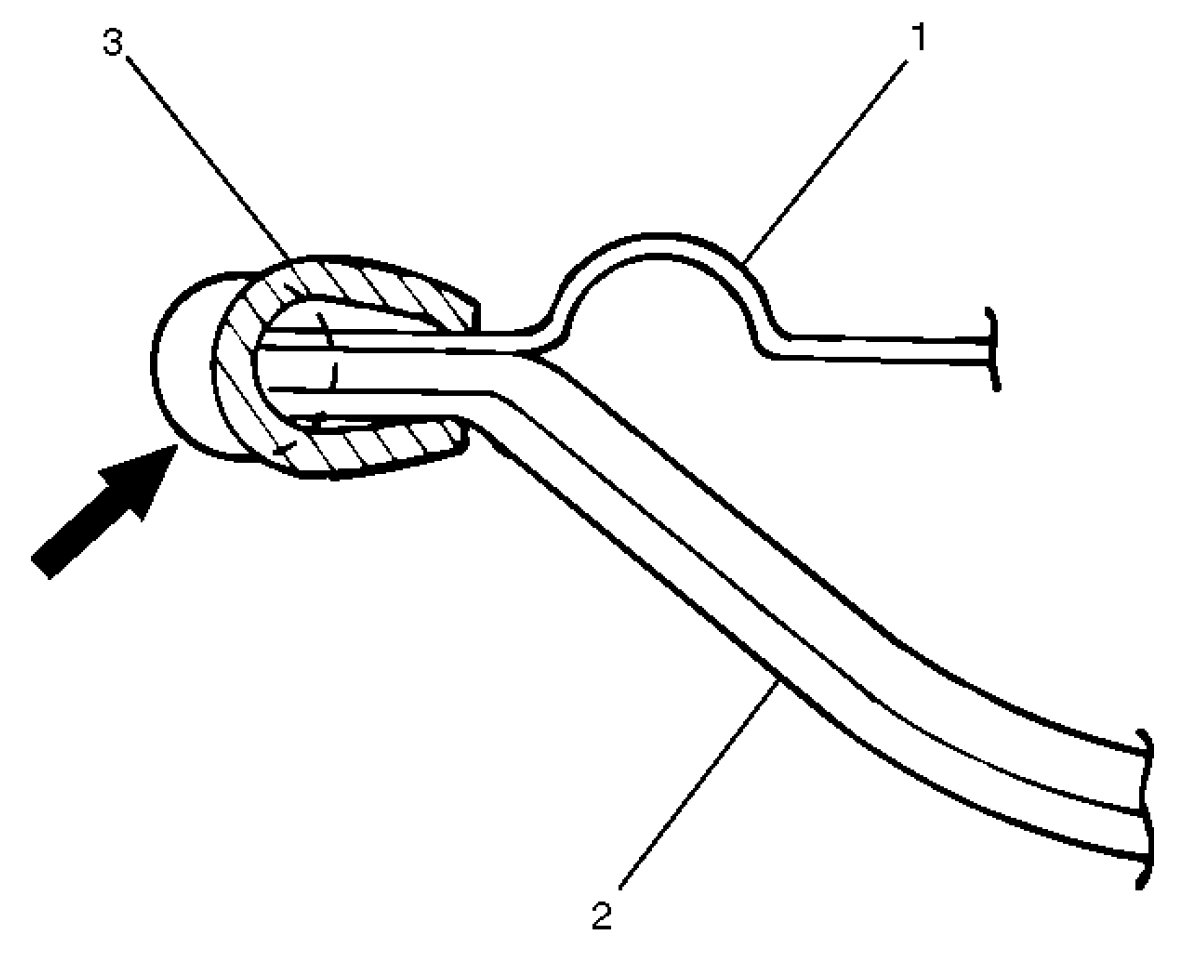
9. Remove headlining.
- Remove the headlining fixing clips.
Installation
To install, follow the removal steps in the reverse order, noting the following points.
1. Install the headlining so that the fixing clips will not come off.
2. To install the sun roof finisher (3), first fit in at one place with the head lining (2) close to the sun roof frame complete (1), then install the entire finisher tightly by hitting it with a plastic hammer, not allowing it to move up.