Air Cleaner Element
Air Cleaner Element ReplacementRemoval Procedure
Important: The fender to radiator support rod will be removed as part of the radiator support cover.
1. Remove the radiator support cover.
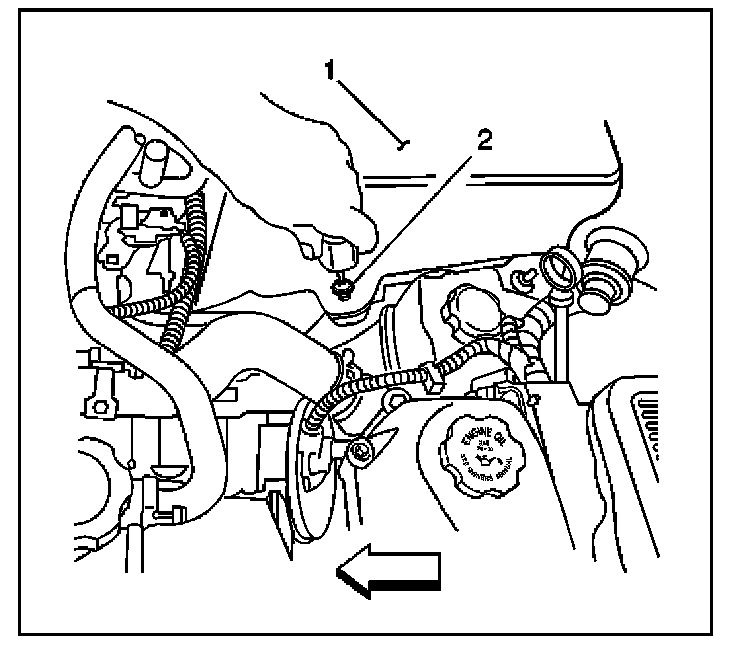
2. Loosen the three air cleaner cover/resonator retaining screws (2) one shown, and remove the cover/resonator.
3. Remove the air cleaner element (1) by grasping the filter and removing it from the air cleaner outlet duct (2) with a twisting and pulling motion.
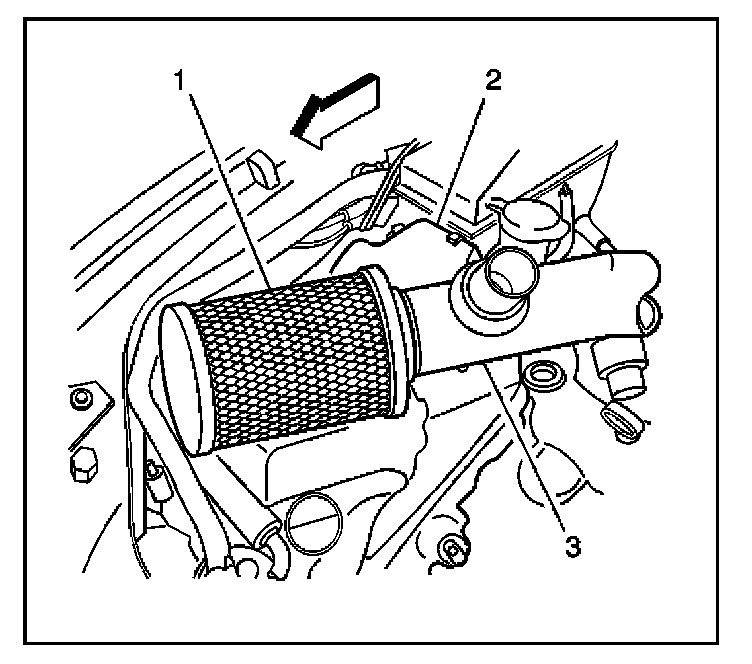
4. Inspect the entire assembly for debris or damage and repair as necessary.
Installation Procedure
1. Install the air cleaner element (1) onto the air cleaner outlet duct (2) with a twisting and pushing motion.
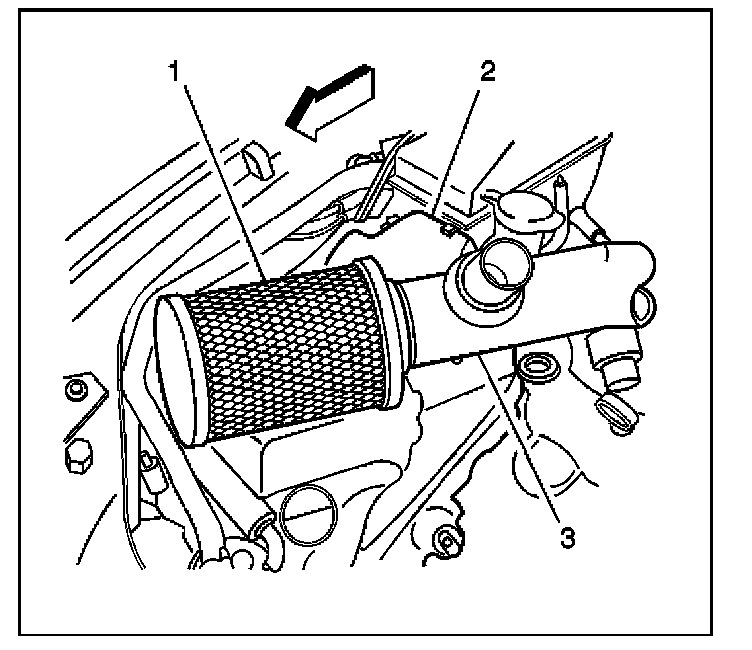
2. Snap the air cleaner element and air cleaner outlet duct into the lower air cleaner housing/washer solvent tank assembly.
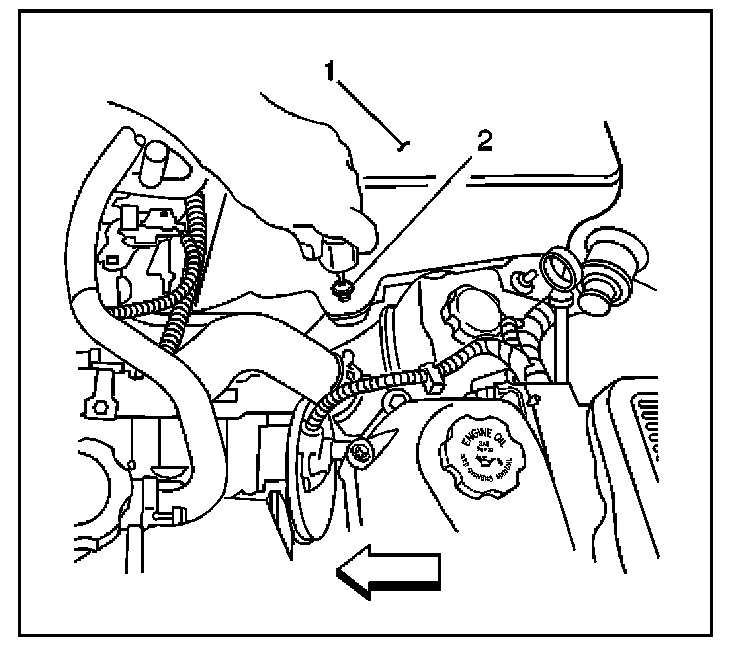
3. Install the air cleaner cover/resonator assembly (1).
Tighten the three air cleaner cover/resonator retaining screws (2) one shown, to ..........................................4 N.m (35 lb in).
4. Install the radiator support cover.