Differential Carrier: Service and Repair
Differential Carrier Assembly ReplacementRemoval Procedure
1. Remove the tire and wheel assembly. .
2. Drain the front differential assembly.
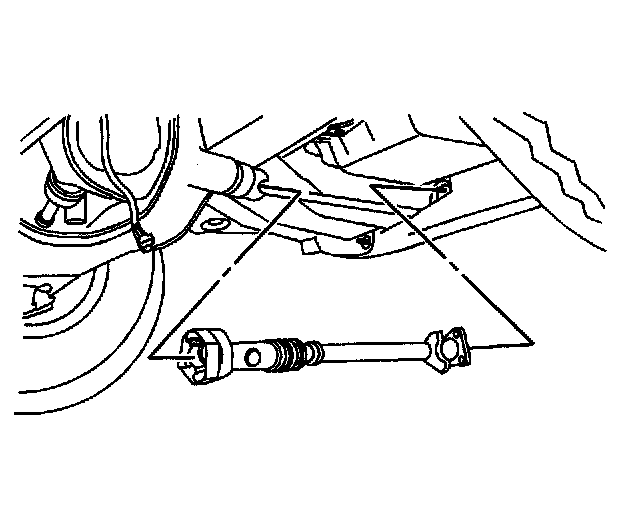
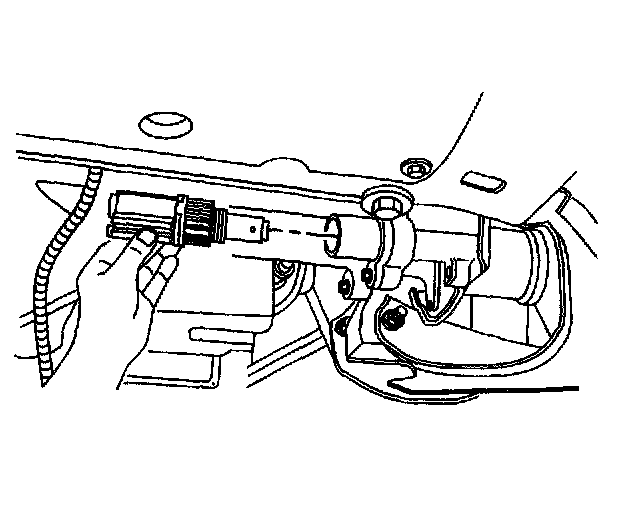
3. Remove the front propeller shaft.
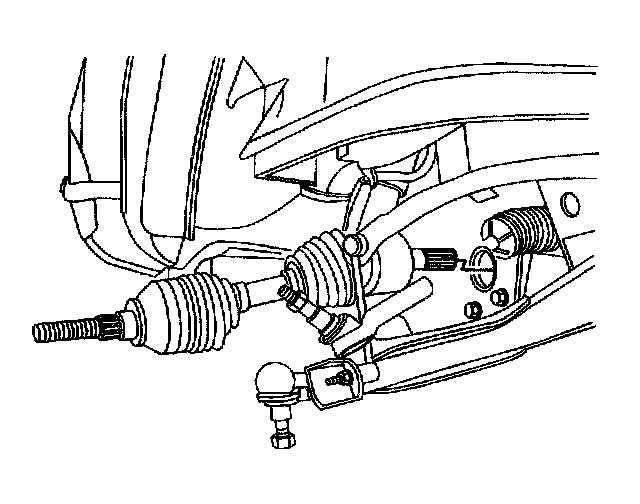
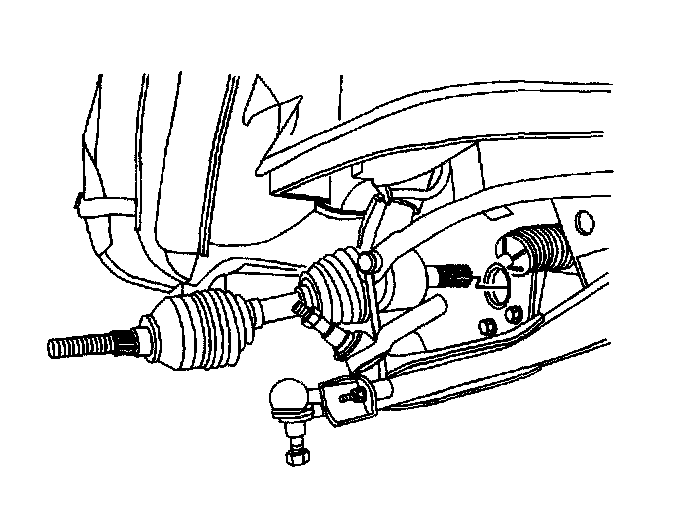
4. Remove the front wheel drive shafts.
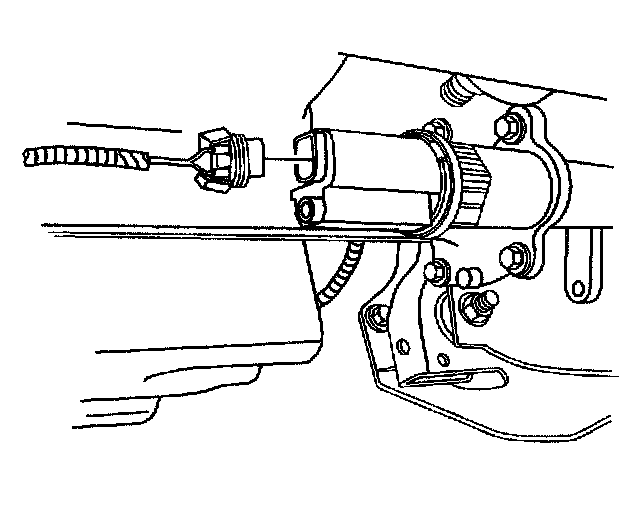
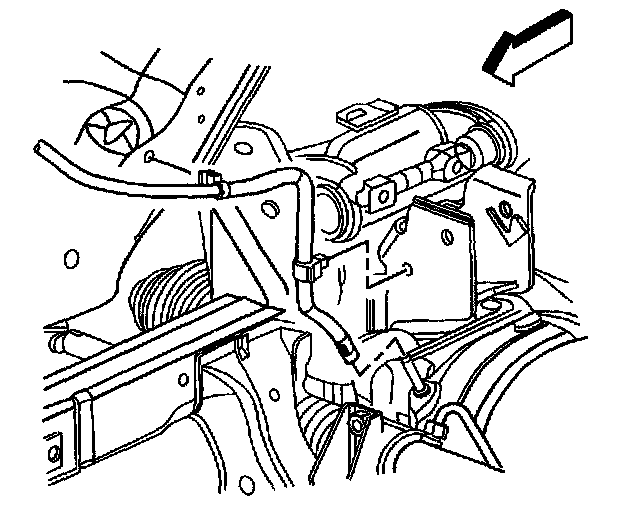
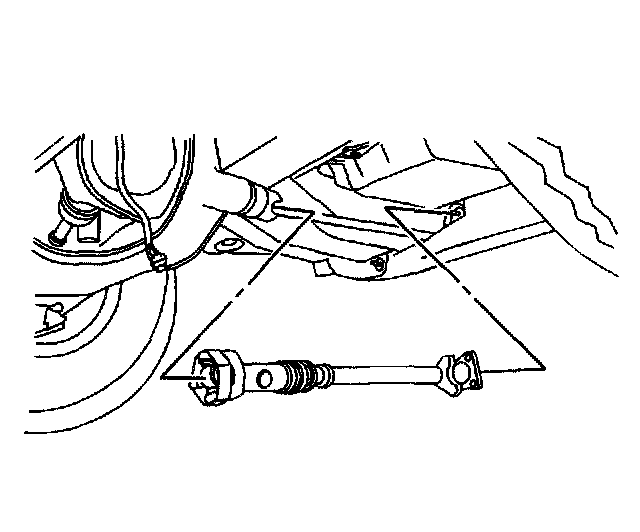
5. Remove the electrical connector for the electric motor actuator.

6. Remove the vent hose.
7. Using a transmission jack stand or equivalent, support the front differential assembly.
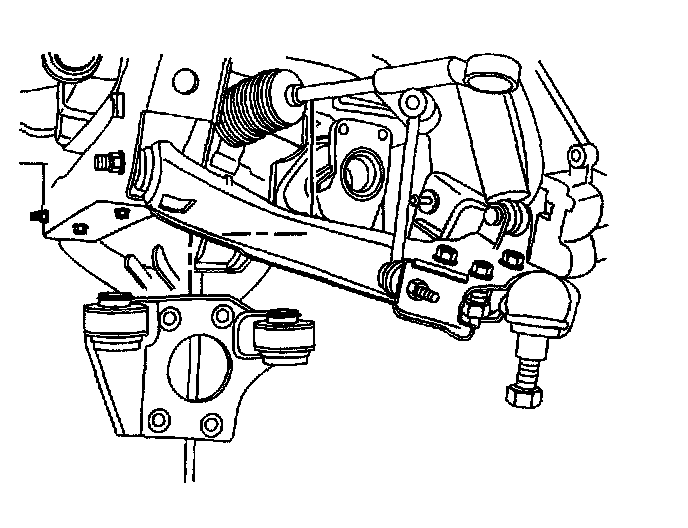
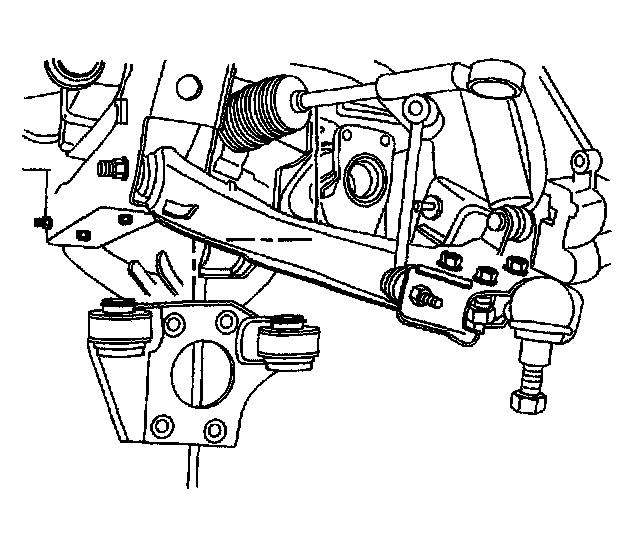
8. Remove the mounting bracket from the vehicle.
9. Remove the front differential assembly from the vehicle.
Installation Procedure
1. Lift the front differential into position.
2. Install the mounting bracket to the differential housing.
3. Install the vent hose.
Notice: Refer to Component Fastener Tightening Notice in Service Precautions.
4. Install the electric motor actuator.
^ Tighten the electric motor actuator to 22 Nm (16 ft. lbs.).
5. Install the electrical connector.
6. Install the front wheel drive shafts.
7. Install the front propeller shaft.
8. Fill the front differential assembly with fluid.
9. Install the front tires and wheels.