Timing Cover: Service and Repair
REMOVAL1. Disconnect the negative cable from the battery.
2. Drain cooling system.
3. Remove the serpentine belt.
4. Remove water pump.
5. Remove power steering pump.
6. Remove vibration damper.
7. Loosen oil pan bolts and remove the front bolt at each side.
8. Remove the cover bolts.
9. Remove chain case cover and gasket using extreme caution to avoid damaging oil pan gasket.
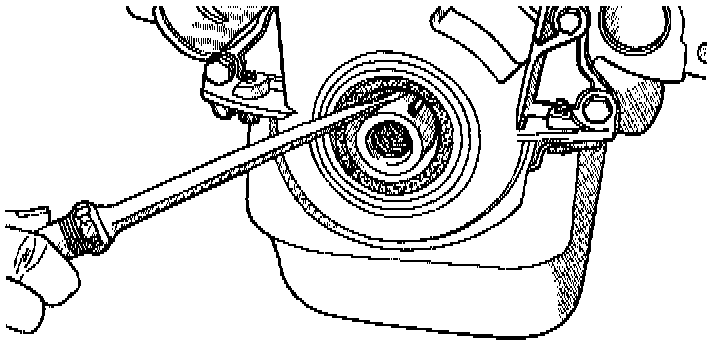
10. Place a suitable tool behind the lips of the oil seal to pry the oil seal outward. Be careful not to damage the crankshaft seal surface of cover.
INSTALLATION
1. Using a new cover gasket, carefully install chain case cover to avoid damaging oil pan gasket. Use a small amount of Mopers Silicone Rubber Adhesive Sealant, or equivalent, at the joint between timing chain cover gasket and the oil pan gasket. Finger tighten the timing chain cover bolts at this time.
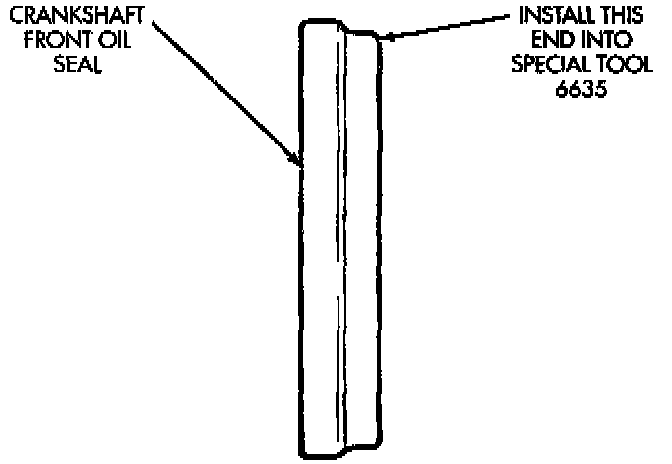
2. Place the smaller diameter of the oil seal over Front Oil Seal Installation Tool 6635. Seat the oil seal in the groove of the tool.
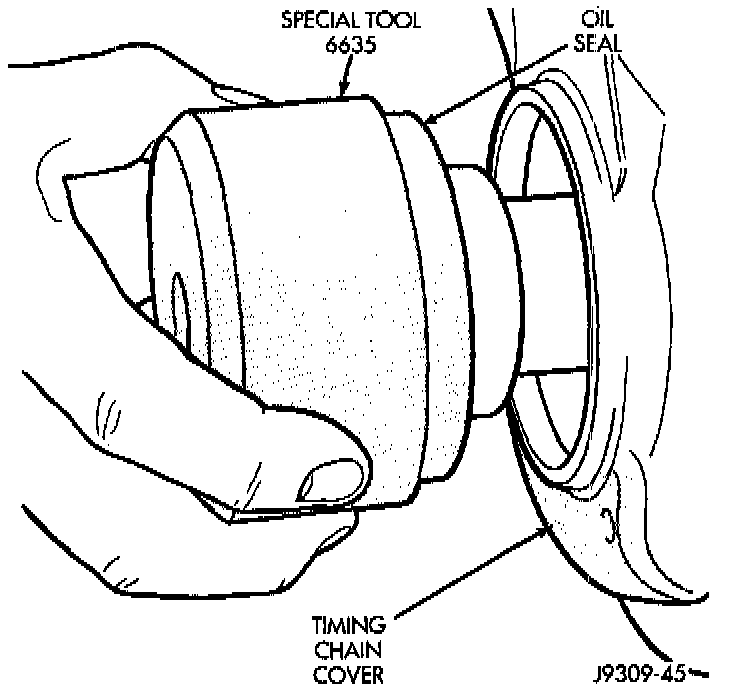
3. Position the seal and tool onto the crankshaft .
4. Tighten the 4 lower chain case cover bolts to 13 Nm (10 ft.lbs.) to prevent the cover from tipping during seal installation.
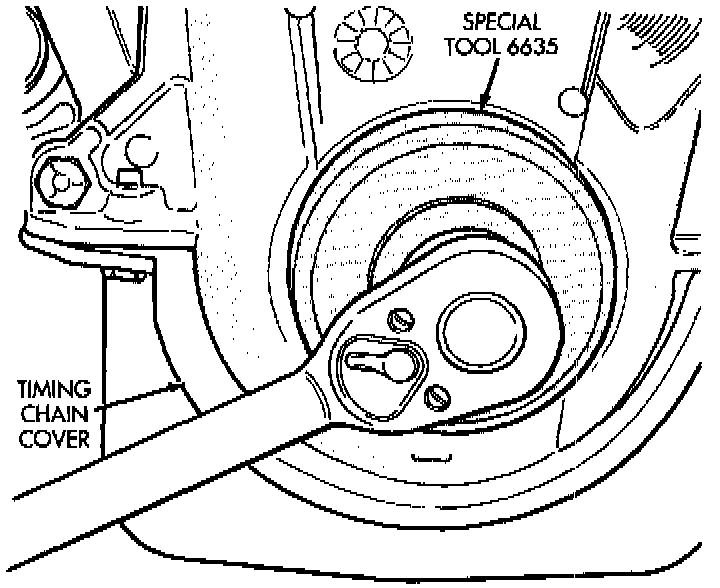
5. Using the vibration damper bolt, tighten the bolt to draw the seal into position on the crankshaft.
6. Loosen the 4 bolts tightened in step 4 to allow realignment of front cover assembly.
7. Tighten chain case cover bolts to 41 Nm (30 ft. lbs.) torque. Tighten oil pan bolts to 24 Nm (215 inch lbs.) torque.
8. Remove the vibration damper bolt and seal installation tool.
9. Install vibration damper.
10. Install water pump and housing assembly using new gaskets. Tighten bolts to 41 Nm (30 ft. lbs.) torque.
11. Install power steering pump.
12. Install the serpentine belt.
13. Install the cooling system fan. Tighten the bolts to 23 Nm (17 ft. lbs.) torque.
14. Position the fan shroud and install the bolts. Tighten the bolts to 11 Nm (95 inch lbs.) torque.
15. Fill cooling system.
16. Connect the negative cable to the battery.