Front Upper Control Arm - Removal
REMOVAL
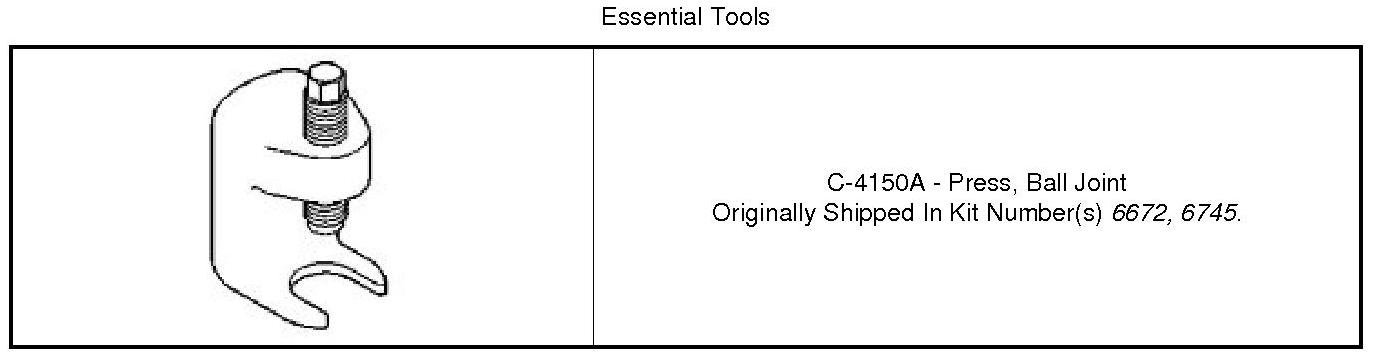
Special Tools:
WARNING: All pressurized air suspension components contain high pressure air (up to 220 psig). Use extreme caution when inspecting for leaks. Wear safety goggles and adequate protective clothing when inspecting or servicing the air suspension system. A sudden release of air under this amount of pressure can cause possible serious or fatal injury.
WARNING: Support the vehicle by supplemental means before performing any work on the air suspension system to prevent the vehicle from changing height. Before any given component is to be serviced it must be deflated. Servicing the air suspension system without supplemental support, or with pressure in the specific component, can cause possible serious or fatal injury.

1. If equipped with air suspension (SER), with a scan tool, using the routines under the ASCM, perform the following:
- Disable the air suspension system.
- Run the Spring Deflate To Reservoir routine on the air suspension spring on the side where the upper control arm is to be removed.
2. Secure the steering wheel in the straight ahead position.
3. If equipped, remove the wiring harness routing clip (2) from the shock mounting stud.
NOTE: Loosen the shock retainer nuts only. The shock must be tilted for removal of the control arm bolts.
4. Loosen the three upper shock mounting nuts (1).
5. Remove the cowl panel cover Cowl Panel Cover - Removal , and the cowl extension silencer Cowl Extension Silencer - Removal.

NOTE: 3.6L shown, others similar.
6. For the left side only, remove the air cleaner housing as follows:
a. Remove the air cleaner.
b. Loosen the fresh air intake clamp (4) and disconnect the hose from housing cover (1).
c. Disconnecting the PCV air return hose and the power steering hose routing clip (not shown) from the air cleaner body.
d. Disconnect the weatherstrip (3) from the housing inlet and reposition.
e. Remove the pushpin (2) and lift the housing from the body grommets to remove.

7. For the left side only, remove the steering intermediate shaft pinch bolt (1), disconnect the coupler (3) and position aside for clearance.

8. For the right side only, remove the two nuts (2) that secure the HVAC air inlet duct (1) to the engine compartment side of the dash panel (3) and remove the duct.

9. Raise and support the vehicle Maintenance.
10. Remove the tire and wheel assembly.
11. If equipped with a height sensor, disconnect the height sensor from the upper control arm ball stud.
12. Remove the speed sensor bolt (2), and remove the sensor from the knuckle.
13. Remove the speed sensor wiring retaining clip from the knuckle.
14. Support the outside of the lower control arm (8) with a suitable holding fixture, and raise to normal ride height.
15. Remove the clevis to lower control arm bolt/nut (6).

16. Remove the upper ball joint retaining nut (4) from the ball joint (2).

17. Separate the upper ball joint (2) from the knuckle (3) using Ball Joint Press (1).

NOTE: It is necessary to pull the bottom of the shock assembly outward just enough to remove the upper control arm flag bolts (1) without completely removing the shock assembly.
18. Remove the nuts and flag bolts (1) securing the upper control arm (5) to the body.
19. Remove the upper control arm (5) from the vehicle.