Repair Procedures
REMOVAL AND INSTALLATION
FRONT PILLAR TRIM
1. Remove cowl side trim.
(1) Remove front door scuff trim.
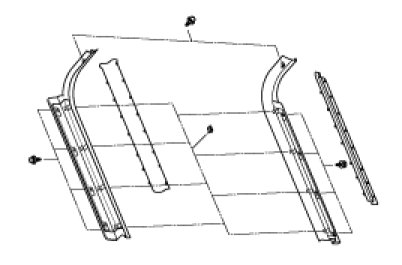
(2) Remove hood latch release lever from cowl side trim.(LH)
(3) Remove cowl side trim screws(2) and nut(1).
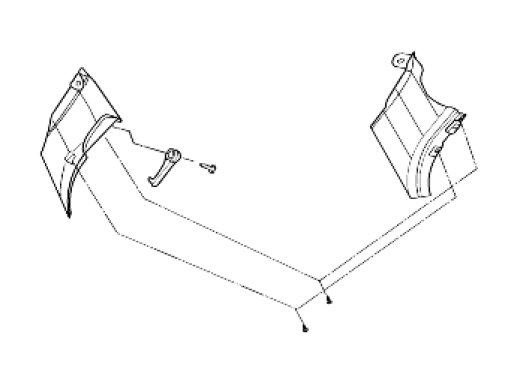
2. Remove front pillar trim.
(1) Remove front door opening weatherstrip.

(2) Remove front pillar trim blanking cover.
(3) Remove front pillar trim screw(1).

3. Install in reverse order of removal.
CENTER PILLAR TRIM
1. Remove center pillar lower trim.
(1) Remove front door scuff trim.
(2) Remove rear door scuff trim.
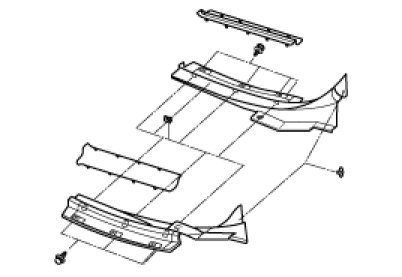
(3) Remove door opening weatherstrip.
(4) Remove center pillar lower trim.
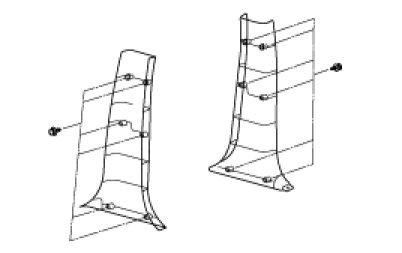
2. Remove center pillar upper trim.
(1) Remove front seat belt upper anchor bolt.
Tightening torque:
40-55Nm (4.0-5.5kg-m, 28.9-39.8lb-ft)
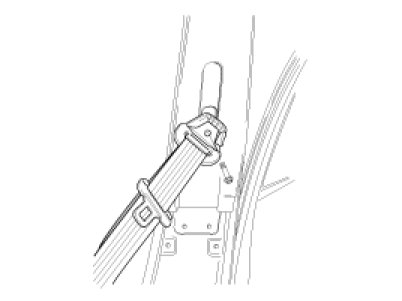
(2) Remove center pillar upper trim blanking cover.
(3) Remove center pillar upper trim screws(2).
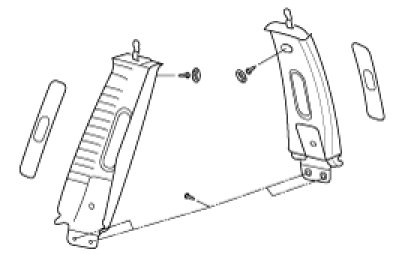
3. Install in reverse order of removal.
REAR PILLAR TRIM
1. Remove rear pillar trim blanking cover.
2. Remove rear pillar trim screw.

3. Install in reverse order of removal.