Repair Procedures
Replacement
Floor Console Replacement
NOTE:
- When prying with a flat-up screwdriver, with protective tape, and apply protective tape around the related parts, to prevent damage.
- Put on gloves to protect your hands.
1. Remove the knob (A).
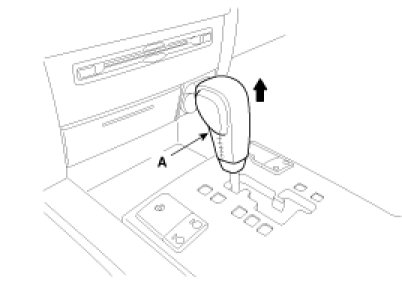
2. Remove the indicator cover (A).
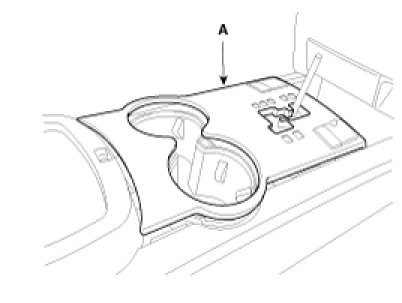
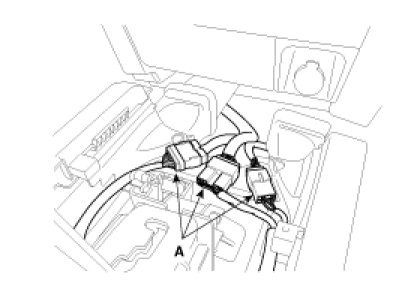
3. Disconnect the connectors (A).
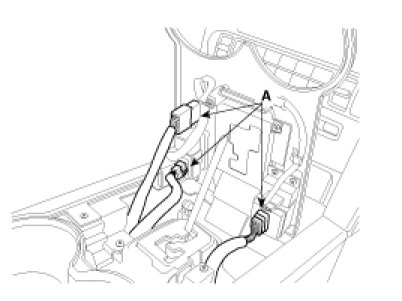
4. After loosening the console mounting screws, remove the console tray (A).
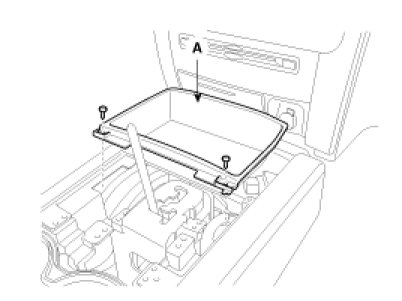
5. Disconnect the connectors (A).
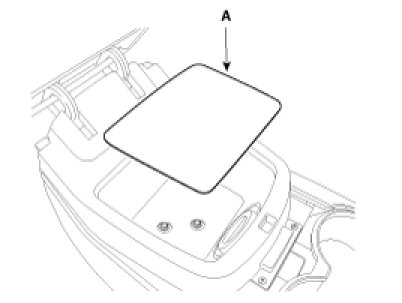
6. Remove the cool box pad (A).
7. Remove the console side cover (A).
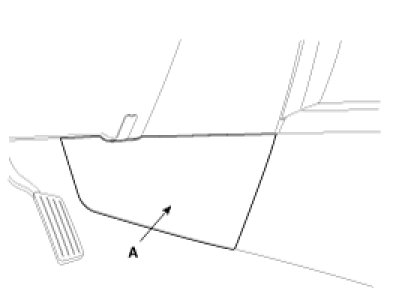
8. Remove the console side cover (A).

9. After loosening the mounting screws, remove the heater console (A).

10. Disconnect the connector (A).
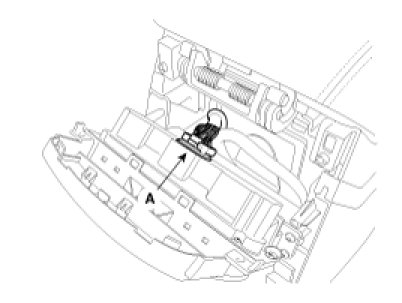
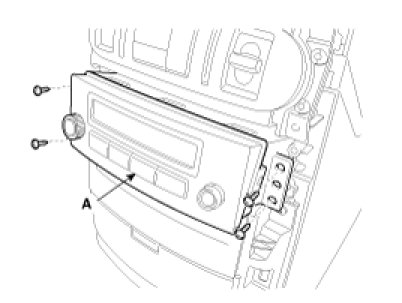
11. After loosening the console mounting screws, remove the audio control unit (A).
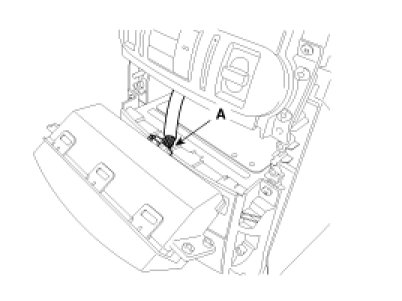
12. Disconnect the connector (A).
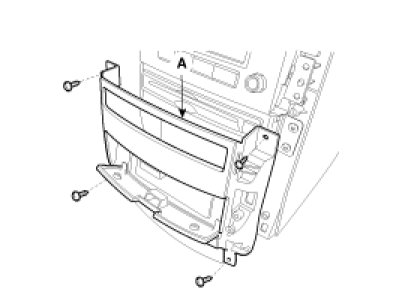
13. After loosening the mounting screws, remove the console rear cover (A).
14. Disconnect the connector (A).
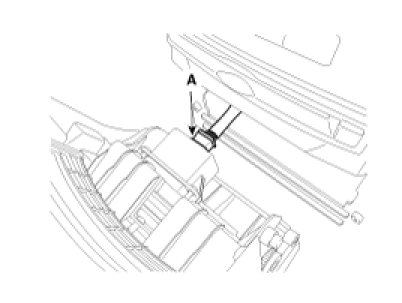
15. After loosening the mounting screws, remove the DVD (A).
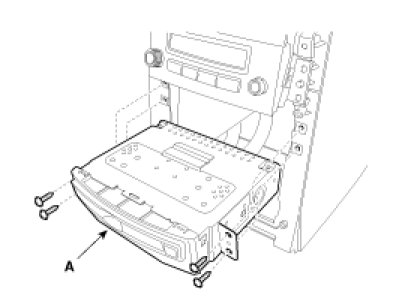
16. Disconnect the connectors (A).
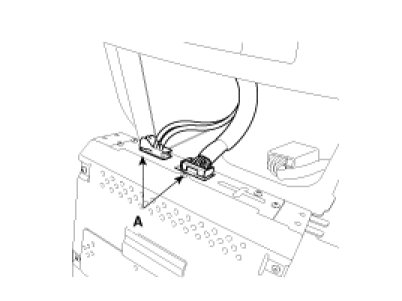
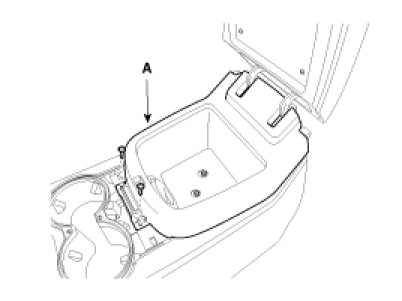
17. Remove the cool box cover (A).
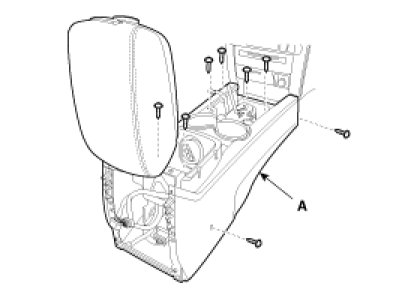
18. After loosening the console mounting screws, remove the floor console assembly (A).
19. Installation is the reverse of removal.
NOTE:
- Make sure the connector are connected in properly.
- Replace any damaged clips.
Console Extenser Cover
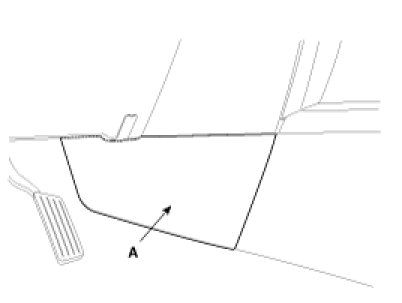
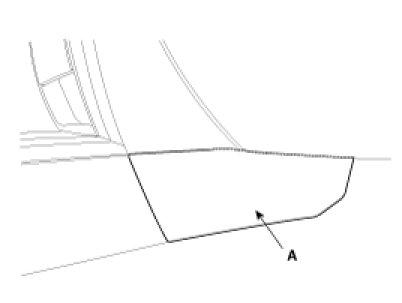
1. Remove the cover (A).
Driver`s
Passenger`s
2. Installation is the reverse of removal.