Evaporative Emission Control Canister: Service and Repair
Removal
1. Turn the ignition switch OFF and disconnect the battery negative (-) cable.
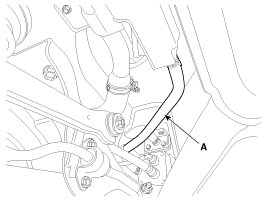
2. Disconnect the ventilation hose (A) from the fuel tank air filter.
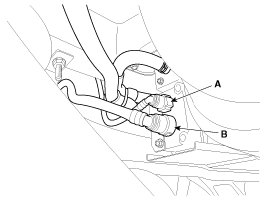
3. Disconnect the vapor tube quick-connector (A) and the quick-connector (B).
4. Remove the rear muffler assembly.
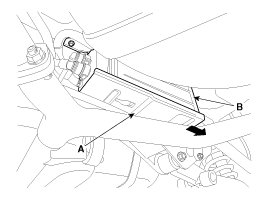
5. Remove the protector cover (A) in the direction of arrow.
6. Remove installation bolts and then remove the canister assembly (B).
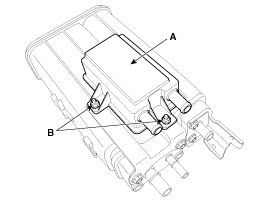
7. Remove the auxiliary canister (A) from the canister after removing a nuts (B).
Inspection
1. Check for the following items visually.
A. Cracks or leakage of the canister
B. Loose connection, distortion, or damage of the vapor hose/tube
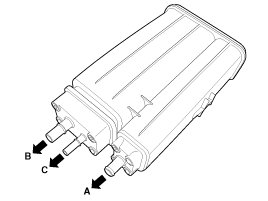
A: Canister - Atmosphere
B: Canister - Fuel Tank
C: Canister - Intake Manifold
Installation
Installation is the reverse of removal.
Canister installation bolt:
3.9 - 5.9 N.m (0.4 - 0.6 kgf.m, 2.9 - 4.3 lb-ft)
Auxiliary canister installation nut:
3.9 - 5.9 N.m (0.4 - 0.6 kgf.m, 2.9 - 4.3 lb-ft)