A/C
Remove1. Remove evaporator.Service and Repair
2. Move passenger seat fully rearward.
3. Position evaporator unit above centre console and seat panel.
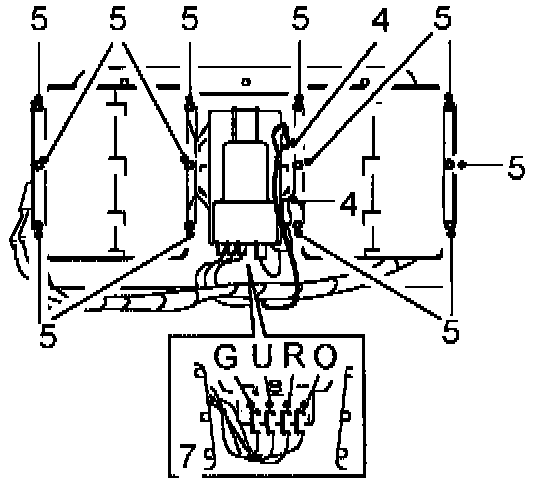
4. Disconnect Lucars (B and 0 wires) from blower motor.
5. Remove screws securing blower units to casing.
6. Release blower unit flanges from casing, sealed with sealant.
7. Disconnect Lucars from resistor unit.
NOTE: Wire positions: G, U and R wires.
8. Remove blower motor unit.
Do not carry out further dismantling if component is removed for access only.
9. Remove screws securing resistor unit to blower motor. Note alignment of resistor unit.
10. Remove resistor unit and bracket.
11. Fit resistor unit to blower motor.
Refit
12. Clean sealant from blower flanges.
13. Apply a bead of Silicone Sealant around each blower flange.
14. Connect Lucars to resistor unit in correct order.
15. Position blower flanges on evaporator casing and secure with screws.
16. Connect Lucars (B and 0 wires) to blower motor.
17. Fit evaporator. Service and Repair
18. Carry out system test. Refer to: Testing and Inspection.