Trunk / Liftgate: Service and Repair
Liftgate
Service Repair No - 76.28.29/99
Removal
1. Remove the LH D-pillar upper trim panel.
2. Release the rear of the headliner.
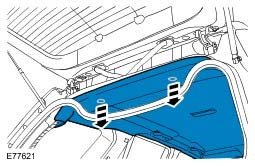
3.
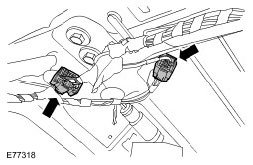
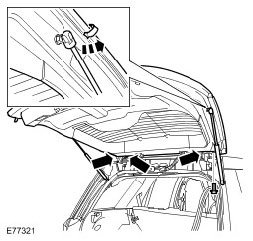
4. Release the liftgate wiring harness.
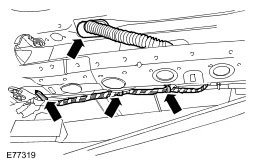
5.
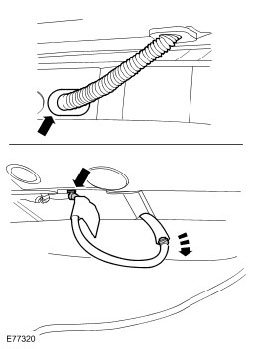
6. WARNING: This step requires the aid of another technician.
CAUTION: Mark the components to aid installation.
Remove the liftgate.
Installation
1. WARNING: This step requires the aid of another technician.
CAUTION: Make sure that the area around the component is clean and free of foreign material.
Install the liftgate.
Torque: 24 Nm
2. Connect the washer jet hose.
3. Attach the liftgate wiring harness.
4. Connect the liftgate wiring harness electrical connectors.
5. With the liftgate closed, check the alignment of the liftgate to the roof panel and bodyside panel. The liftgate should be central in its aperture.
6. Loosen, but do not remove the liftgate hinge bolts.
7. Position the liftgate central to the aperture.
8. Tighten the liftgate hinge bolts.
Torque: 24 Nm
9. Attach the rear of the headliner.
10. Install the LH D-pillar upper trim panel.
11. Check for correct operation of the liftgate, and if necessary adjust the liftgate striker.