Oil Pan: Service and Repair
Oil PanService Repair No - 12.60.44
Removal
1. Remove the cover and disconnect the battery ground cable.
2. WARNING: Do not work on or under a vehicle supported only by a jack. Always support the vehicle on safety stands.
Raise and support the vehicle.
3. Remove the starter motor.
4. WARNING: Be prepared to collect escaping oil.
CAUTION: Discard the seal.
Remove the lubricant drain plug.
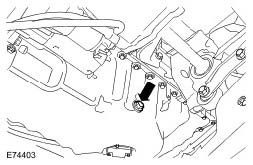
5. Disconnect the oil level sensor electrical connector.
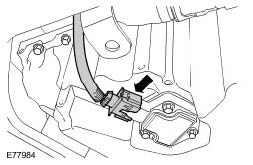
6. Release the coolant rail.
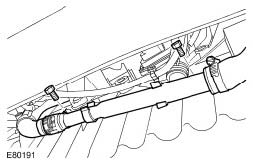
7. Remove the dipstick tube.
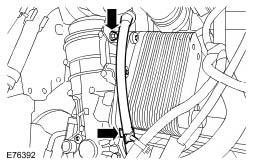
8. Remove the intake manifold lower bolts.
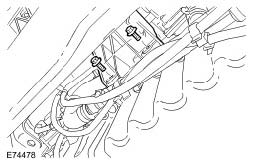
9. Remove the 2 sump to gearbox bolts.
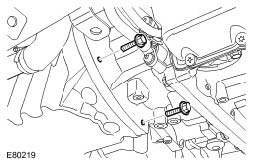
10. Remove the 3 oil pan bolts.
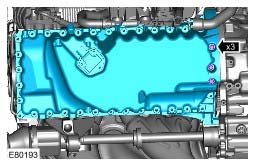
11. Remove the 31 oil pan bolts
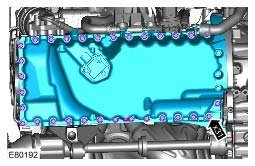
12. Remove the oil pan gasket.
13. NOTE: Do not disassemble further if the component is removed for access only.
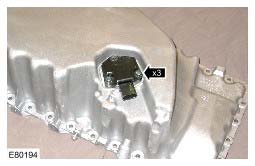
Remove the oil level sensor.
Installation
1. Install the oil level sensor.
Torque:
8 Nm
2. For sealant information, refer to the engine specifications.
3. Apply a bead of sealant, 2.5 mm diameter, to the area indicated.
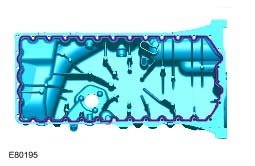
4. Install the oil pan.
Torque:
M7. 17 Nm
M10. 45 Nm
5. Secure the coolant rail.
Torque:
10 Nm
6. Install the intake manifold.
Torque:
10 Nm
7. CAUTION: Make sure that new sealing washers are installed.
Install the lubricant drain plug.
Torque:
38 Nm
8. Fill the engine with oil.
9. Install the starter motor.
10. Check and top-up the engine oil.
11. Connect the battery ground cable and install the cover.
12. Install the dipstick tube.
Torque:
10 Nm