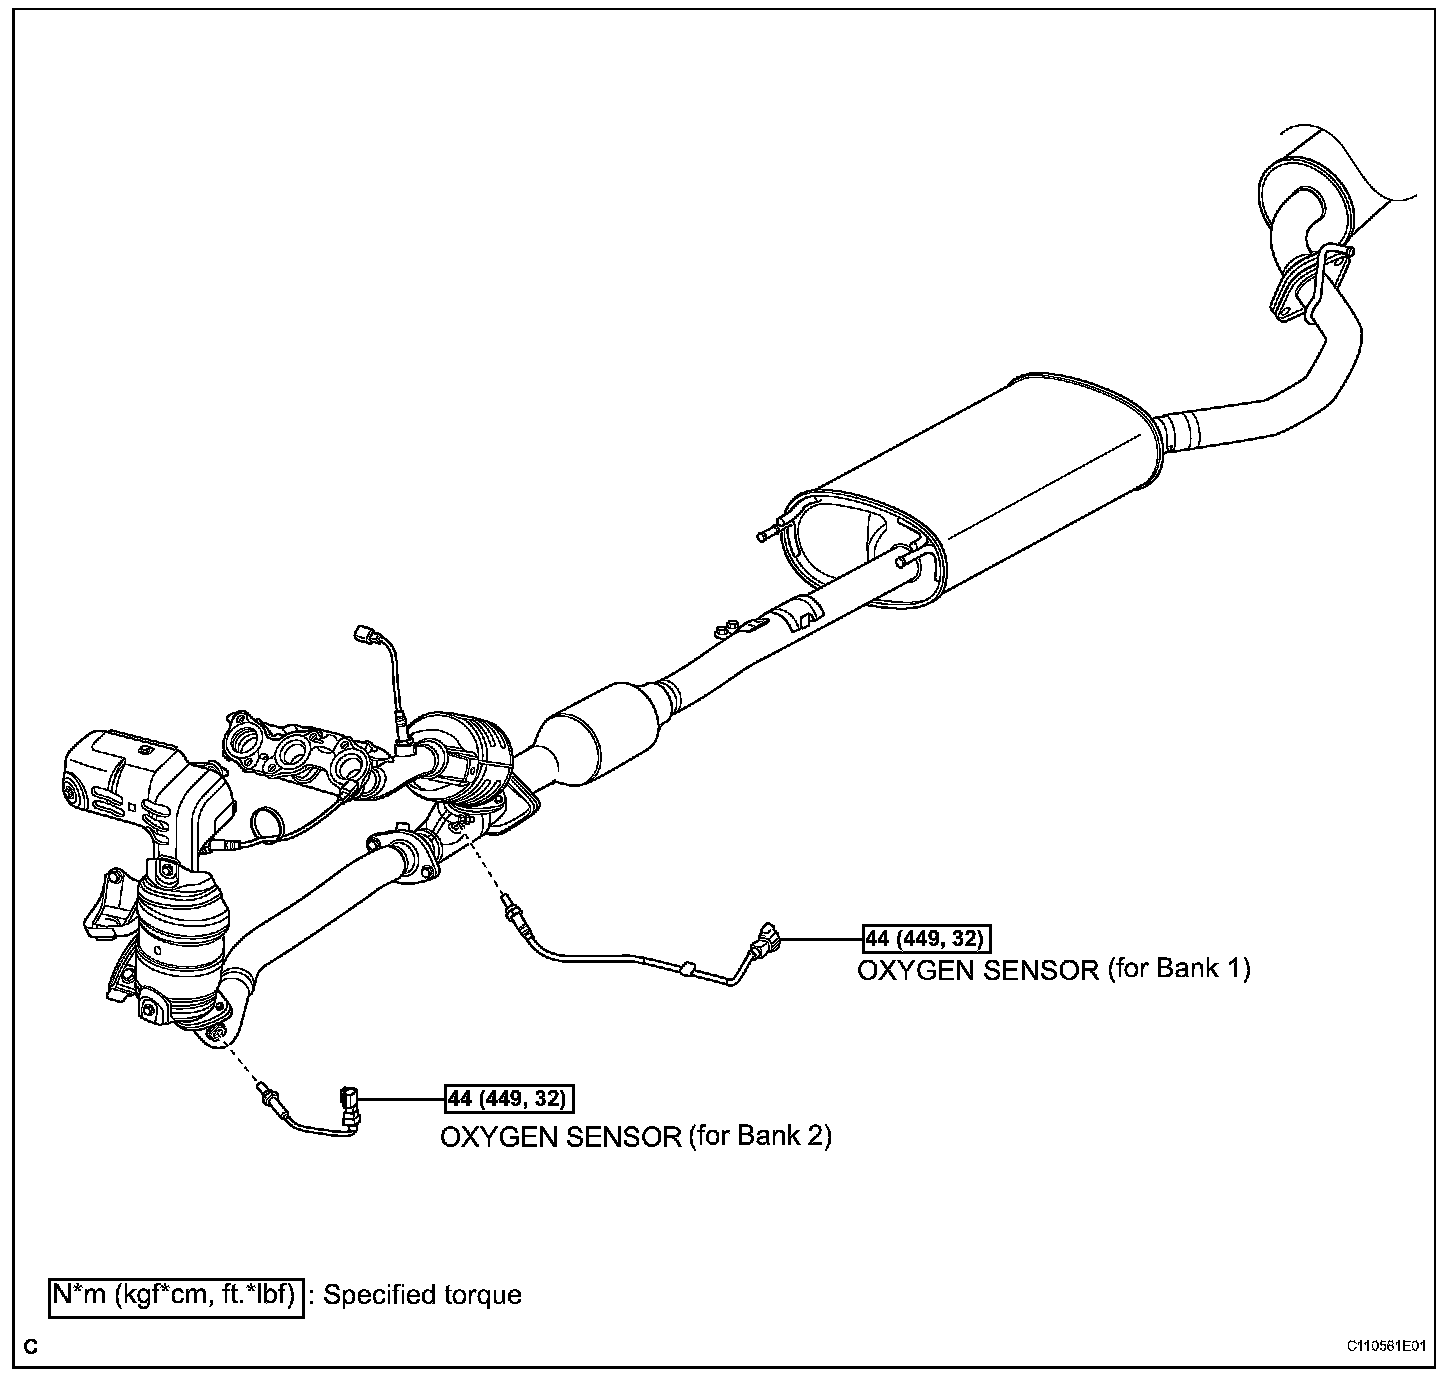
Heated Oxygen Sensor
Heated Oxygen Sensor:
REMOVAL
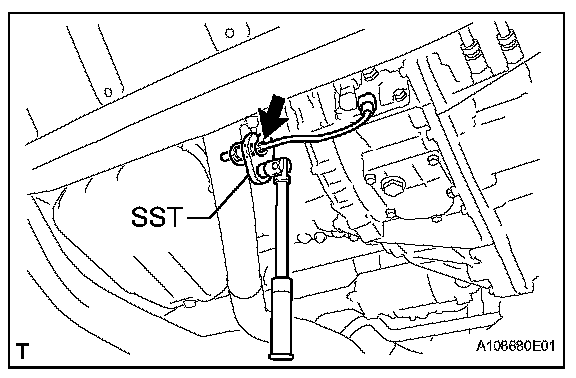
1. REMOVE OXYGEN SENSOR (for Bank 1)
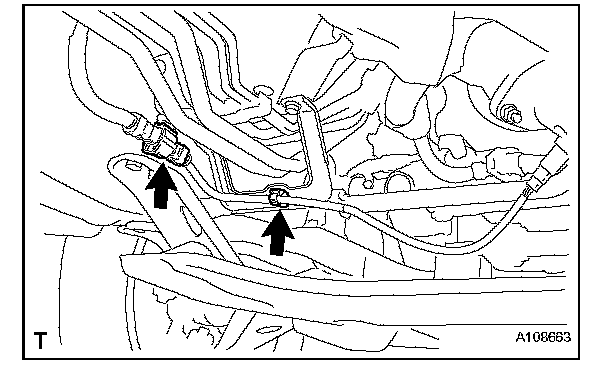
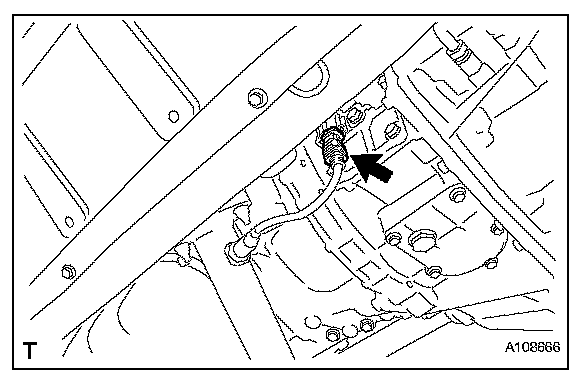
a. Disconnect the oxygen sensor connector and clamp.
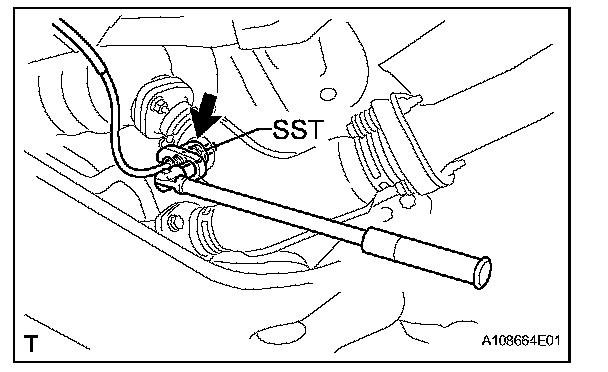
b. Using SST, remove the oxygen sensor from the exhaust pipe assembly front No.3.
SST 09224-00010
NOTE: Do not damage the oxygen sensor.
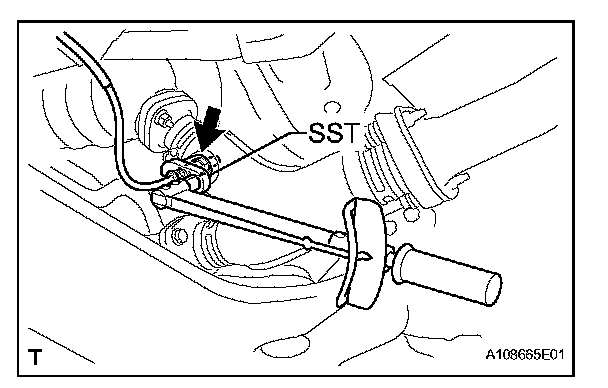
2. REMOVE OXYGEN SENSOR (for Bank 2)
a. Disconnect the oxygen sensor connector.
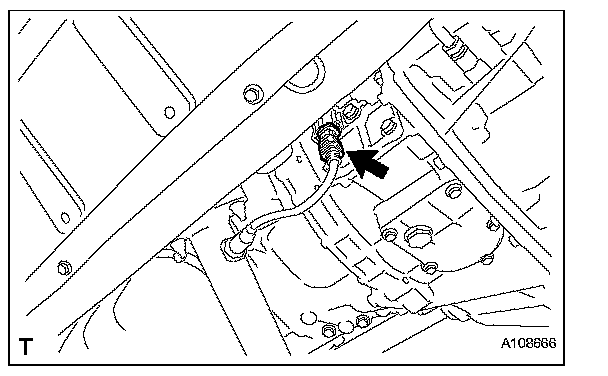
b. Using SST, remove the oxygen sensor from the exhaust pipe assembly front.
SST 09224-00010
NOTE: Do not damage the oxygen sensor.
INSTALLATION
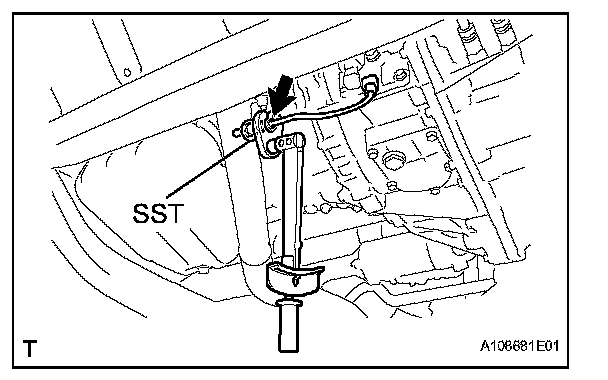
1. INSTALL OXYGEN SENSOR (for Bank 1)
a. Temporarily tighten the oxygen sensor to the exhaust pipe sub-assembly front No.3.
NOTE: Do not damage the oxygen sensor.
b. Using SST, fully tighten the oxygen sensor to the exhaust pipe sub-assembly front No.3.
SST 09224-00010
Torque: 44 N.m (449 kgf.cm, 32 ft.lbf)
c. Connect the oxygen sensor connector and clamp.
2. INSTALL OXYGEN SENSOR (for Bank 2)
a. Temporarily tighten the oxygen sensor to the exhaust pipe sub-assembly front.
NOTE: Do not damage the oxygen sensor.
b. Using SST, fully tighten the oxygen sensor to the exhaust pipe sub-assembly front.
SST 09224-00010
Torque: 44 N.m (449 kgf.cm, 32 ft.lbf)
c. Connect the oxygen sensor connector.