Installation
BRAKE CONTROL / DYNAMIC CONTROL SYSTEMS: REAR SPEED SENSOR: INSTALLATION
1. INSTALL REAR SPEED SENSOR LH
(a) Install the speed sensor with the nut.
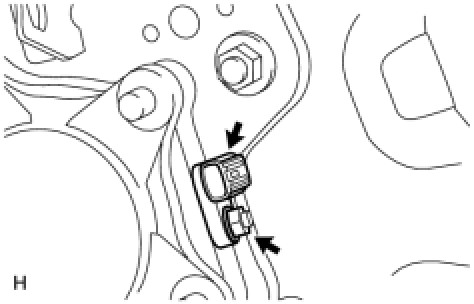
Torque : 8.3 Nm (85 kgf-cm, 73 in-lbf)
NOTICE:
* Make sure there are no pieces of iron or other foreign matter attached to the sensor tip.
* While inserting the speed sensor into the knuckle hole, do not strike or damage the sensor tip.
* After installing the speed sensor, make sure there is no clearance or foreign matter between the sensor stay part and the knuckle.
* Make sure there is no foreign matter attached to the speed sensor rotor.
2. INSTALL REAR SPEED SENSOR RH
(a) Install the speed sensor with the nut.
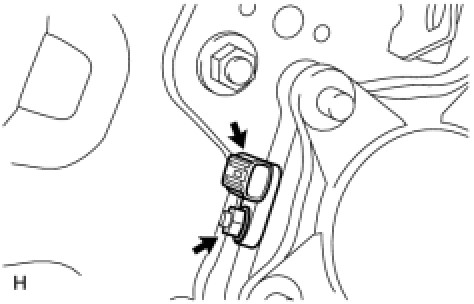
Torque : 8.3 Nm (85 kgf-cm, 73 in-lbf)
NOTICE:
* Make sure there are no pieces of iron or other foreign matter attached to the sensor tip.
* While inserting the speed sensor into the knuckle hole, do not strike or damage the sensor tip.
* After installing the speed sensor, make sure there is no clearance or foreign matter between the sensor stay part and the knuckle.
* Make sure there is no foreign matter attached to the speed sensor rotor.
3. INSTALL SKID CONTROL SENSOR WIRE
(a) Install the sensor clamp with the bolt.
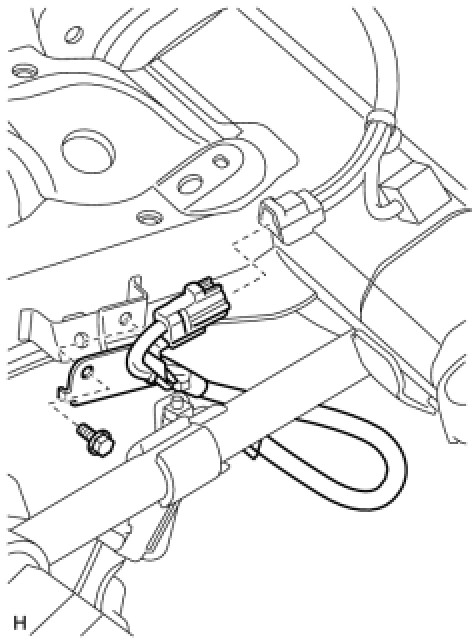
Torque : 13 Nm (127 kgf-cm, 9 ft-lbf)
NOTICE:
Make sure the clamp rotation stopper touches the installation position.
(b) Connect the connector.
NOTICE:
* Securely insert the connector.
* When connecting the connector, do not twist the wire harness.
(c) Install the sensor clamp with the bolt.
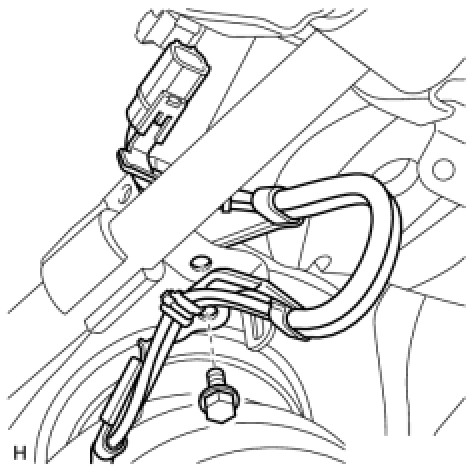
Torque : 13 Nm (127 kgf-cm, 9 ft-lbf)
NOTICE:
Make sure the clamp rotation stopper touches the installation position.
(d) Connect the speed sensor RH connector.
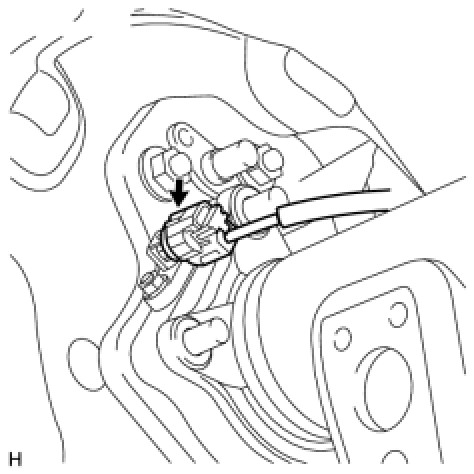
NOTICE:
* Securely connect the connector.
* When connecting the connector, do not twist the wire harness.
(e) Attach the 3 clamps.
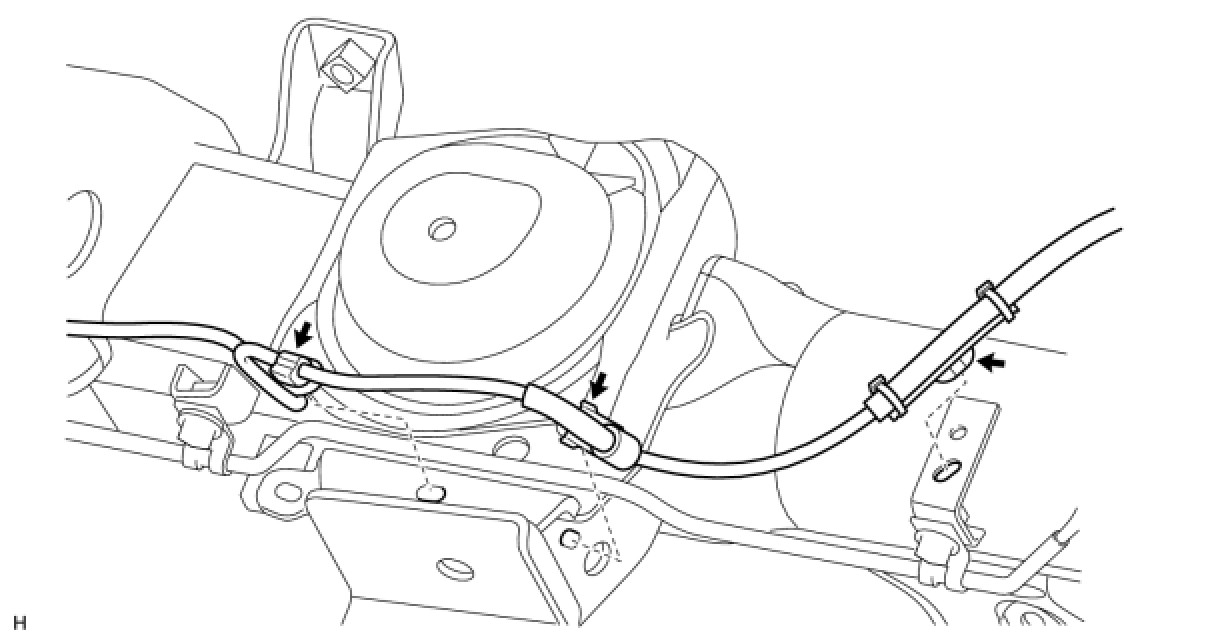
NOTICE:
* When attaching the clamps, do not twist the wire harness.
* When attaching the clamps, securely insert them as shown in the illustration.
(f) Attach the 5 clamps.
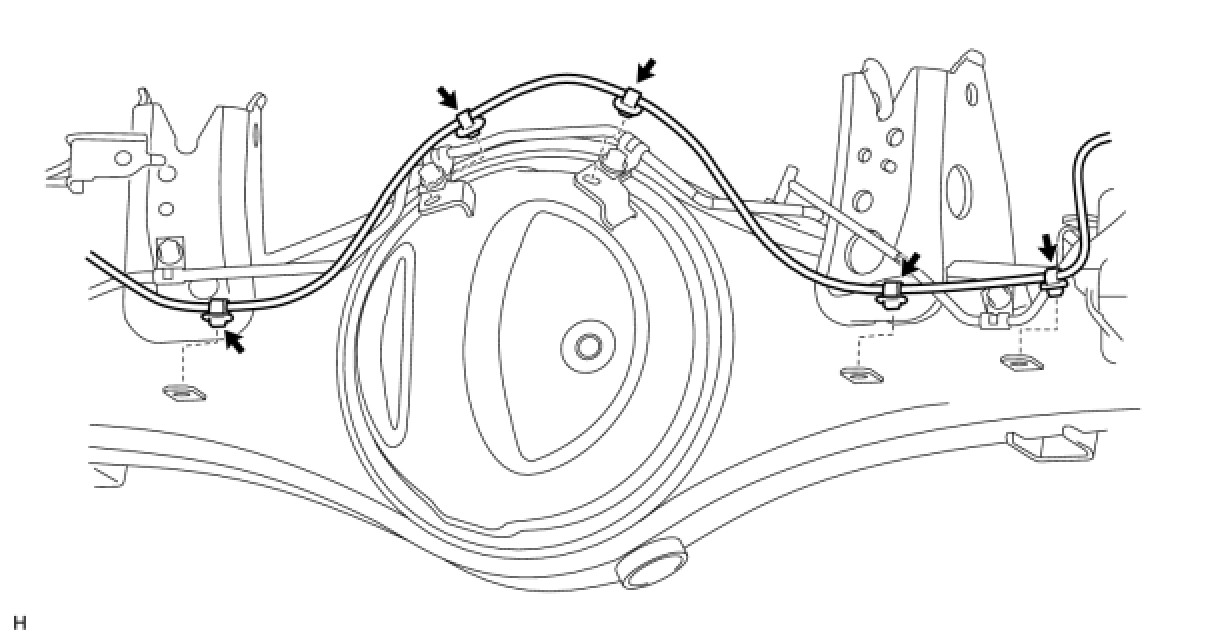
NOTICE:
* When attaching the clamps, do not twist the wire harness.
* When attaching the clamps, securely insert them as shown in the illustration.
(g) Attach the 2 clamps and install the sensor clamp with the bolt.
Torque : 13 Nm (127 kgf-cm, 9 ft-lbf)
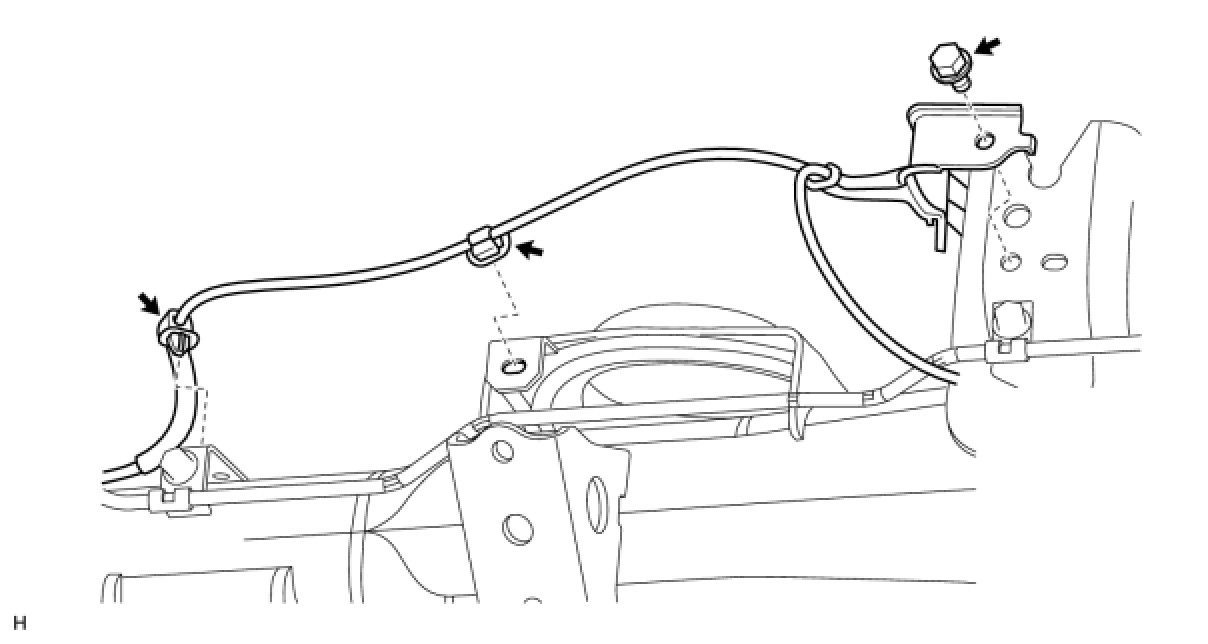
(h) Connect the speed sensor LH connector.
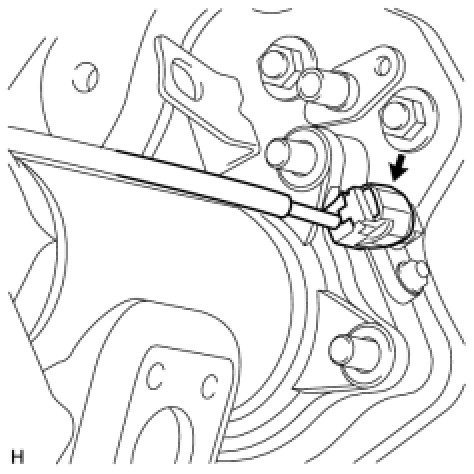
NOTICE:
* Securely connect the connector.
* When connecting the connector, do not twist the wire harness.
4. INSTALL REAR WHEEL
Torque : 131 Nm (1336 kgf-cm, 97 ft-lbf)
5. CONNECT CABLE TO NEGATIVE BATTERY TERMINAL
NOTICE:
When disconnecting the cable, some systems need to be initialized after the cable is reconnected Repair Instruction - Initialization.
6. CHECK SPEED SENSOR SIGNAL
(a) Check the speed sensor signal Test Mode Procedure.