Housing Assembly HVAC: Service and Repair
REMOVAL
1. Remove the rear seat airflow duct. For additional information, refer to Duct-Rear Seat Airflow. Service and Repair
2. Remove the instrument panel. For additional information, refer to: Dashboard/Instrument Panel. Service and Repair
3. Drain the coolant from the radiator so the coolant level is below the heater core. For additional information, refer to Cooling System. Service and Repair
4. Remove the windshield wiper mounting arm and pivot shaft. For additional information, refer to Wiper and Washer Systems.
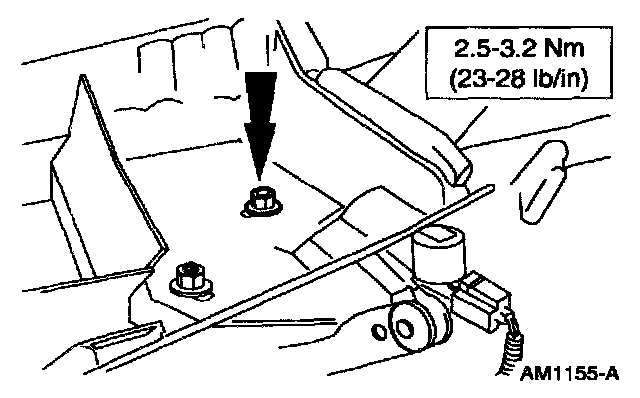
5. Remove the nut.

6. Remove the cowl top extension.
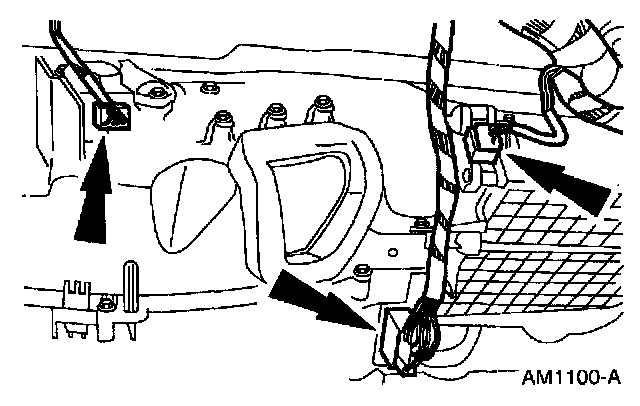
- Disconnect the wire harness connector.
- Remove the screw and remove the cowl top extension.

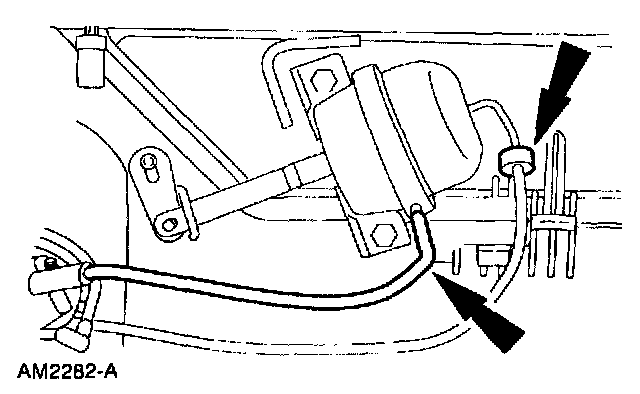
7. Disconnect the vacuum hoses and the wire harness connector from the evaporative emissions canister purge valve.
8. Remove the nuts and remove the evaporative emissions purge valve.

9. Disconnect the heater water hoses from the heater core.
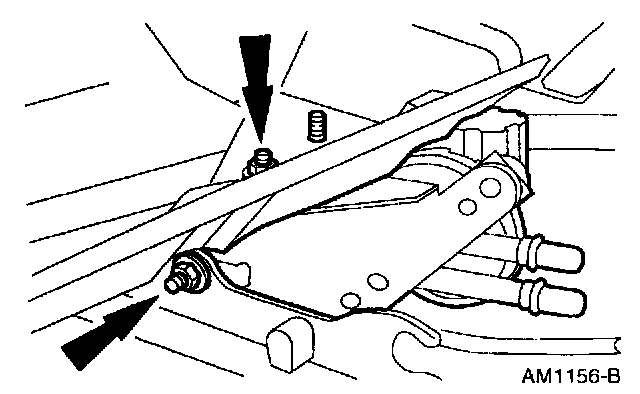
10. Remove the nut from the Cowl side.
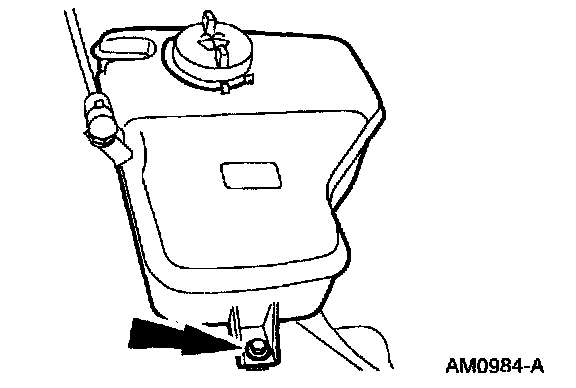
11. Remove the screw and reposition the windshield washer fluid reservoir.
12. Remove the screws from the rear of the RH fender apron and reposition the fender apron.
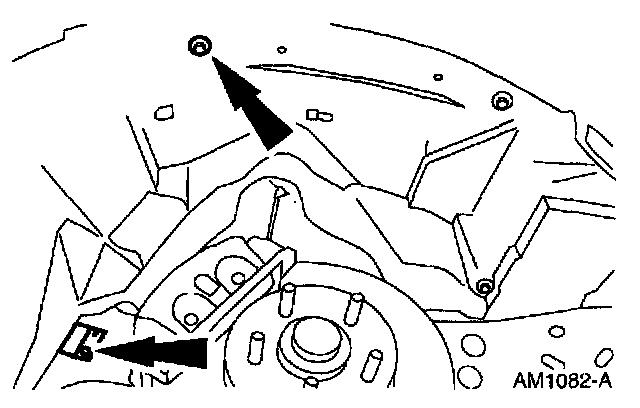
13. Remove the screw and nut from the A/C evaporative core housing.

14. Disconnect the vacuum hoses.
15. Disconnect the wire harness connectors.

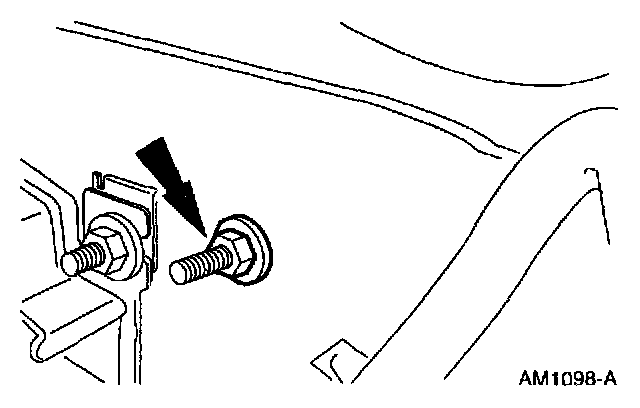
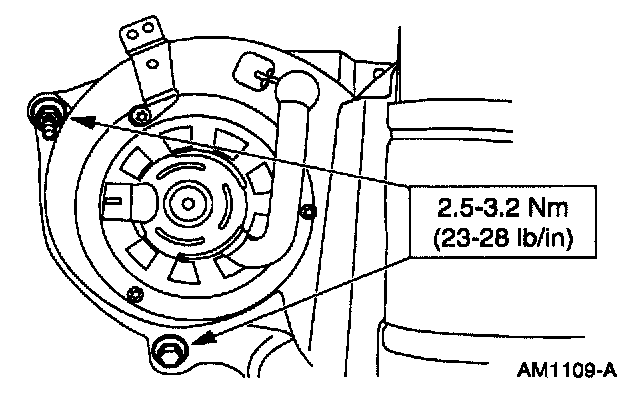
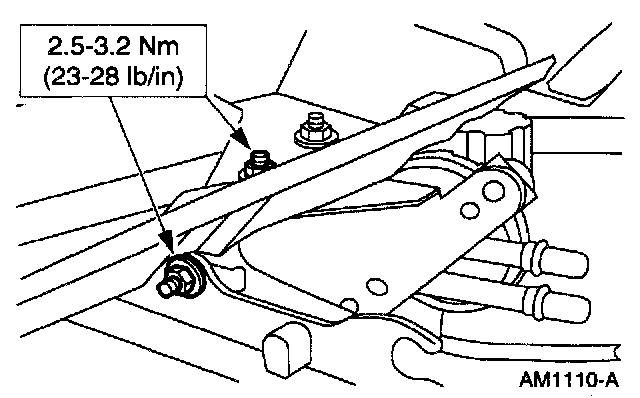
16. Remove the nuts from the lower flange of the plenum chamber.

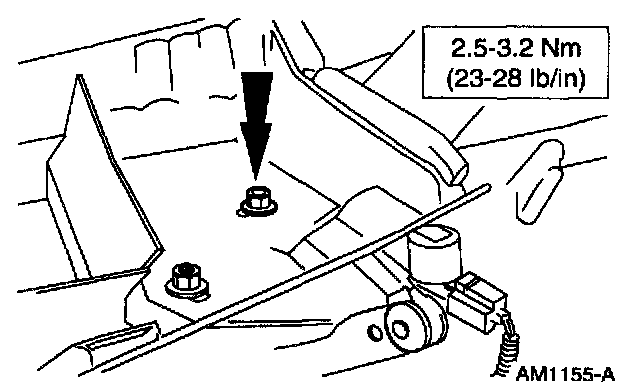
17. Remove the nut from the upper flange of the plenum chamber and remove the plenum chamber.
INSTALLATION
1. Install the plenum chamber and the upper flange nut.
2. Install the lower flange nuts.
3. Connect the wire harness connectors.
4. Connect the vacuum hoses.
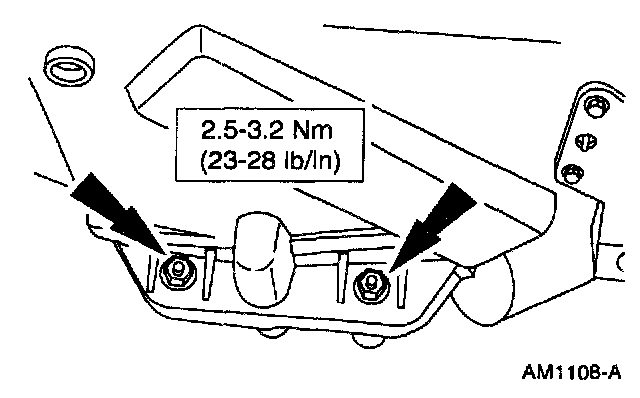
5. Install the screw and nut near the blower motor.
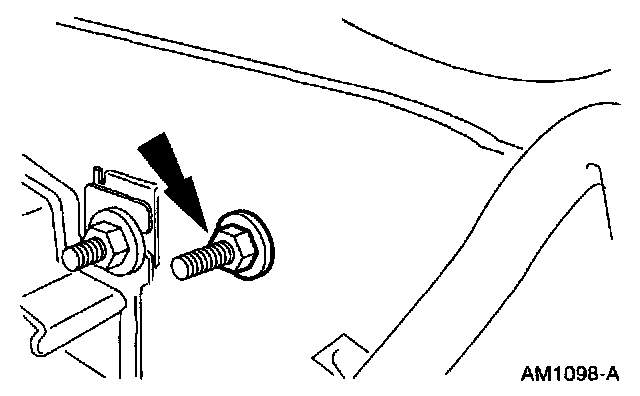
6. Install the nut.
7. Install the RH fender apron.
8. Install the windshield washer fluid reservoir.

9. Install the heater water hoses.
- Lubricate the coolant hoses with Ford Rubber Suspension Insulator Lube E25Y-19553-A or equivalent meeting Ford specification ESF-M99B112-A.
10. Install the evaporative emissions purge valve.
11. Install the cowl top extension.
- Install the screw.
- Connect the wire harness connector.
12. Install the nut.
13. Install the windshield wiper mounting arm and pivot shaft. For additional information, refer to Wiper and Washer Systems.
14. Install the instrument panel. For additional information, refer to: Dashboard/Instrument Panel. Service and Repair
15. Install the rear seat airflow duct. For additional information, refer to Duct-Rear Seat Airflow.
16. Fill the cooling system. For additional information, refer to Cooling System.