Seat Control Switch - 8-Way
SEAT CONTROL SWITCH - 8-WAYRemoval and Installation
WARNING:
- The safety belt pretensioner is a pyrotechnic device. Always wear safety glasses when repairing an air bag equipped vehicle and when handling a safety belt buckle pretensioner or safety belt retractor pretensioner. Never probe a pretensioner electrical connector. Doing so could result in pretensioner or air bag deployment and could result in personal injury.
- To reduce the risk of personal injury, do not use any memory saver devices.
NOTE:
- If a seat equipped with a supplemental restraint system (SRS) component is being serviced, the SRS must be depowered.
- The air bag warning lamp illuminates when the RCM fuse is removed and the ignition switch is ON. This is normal operation and does not indicate a supplemental restraint system (SRS) fault.
- The SRS must be fully operational and free of faults before releasing the vehicle to the customer.
- Driver side shown, passenger side similar.
1. Position the seat to gain access to all seat track-to-floor fasteners.
2. Depower the SRS.
3. Remove the 40 percent seat.
4. Pry and remove the seat control switch and power recline knobs.
5. Access and remove the cushion side shield front screw.
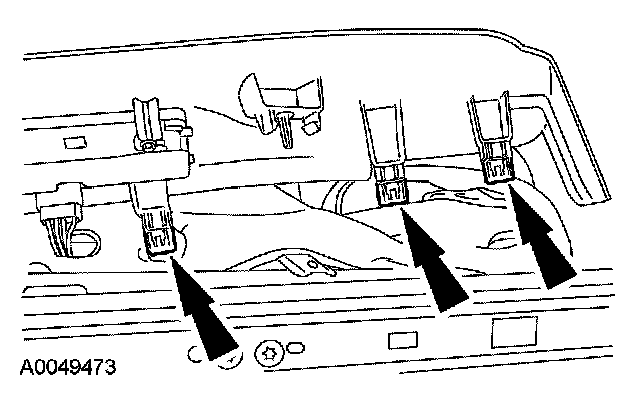
6. Pull out from the bottom and rear side of the cushion side shield to release the 3 retainer clips.
7. Disconnect the power lumbar and seat control switch electrical connectors and remove the cushion side shield.
8. Remove the 3 screws and remove the 8-way seat control switch.
9. To install, reverse the removal procedure.
10. Install the 40 percent seat.
11. Repower the SRS.