Removal
EngineSpecial Tool(s):
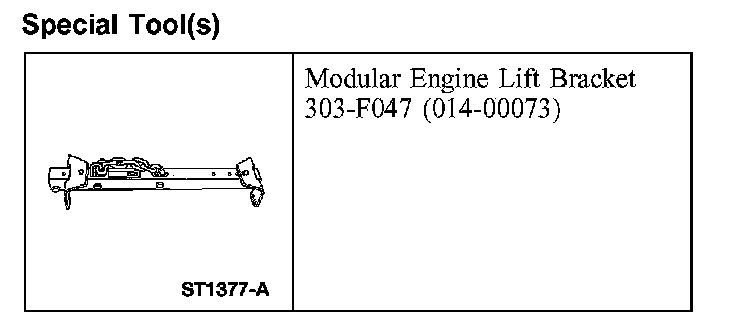
1. With the vehicle in NEUTRAL, position it on a hoist. For additional information, refer to Maintenance/Service and Repair.
2. Remove the radiator. For additional information, refer to Cooling System.
3. Remove the intake manifold.
4. Remove the accessory drive belt.
5. Remove the powertrain control module (PCM) and the support bracket. For additional information, refer to Computers and Control Systems.
6. Remove the starter. For additional information, refer to Starter.
7. Remove the hood.
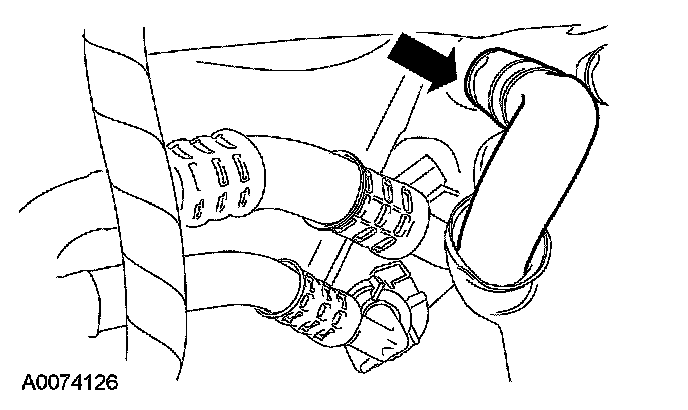
8. Disconnect the heater hose.
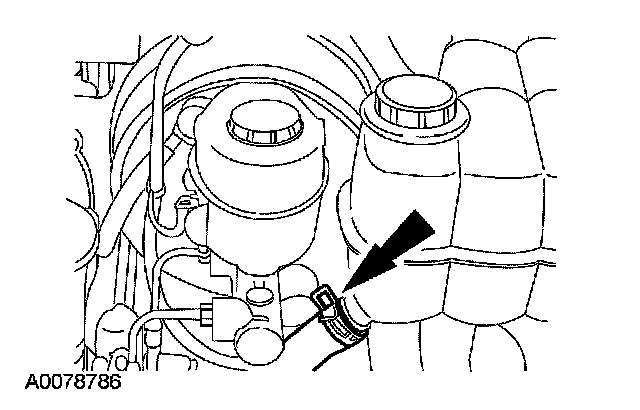
9. Disconnect the degas bottle coolant hose.
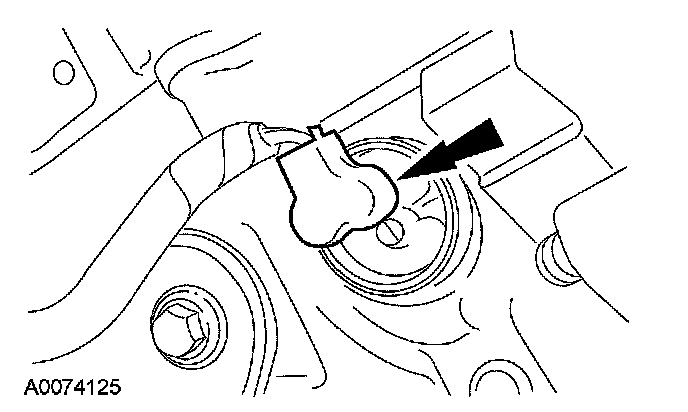
10. If equipped, disconnect the block heater electrical connector.
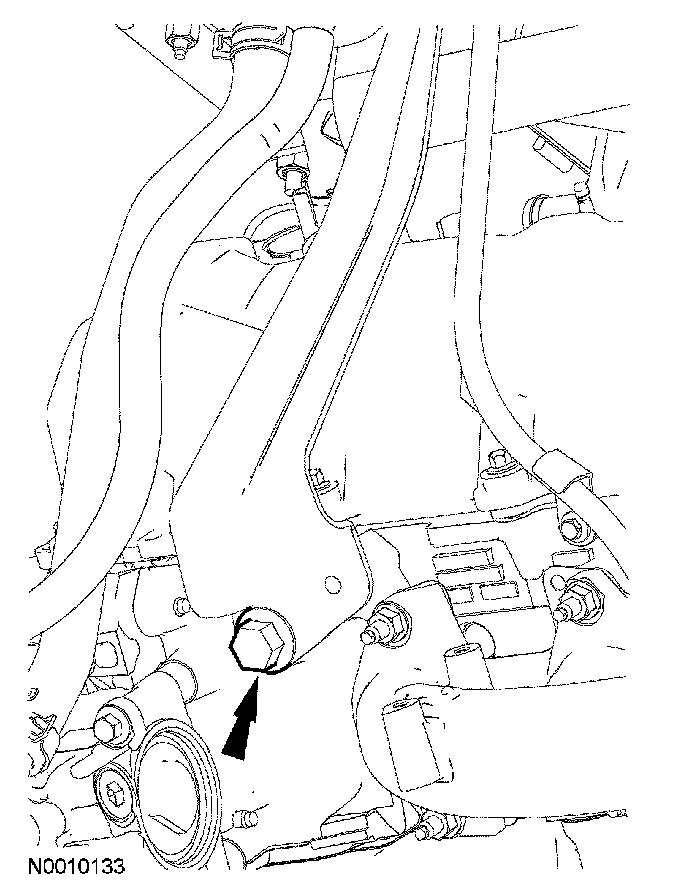
11. Remove the power steering reservoir and support bracket lower bolt.
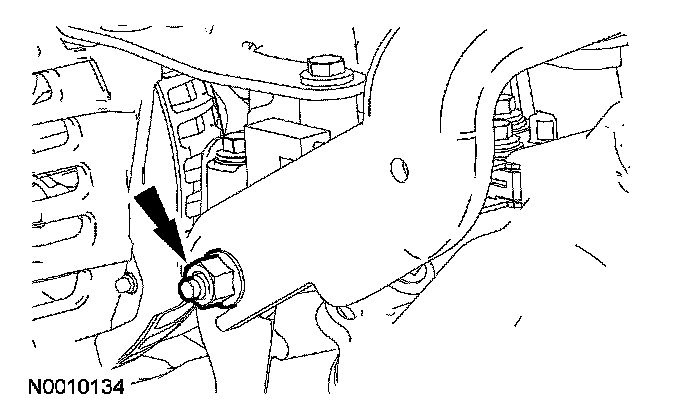
12. Remove the nut and position the power steering reservoir and support bracket aside.
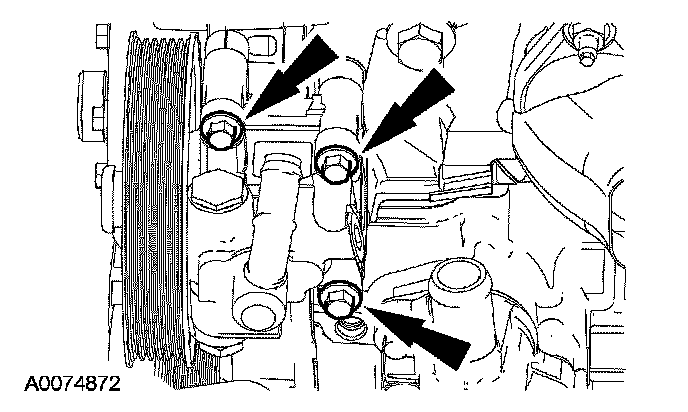
13. Remove the bolts and position the power steering pump aside.
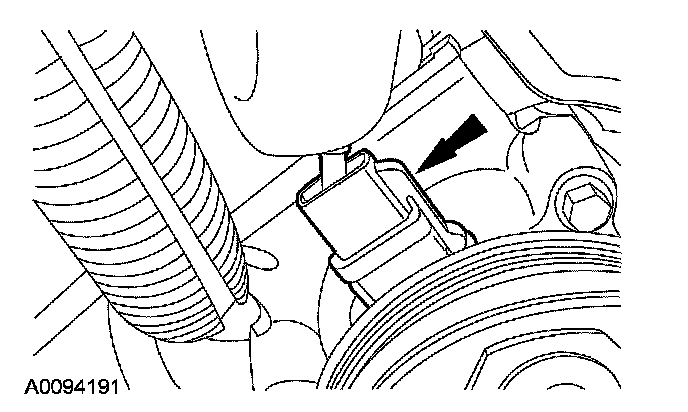
14. Disconnect the A/C compressor electrical connector.
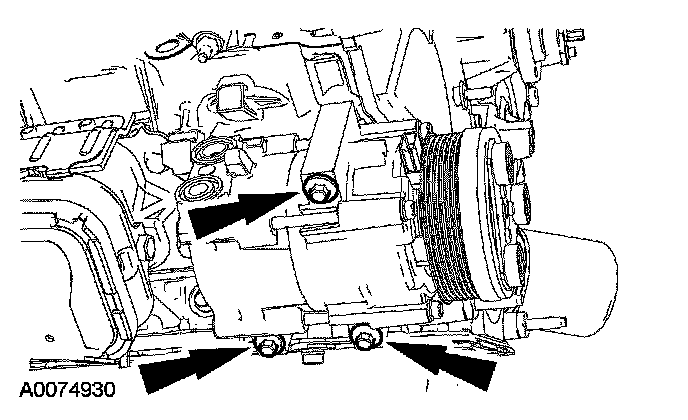
15. Remove the bolts and position the A/C compressor aside.
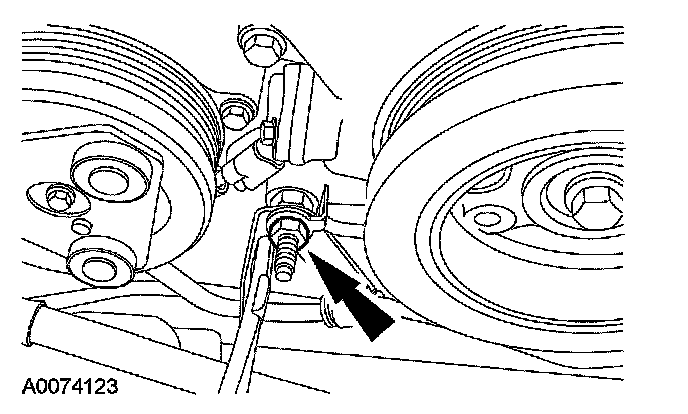
16. Remove the nut and the transmission cooler tube support bracket.
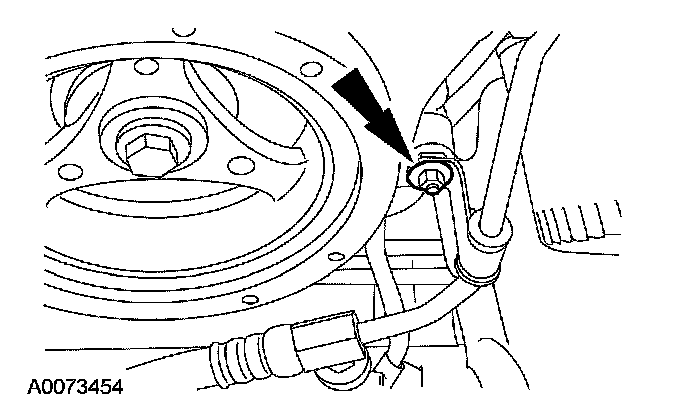
17. Remove the nut and the power steering pressure hose support bracket.
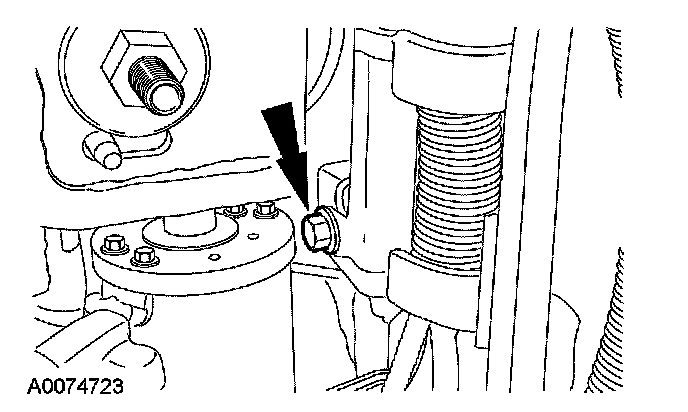
18. Remove the bolt and the starter electrical harness support bracket.
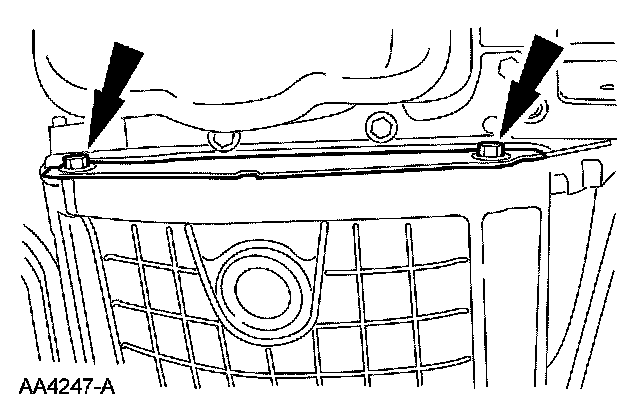
19. Remove the bolts and the flexplate inspection cover.
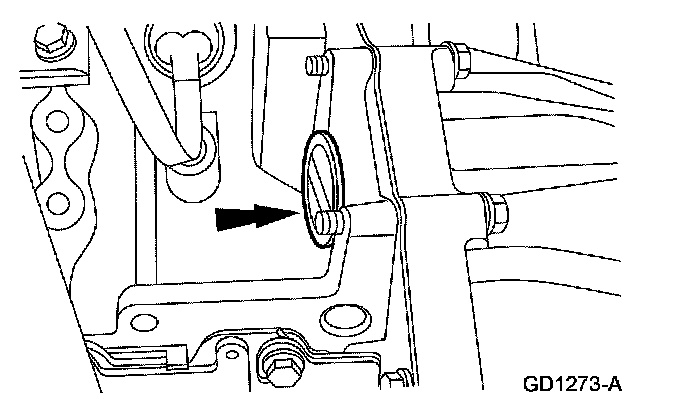
20. Remove the cylinder block opening cover.
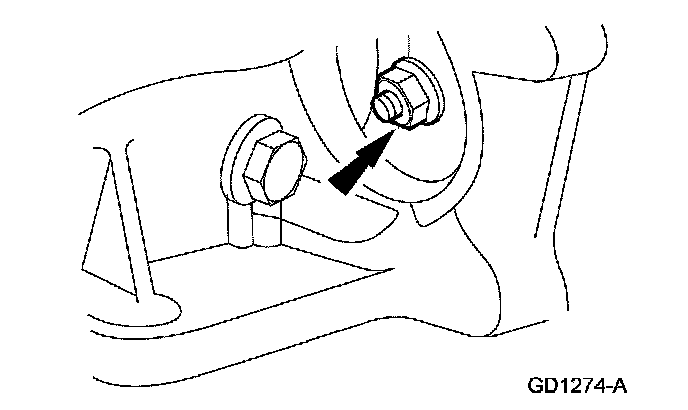
21. Remove the torque converter-to-flexplate nuts.
^ Discard the nuts.
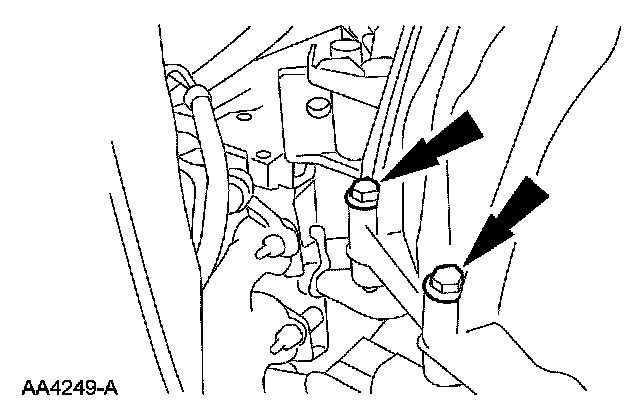
22. NOTE: The upper 2 transmission-to-engine bolts will be removed later.
Remove the lower 5 transmission-to-engine bolts.
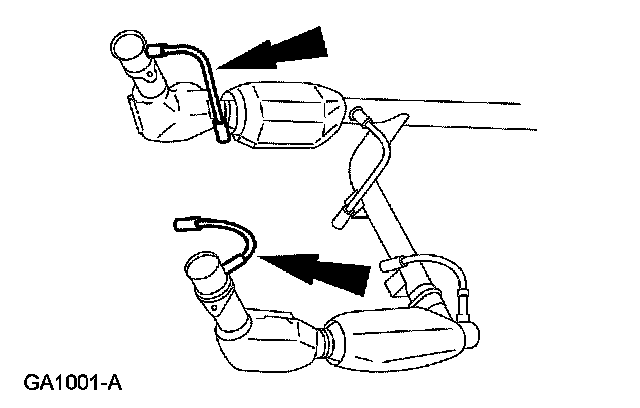
23. Disconnect the heated exhaust gas oxygen sensor (H02S) electrical connectors.
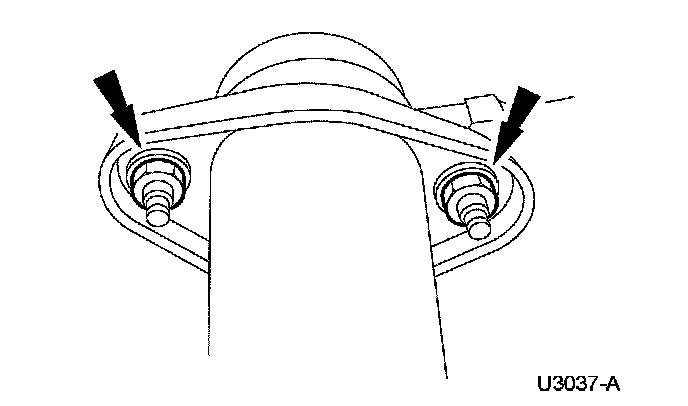
24. Remove the 4 exhaust manifold flange nuts.
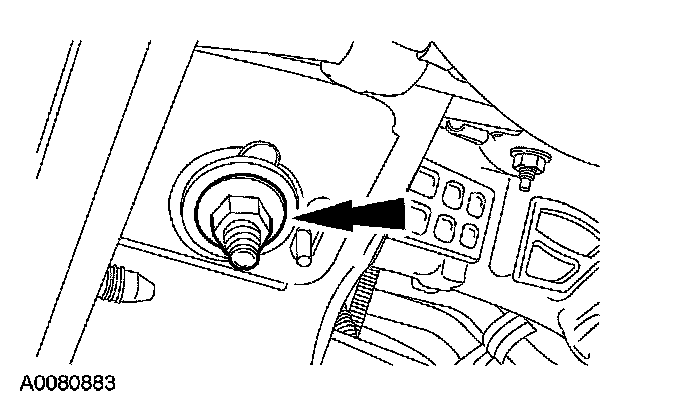
25. CAUTION: Only use hand tools when removing the engine mount nut or damage to the engine mount can occur.
Remove the RH engine mount nut.
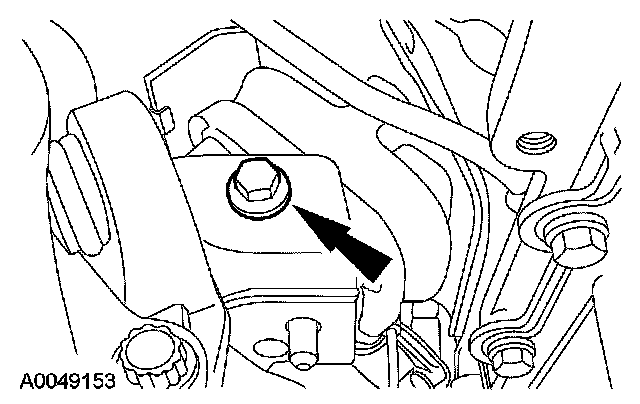
26. CAUTION: Only use hand tools when removing the LH engine mount through bolt or damage to the cage nut can occur.
NOTE: If the LH engine mount through bolt nut is missing or damaged install a new nut using service part number W709375. If the LH engine mount through bolt nut cage is damaged or missing, remove the cage and install a new nut using service part number W520516-S301.
Remove the LH engine mount through bolt.
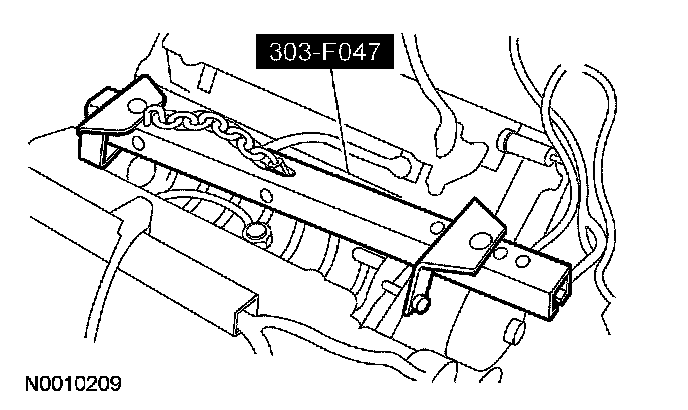
27. Remove the upper 2 transmission-to-engine bolts and install the special tool.
28. Using a suitable floor crane, remove the engine assembly from the vehicle.