Console - Front, Floor, Navigator
CONSOLE-FRONT, FLOOR, NAVIGATORPart 1:
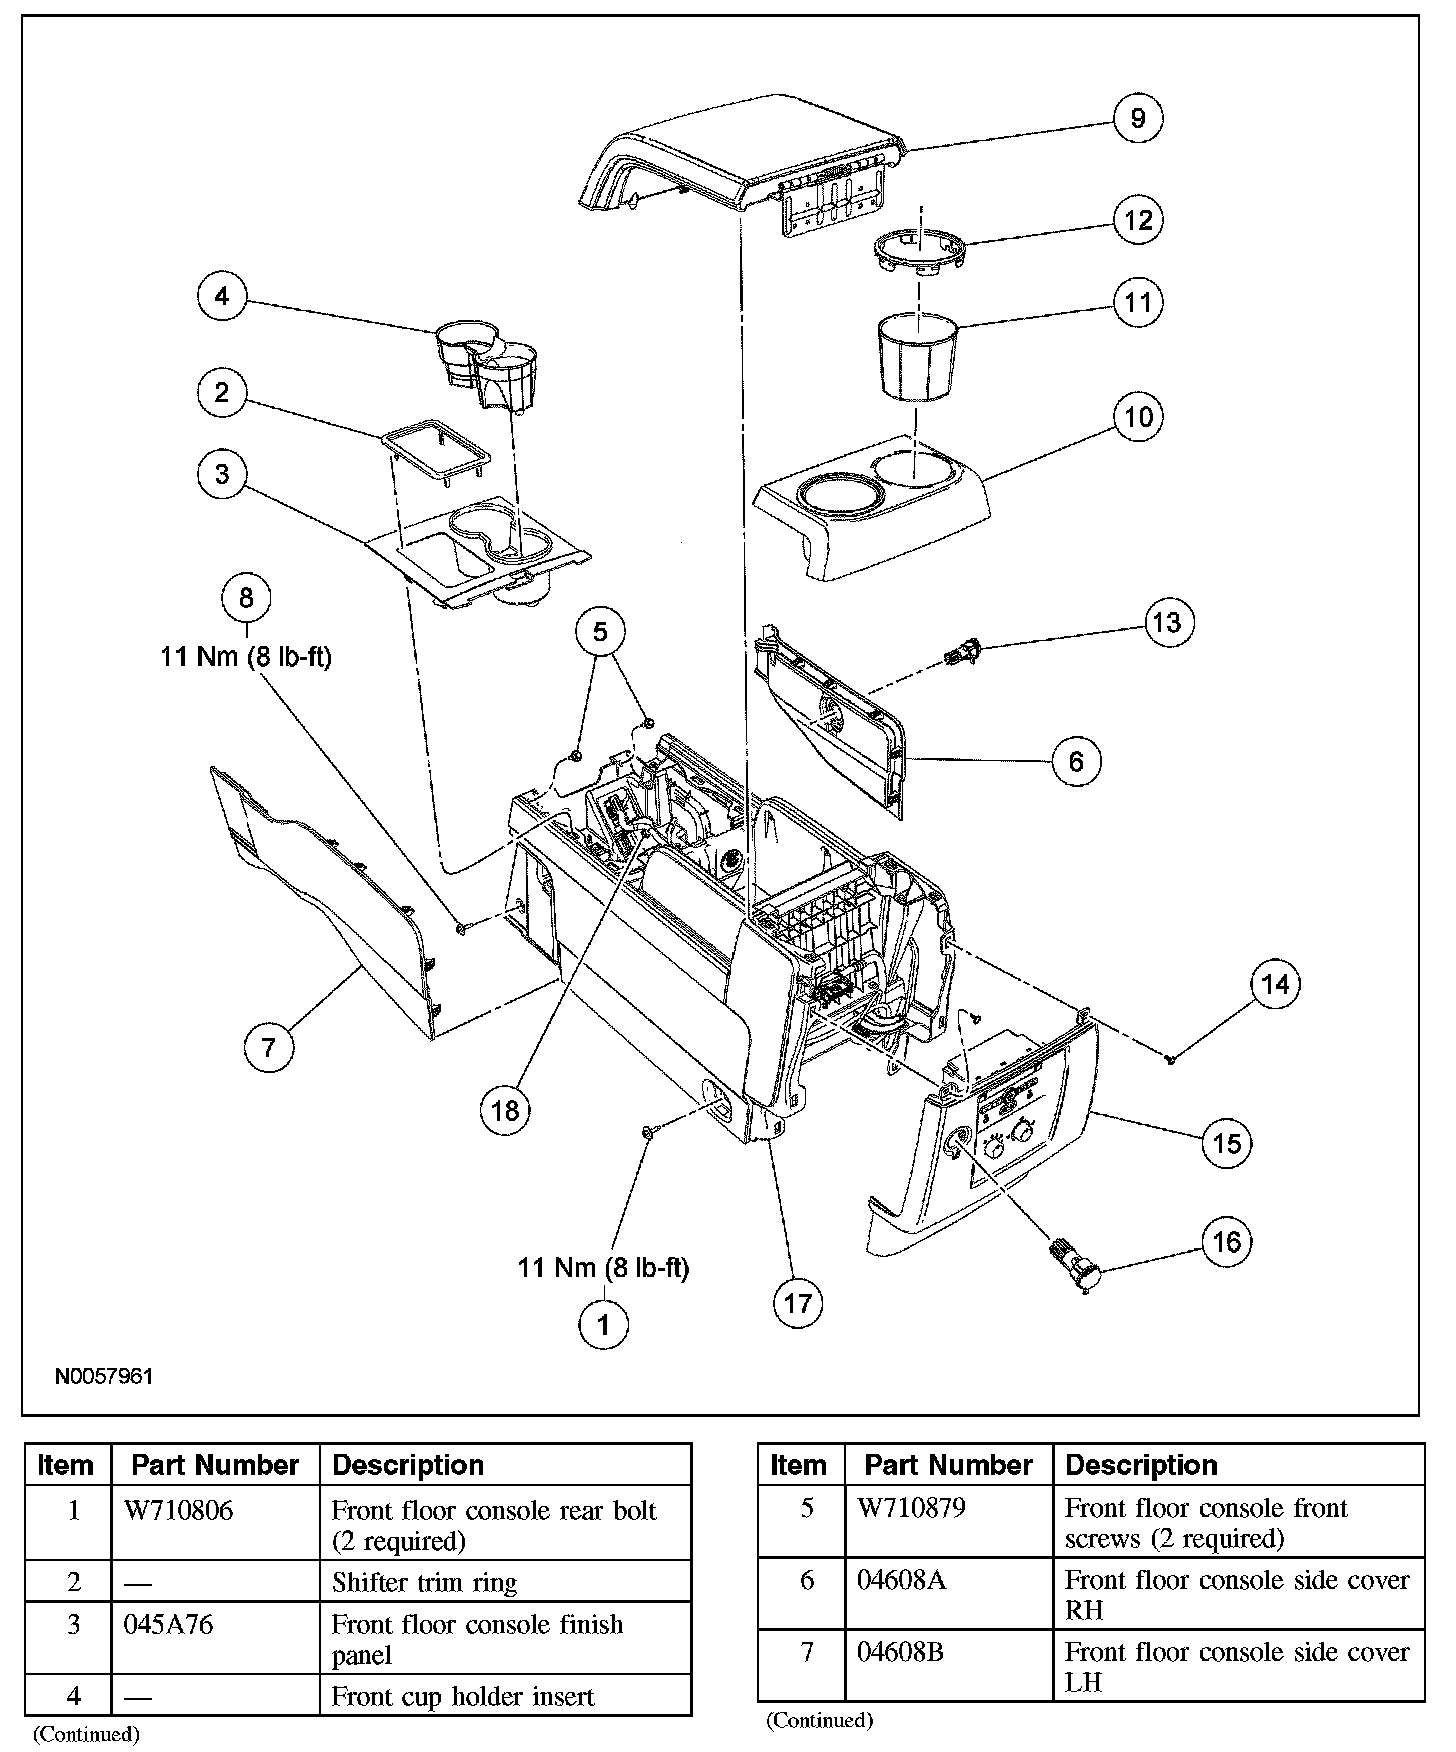
Part 2:
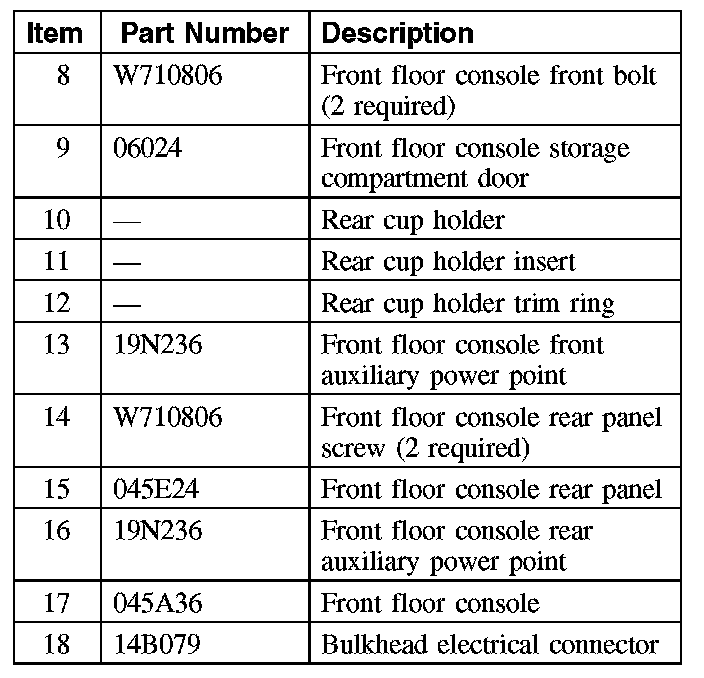
Removal and Installation
1. Place the shift lever in NEUTRAL and apply the parking brake.
2. Position the front seat forward.
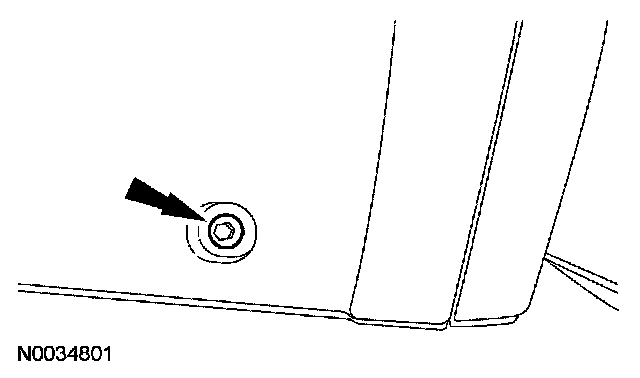
3. Remove the 2 front floor console rear bolts.
- To install, tighten to 11 Nm (8 lb-ft).
4. Position the front seats rearward.
5. Disconnect the battery.
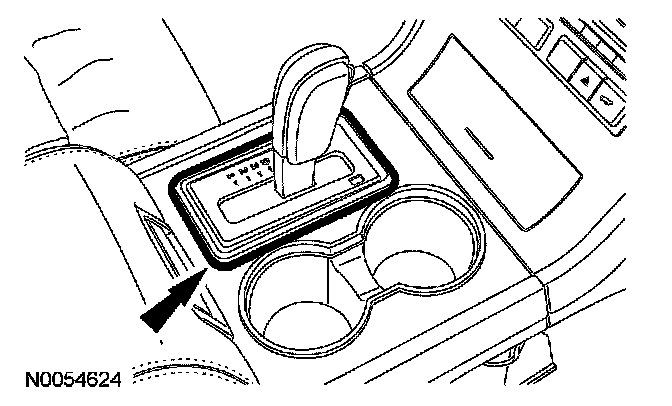
6. Remove the shifter trim ring.
7. Remove the front floor console finish panel.
- Pull upward on the rear of the finish panel to release the retainers.
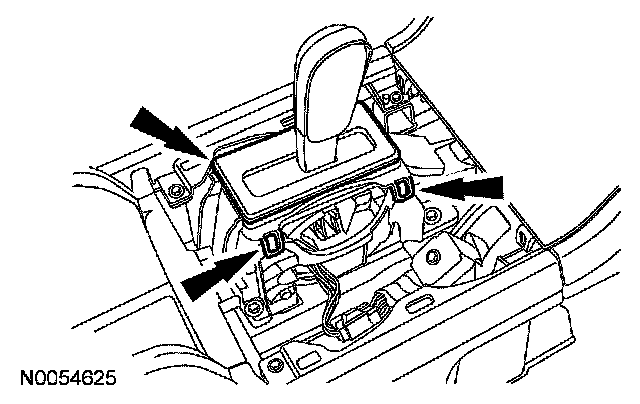
8. NOTE: RH retainers shown, LH similar.
Position the shifter lever indicator bezel aside.
- Release the 4 retainers.
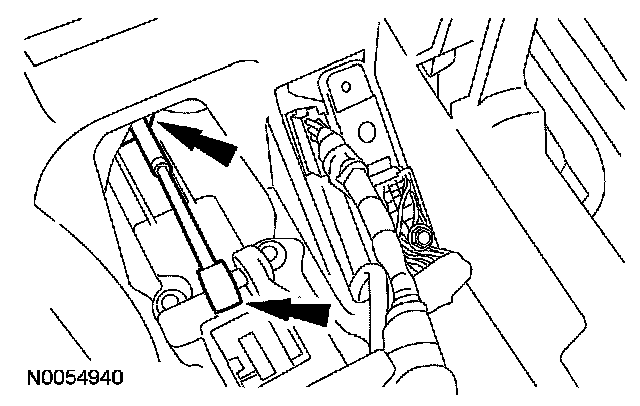
9. Disconnect the shift cable.
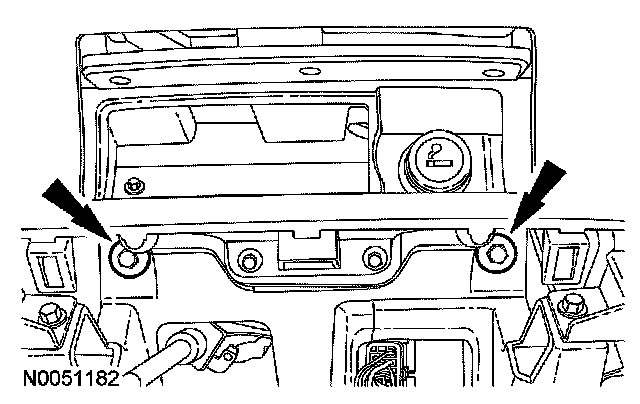
10. Remove the front floor console front screws.
- To install, tighten to 7 Nm (62 lb-in).
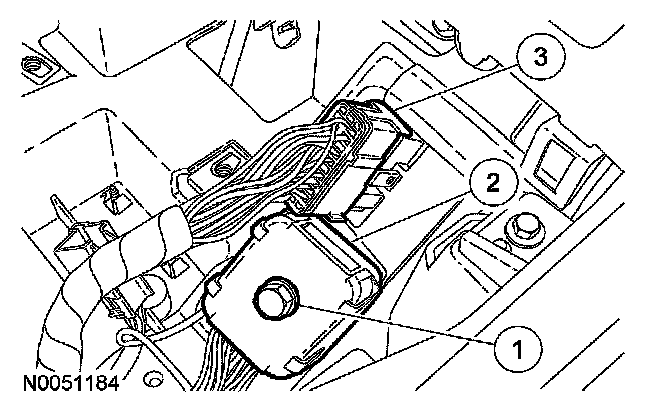
11. Disconnect the front floor console electrical connectors.
1 Loosen the bulkhead electrical connector bolt.
- To install, tighten to 3 Nm (27 lb-in).
2 Disconnect the bulkhead electrical connector.
3 Disconnect the electrical connector.
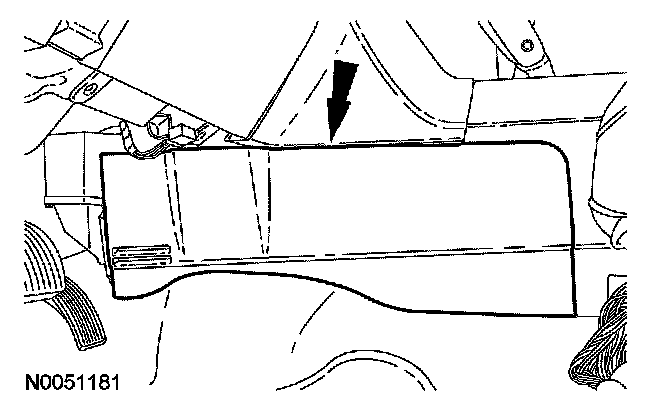
12. Remove the LH and RH front floor console side finish panels.
- If equipped, disconnect the electrical connector.
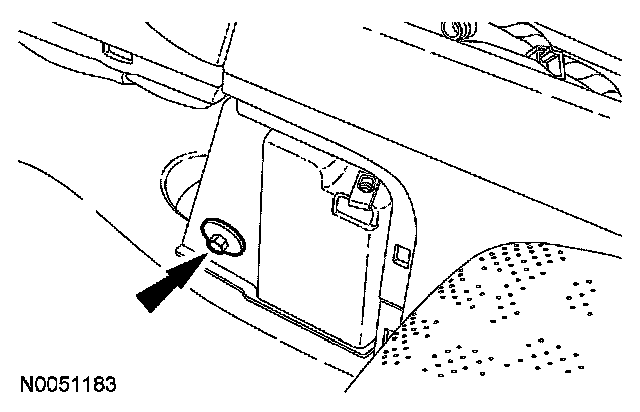
13. Remove the LH and RH front floor console front bolts and the floor console.
- To install, tighten to 11 Nm (8 lb-ft).
14. To install, reverse the removal procedure.