Liftgate Window Glass: Service and Repair
Window Glass - Liftgate

Removal and Installation
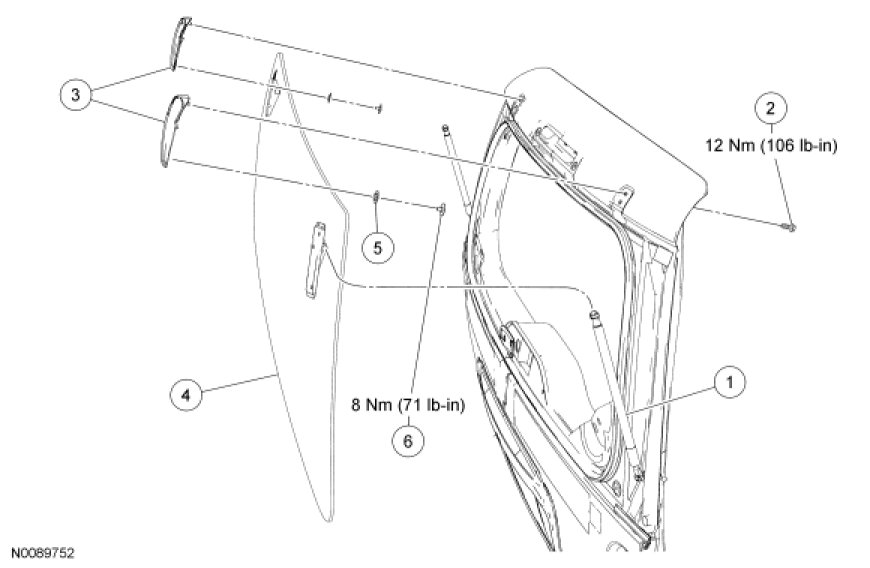
Window glass assembly
1. Remove the rear window wiper motor. For additional information, refer to Wiper and Washer Systems.
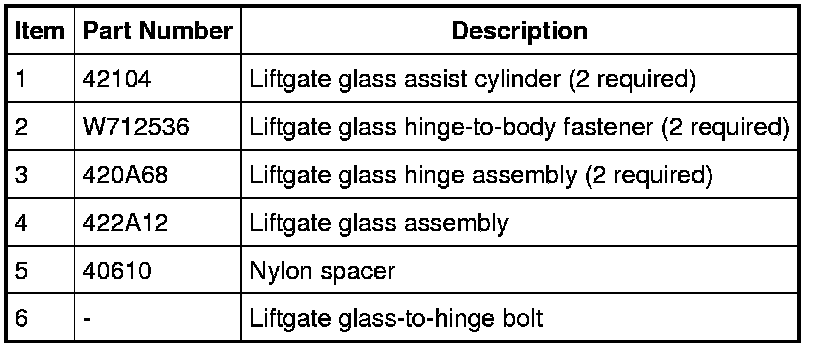
2. Disconnect the rear window defrost electrical connectors.
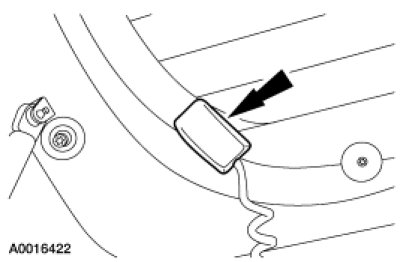
3. NOTICE: Do not extend the socket clips more than 2.0 mm (0.08 in) or failure of the socket can occur.
NOTE: The liftgate glass must be supported when removing and installing the liftgate assist cylinders.
Disconnect the 2 liftgate glass assist cylinders.
1. Insert a screwdriver blade under the socket clip and lift.
2. Gently pull the socket off the ball stud.
Window glass assembly or hinge assembly
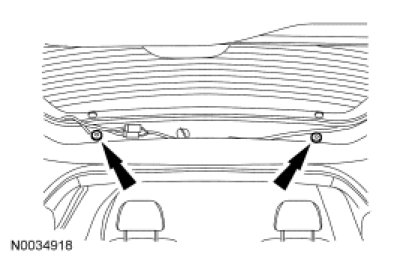
4. Remove the liftgate glass hinge-to-body fasteners and remove the glass.
- To install, tighten to 12 Nm (106 lb-in).
Window hinge assembly
5. Remove the liftgate glass to hinge fasteners and remove the glass.
- Apply threadlock to the liftgate glass-to-hinge fasteners during installation.
- To install, tighten to 8 Nm (71 lb-in).

Window glass assembly or window hinge assembly
6. To install, reverse the removal procedure.
- Check the liftgate glass for high effort when closing. If high effort is present, adjust the striker one-half turn outboard. If high effort is still present, adjust the striker an additional one-half turn outboard. Do not exceed one full turn.