Heater Core And Evaporator Core Housing
Heater Core And Evaporator Core Housing
Removal and Installation
1. Remove the instrument panel assembly. For additional information, refer to Instrument Panel and Console Instrument Panel - Exploded View.
2. Position the instrument panel with the passenger side supported as shown.
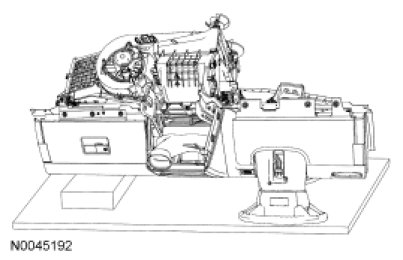
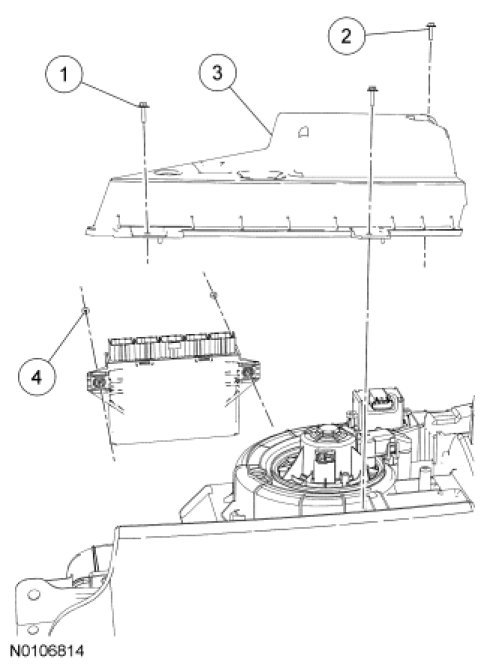
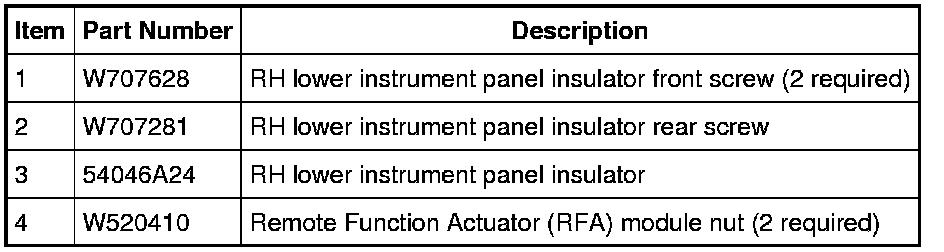
3. Remove the 3 RH lower instrument panel insulator screws and position the insulator aside.
4. Remove the 2 Remote Function Actuator (RFA) module nuts and position the module aside.
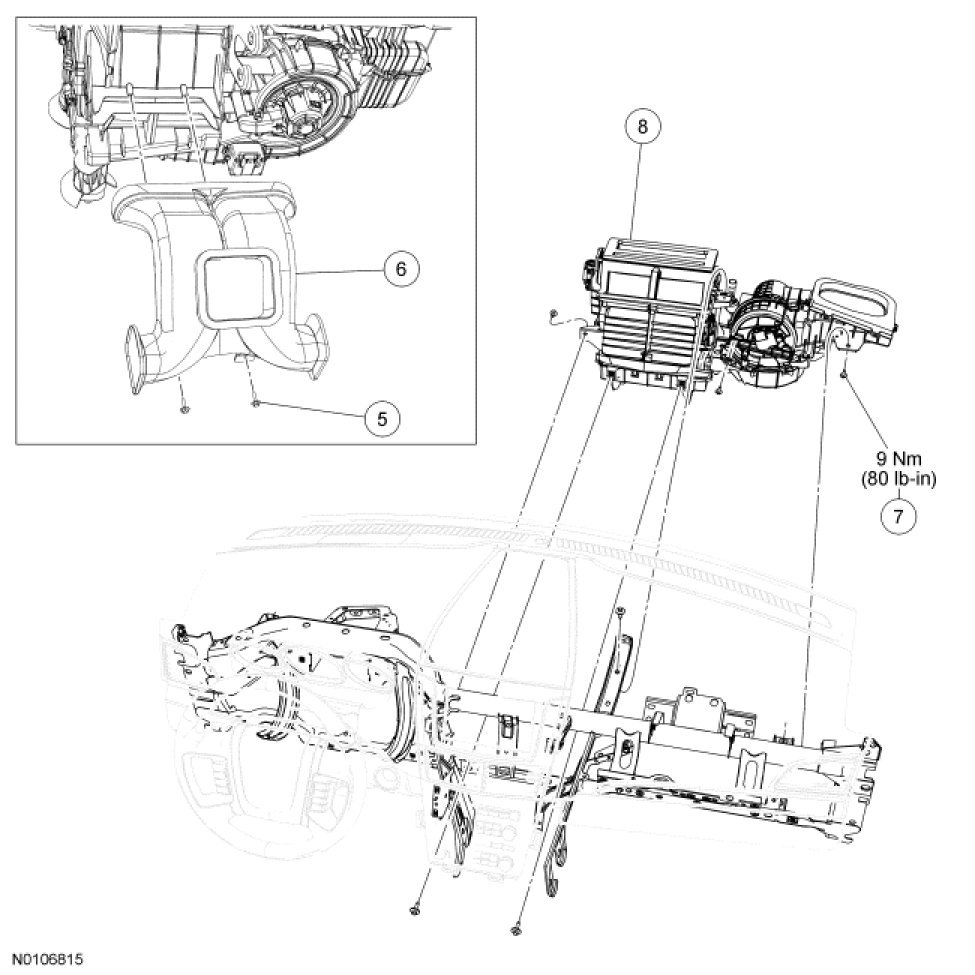
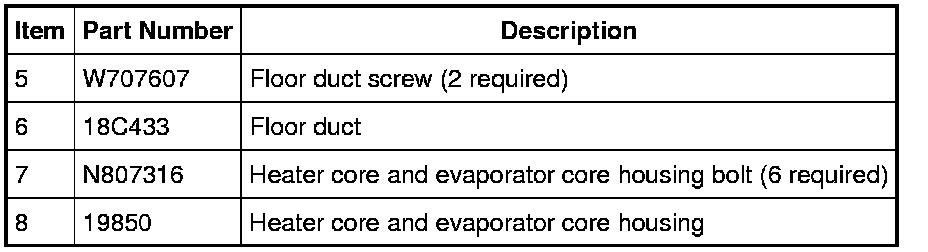
5. Remove the 2 floor duct screws and remove the floor duct.
6. Detach the in-vehicle temperature sensor aspirator hose from the heater core and evaporator core housing.
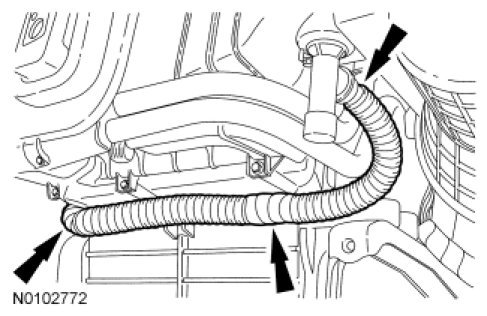
7. Remove the 6 heater core and evaporator core housing bolts.
- To install, tighten to 9 Nm (80 lb-in).
8. Disconnect the 3 electrical connectors and detach the wire harness pin-type retainer.
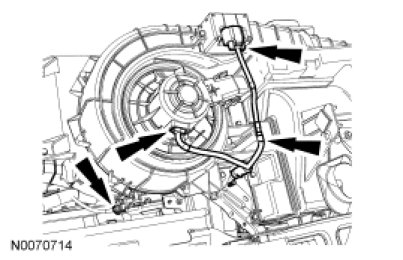
9. Detach the 4 wire harness pin-type retainers and disconnect the electrical connector.
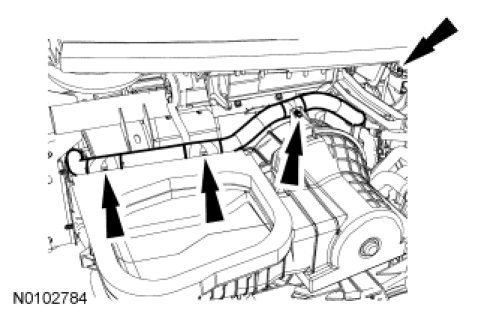
10. Disconnect the 3 electrical connectors, detach the wire harness pin-type retainer and detach the instrument panel wire harness from the heater core and evaporator core housing.
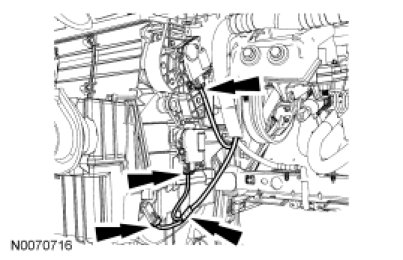
11. Remove the heater core and evaporator core housing.
12. To install, reverse the removal procedure.