Console - Front, Floor
Console - Front, Floor, Navigator
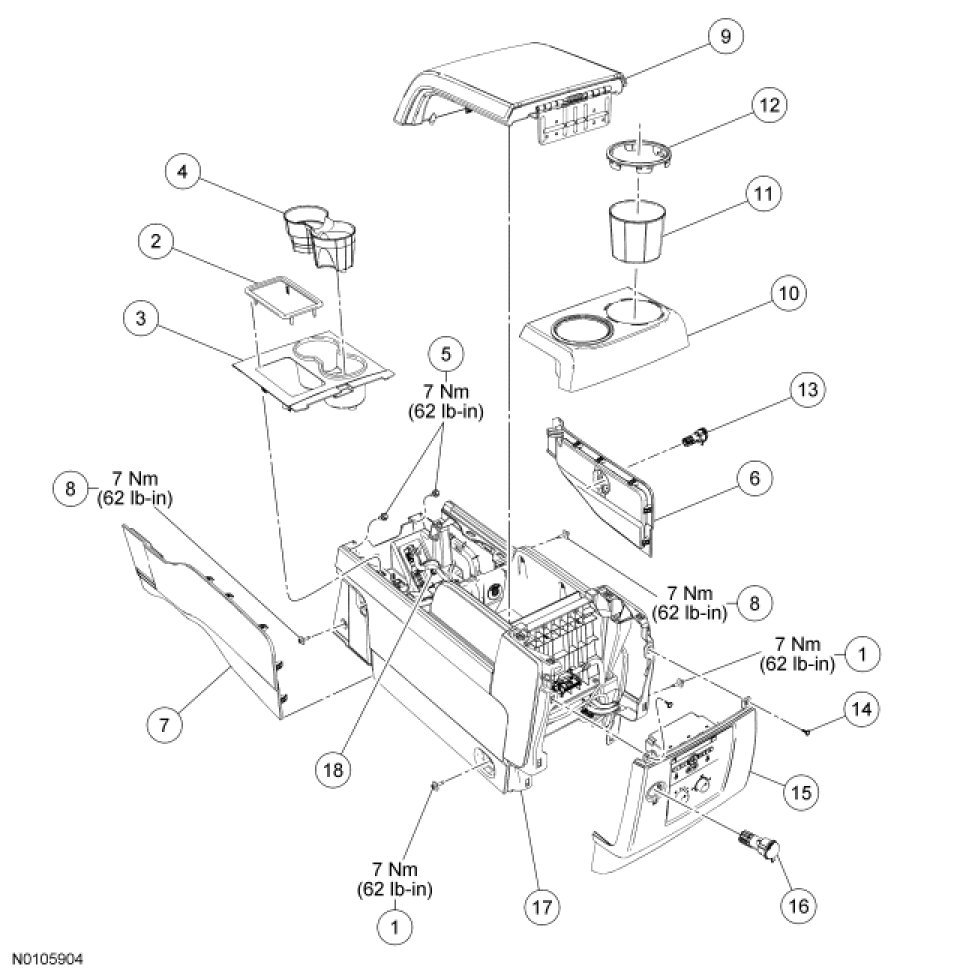
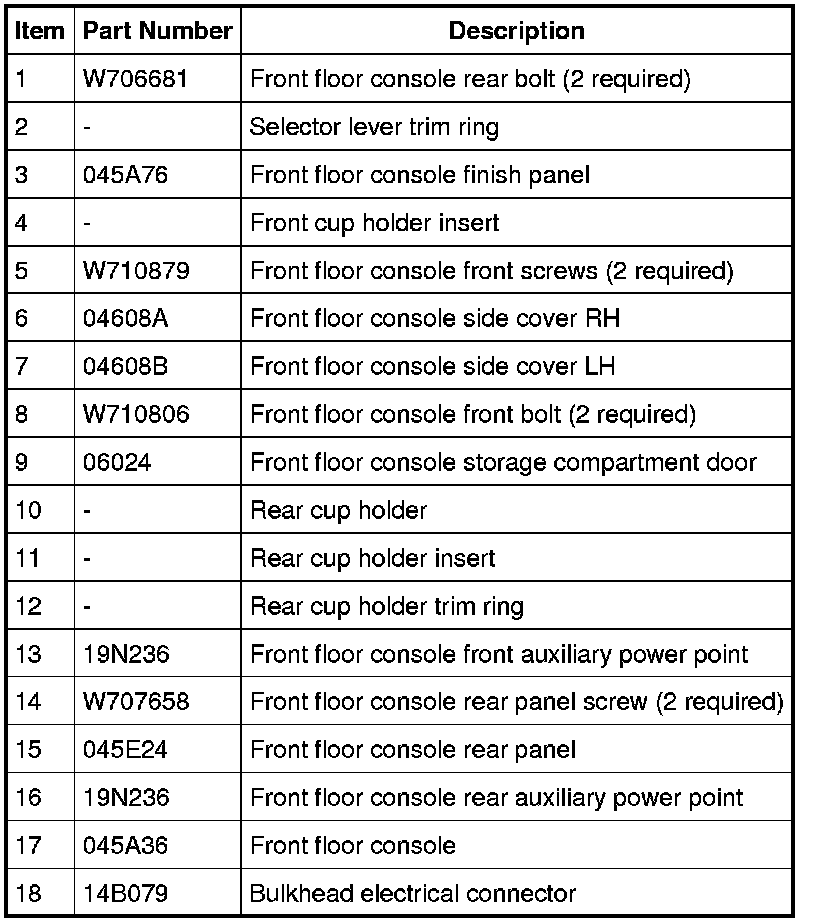
Removal and Installation
1. Place the selector lever in NEUTRAL and apply the parking brake.
2. Position the front seats forward.
3. Remove the 2 front floor console rear bolts.
- To install, tighten to 7 Nm (62 lb-in).
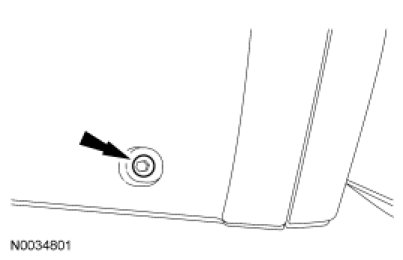
4. Position the front seats rearward.
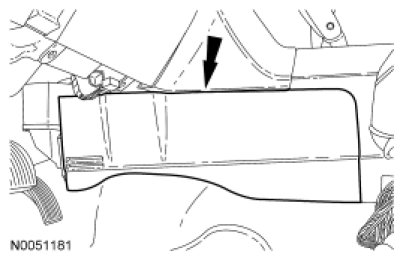
5. NOTICE: Do not pull outward on the front of the front floor console side finish panel. Otherwise, damage to the front floor console side finish panel will occur.
Remove the LH and RH front floor console side finish panels in the follow sequence.
1. Using a non-marring tool, pry the rear of the LH and RH front floor console side finish panels outward to release the retaining clips.
2. Slide the LH and RH front floor console side finish panels rearward.
- If equipped, disconnect the electrical connector.
6. Remove the LH and RH front floor console front bolts and the floor console.
- To install, tighten to 7 Nm (62 lb-in).
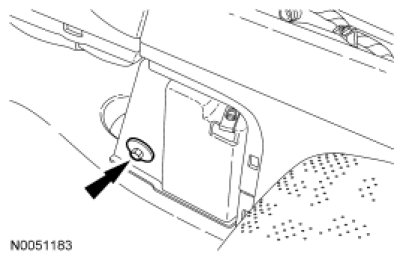
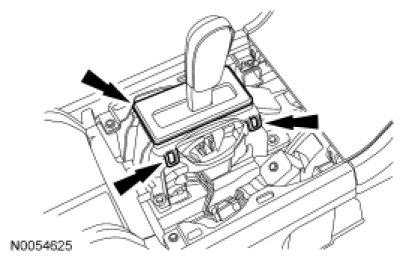
7. Remove the selector lever trim ring.

8. Remove the front floor console finish panel.
- Pull upward on the rear of the finish panel to release the retainers.
9. NOTE: RH retainers shown, LH similar.
Position the selector lever indicator bezel aside.
- Release the 4 retainers.
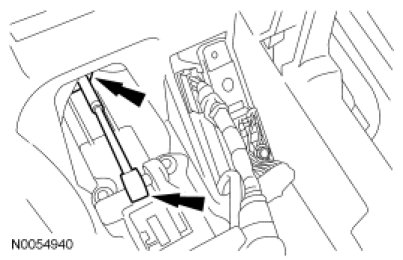
10. Disconnect the selector lever cable from the selector lever and floor console.
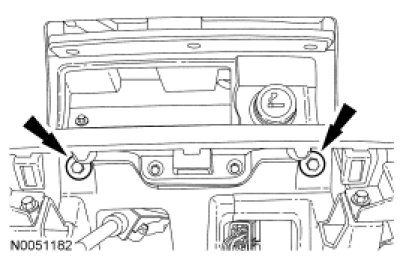
11. Remove the front floor console front screws.
- To install, tighten to 7 Nm (62 lb-in).
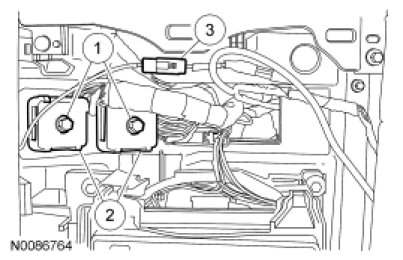
12. Disconnect the front floor console electrical connectors.
1. Loosen the bulkhead electrical connector bolts.
- To install, tighten to 3 Nm (27 lb-in).
2. Disconnect the bulkhead electrical connectors.
3. Disconnect the electrical connector.
13. To install, reverse the removal procedure.
- Make sure to align the trim panel retaining clips to the retaining clip holes in the floor console.