Thermostatic Expansion Valve
Thermostatic Expansion Valve
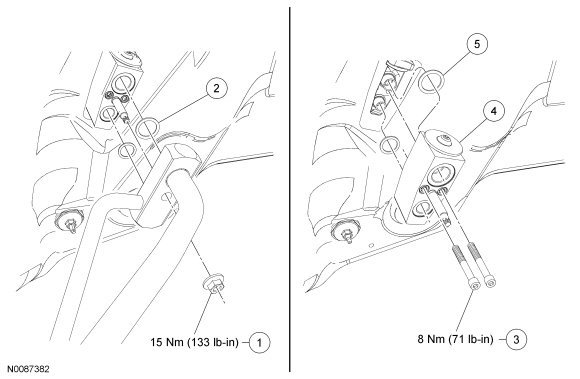
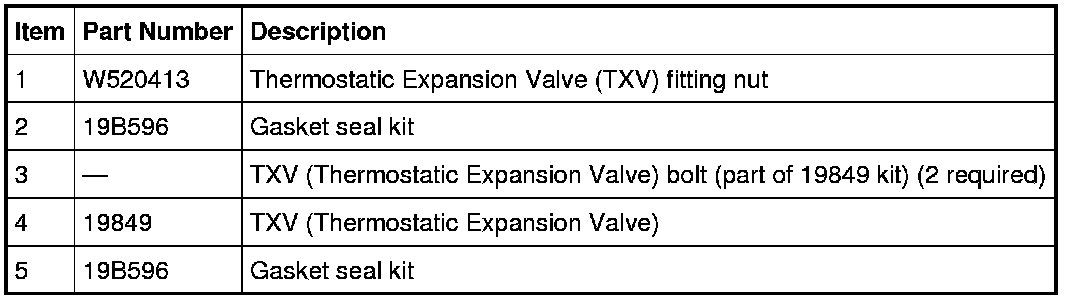
Removal and Installation
1. Recover the refrigerant.
2. Remove the Thermostatic Expansion Valve (TXV) manifold and tube bracket bolt.
- To install, tighten to 8 Nm (71 lb-in).
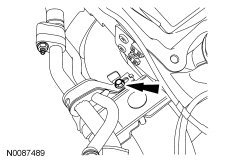
3. Detach the wire harness pin-type retainer and position the harness aside.
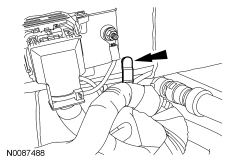
4. Remove the auxiliary evaporator inlet line fitting nut and disconnect the fitting.
- Discard the O-ring seal and gasket seal.
- To install, tighten to 15 Nm (133 lb-in).
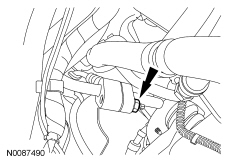
5. Remove the TXV (Thermostatic Expansion Valve) fitting nut and disconnect the fitting.
- Discard the gasket seals.
- To install, tighten to 15 Nm (133 lb-in).
6. Remove the 2 TXV (Thermostatic Expansion Valve) bolts.
- To install, tighten to 8 Nm (71 lb-in).
7. Remove the TXV (Thermostatic Expansion Valve).
- Discard the gasket seals.
8. To install, reverse the removal procedure.
- Install a new O-ring seal and new gasket seals.
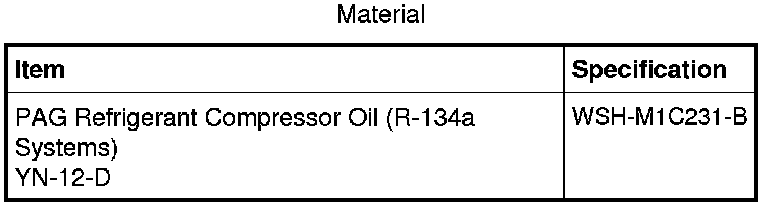
- Lubricate the refrigerant system with the correct amount of clean PAG oil.
9. Evacuate, leak test and charge the refrigerant system.