Condenser HVAC: Service and Repair
Removal / Installation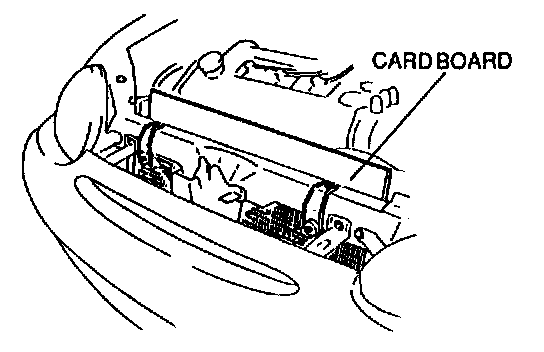
1. Recover the refrigerant from the system.
2. Remove the lower cover.
3. Remove the fresh air duct.
4. Remove the radiator upper mount.
5. Remove the airflow meter.
6. Disconnect the pipes from the condenser.
7. Insert a protector (such as cardboard) between the condenser and the radiator.
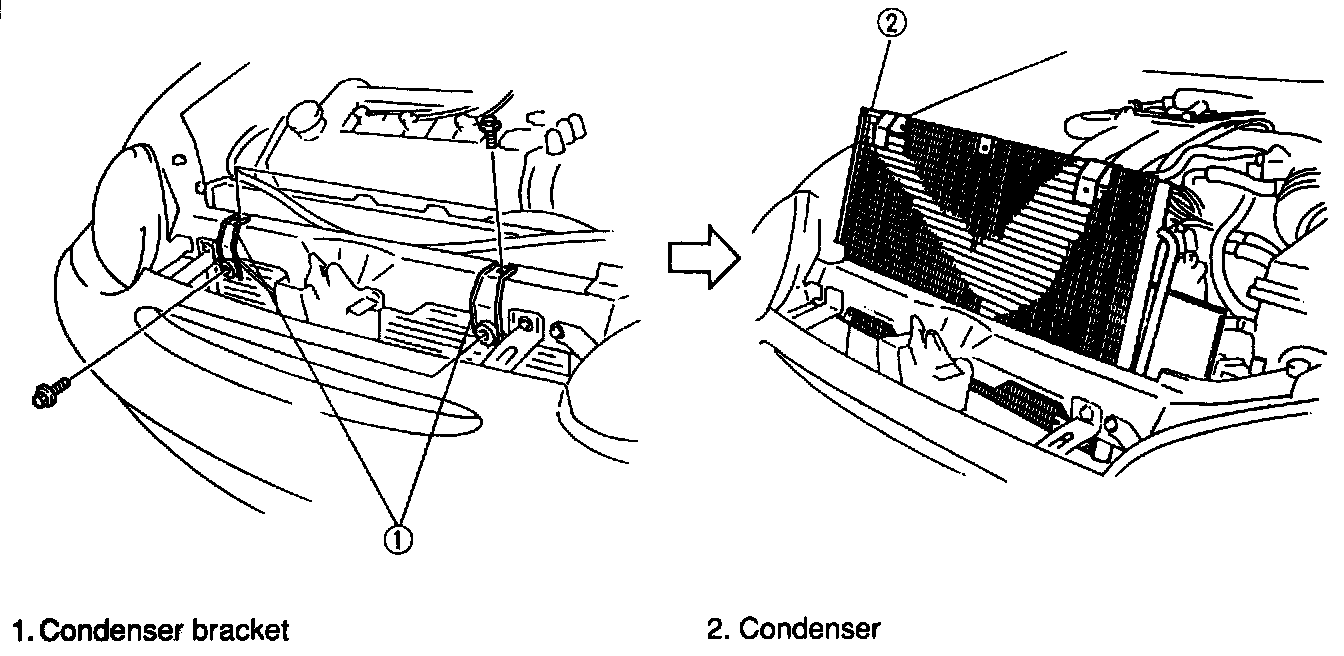
8. Remove the condenser as shown in the figure.
9. Install in the reverse order of removal, referring to Installation Note.
Installation Note
- Apply clean compressor oil to the O-rings before connecting the fittings.
- Do not apply compressor oil to the fitting nuts.
- Remove the protector before installing the radiator brackets.
- When installing a new condenser, add compressor oil through the high-pressure side of the compressor.
Compressor oil: 30 cm3 {1.83 cu in}
Tightening torque:
Condenser inlet: 15-24 N.m {1.5-2.5 kgf.m, 11-18 ft- lbf}
Condenser outlet: 9.8-19 N.m {1.0-2.0 kgf.m, 8-14 ft.lbf}