Procedures
SST:
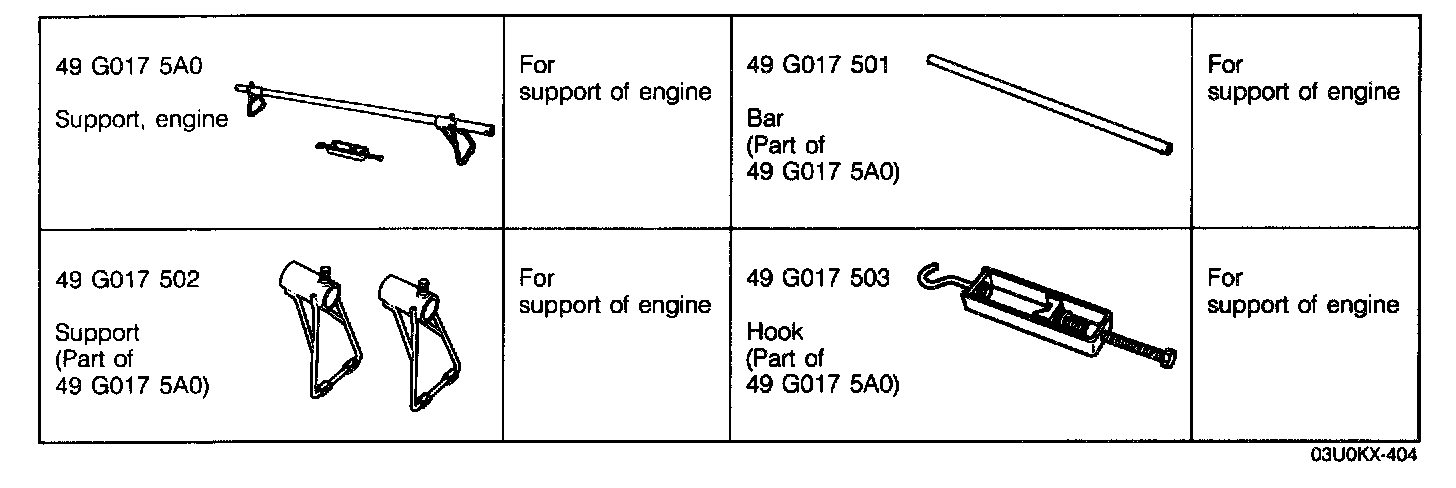
Preparation
On-vehicle Removal
CAUTION:
- Clean the transaxle exterior thoroughly with a steam cleaner or cleaning solvents before removal.
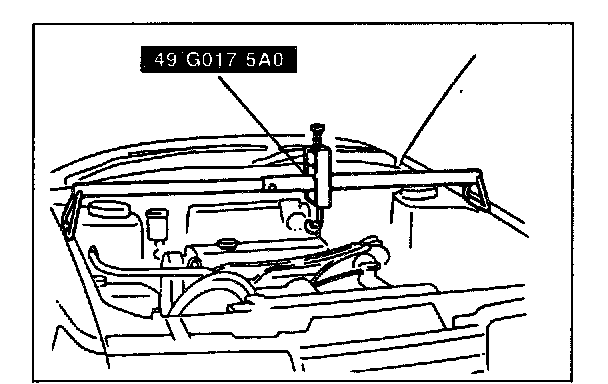
1. Support the engine with the SST.
2. Jack up the vehicle and support it with safety stands.
3. Drain the ATF into a suitable container.
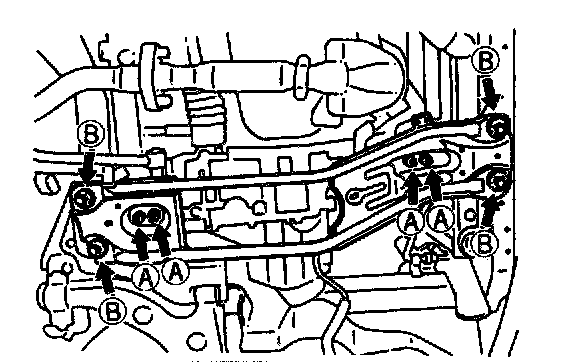
4. Remove the engine mounting member.
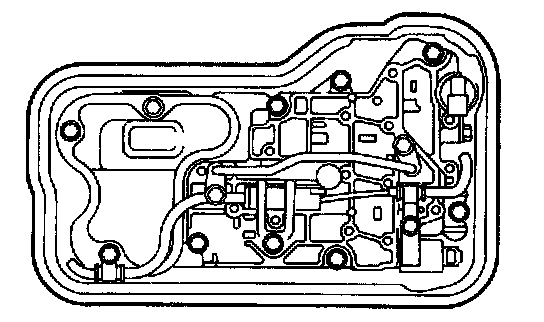
5. Remove the oil pan and gasket.
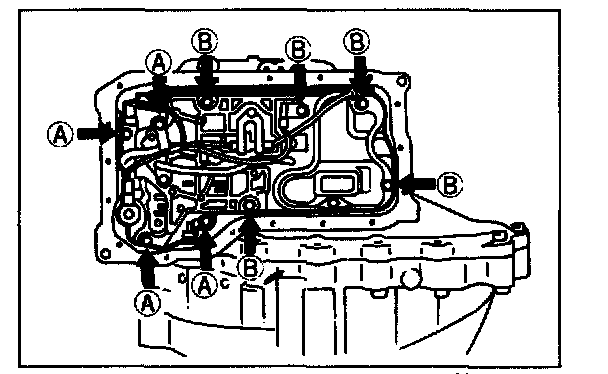
6. Disconnect the connectors and remove the control valve body.
On-vehicle Installation
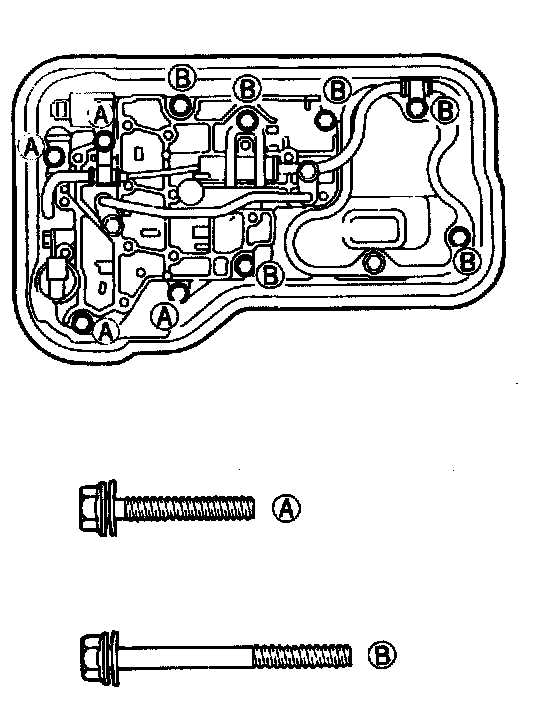
1. Install the control valve body and wiring clips as shown.
Tightening torque: 7.9 - 10.7 N.m {80 - 110 kg.cm, 70 - 95.4 in.lbf}
2. Connect the connectors.
3. Install the oil pan and a new gasket.
Tightening torque: 8.4 - 10.7 N.m {85 - 110 kg.cm, 74 - 95.4 in.lbf}
Bolt length (measured from below the head)
(A): 30 mm (1.18 in)
(B): 50 mm (1.97 in)
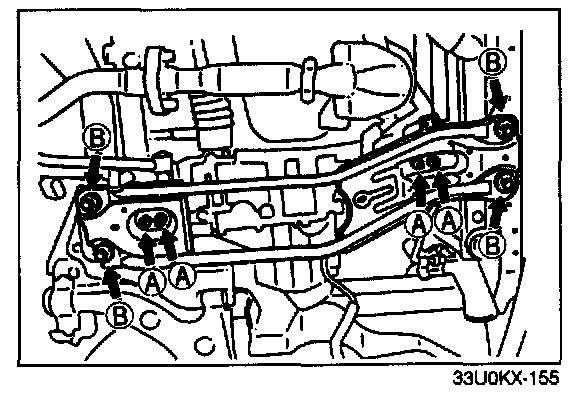
4. Loosely install nuts A and bolts B of the engine mounting member.
5. Install the engine mounting member.
Tightening torque
(A): 38 - 51 N.m {3.8 - 5.3 kg.m, 28 - 38 ft.lbf}
(B): 64 - 89 N.m {6.5 - 9.1 kg.m, 48 - 65 ft.lbf}
6. Remove the SST (engine support) from the engine.
7. Pour in ATF and with the engine idling, check the ATF level and check for leaks.
8. Drive the vehicle and check the shift points, shift schedule, and shift shock.