Transaxle Unit (Removal)
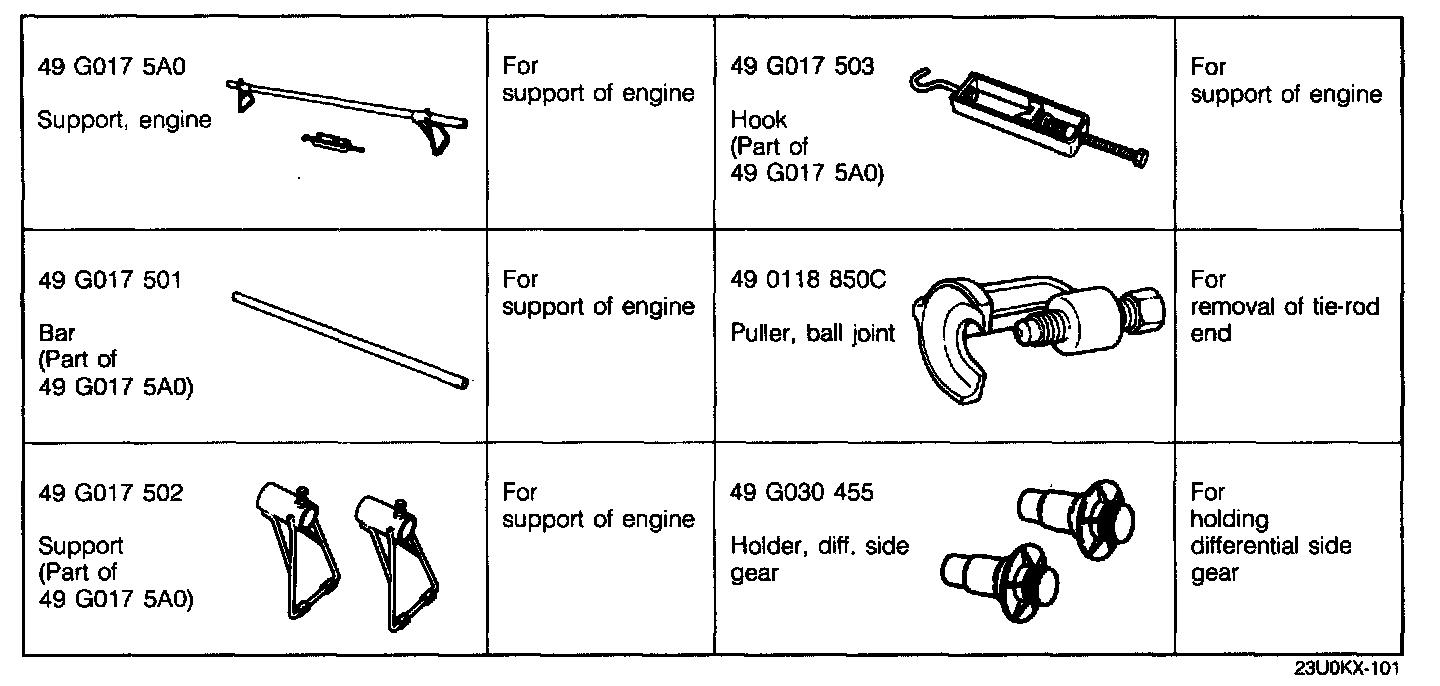
SST:
Preparation
Part 1:
Part 2:
Removal
1. Disconnect the negative battery cable.
2. Jack up the vehicle and support it with safety stands.
3. Drain the ATF into a suitable container.
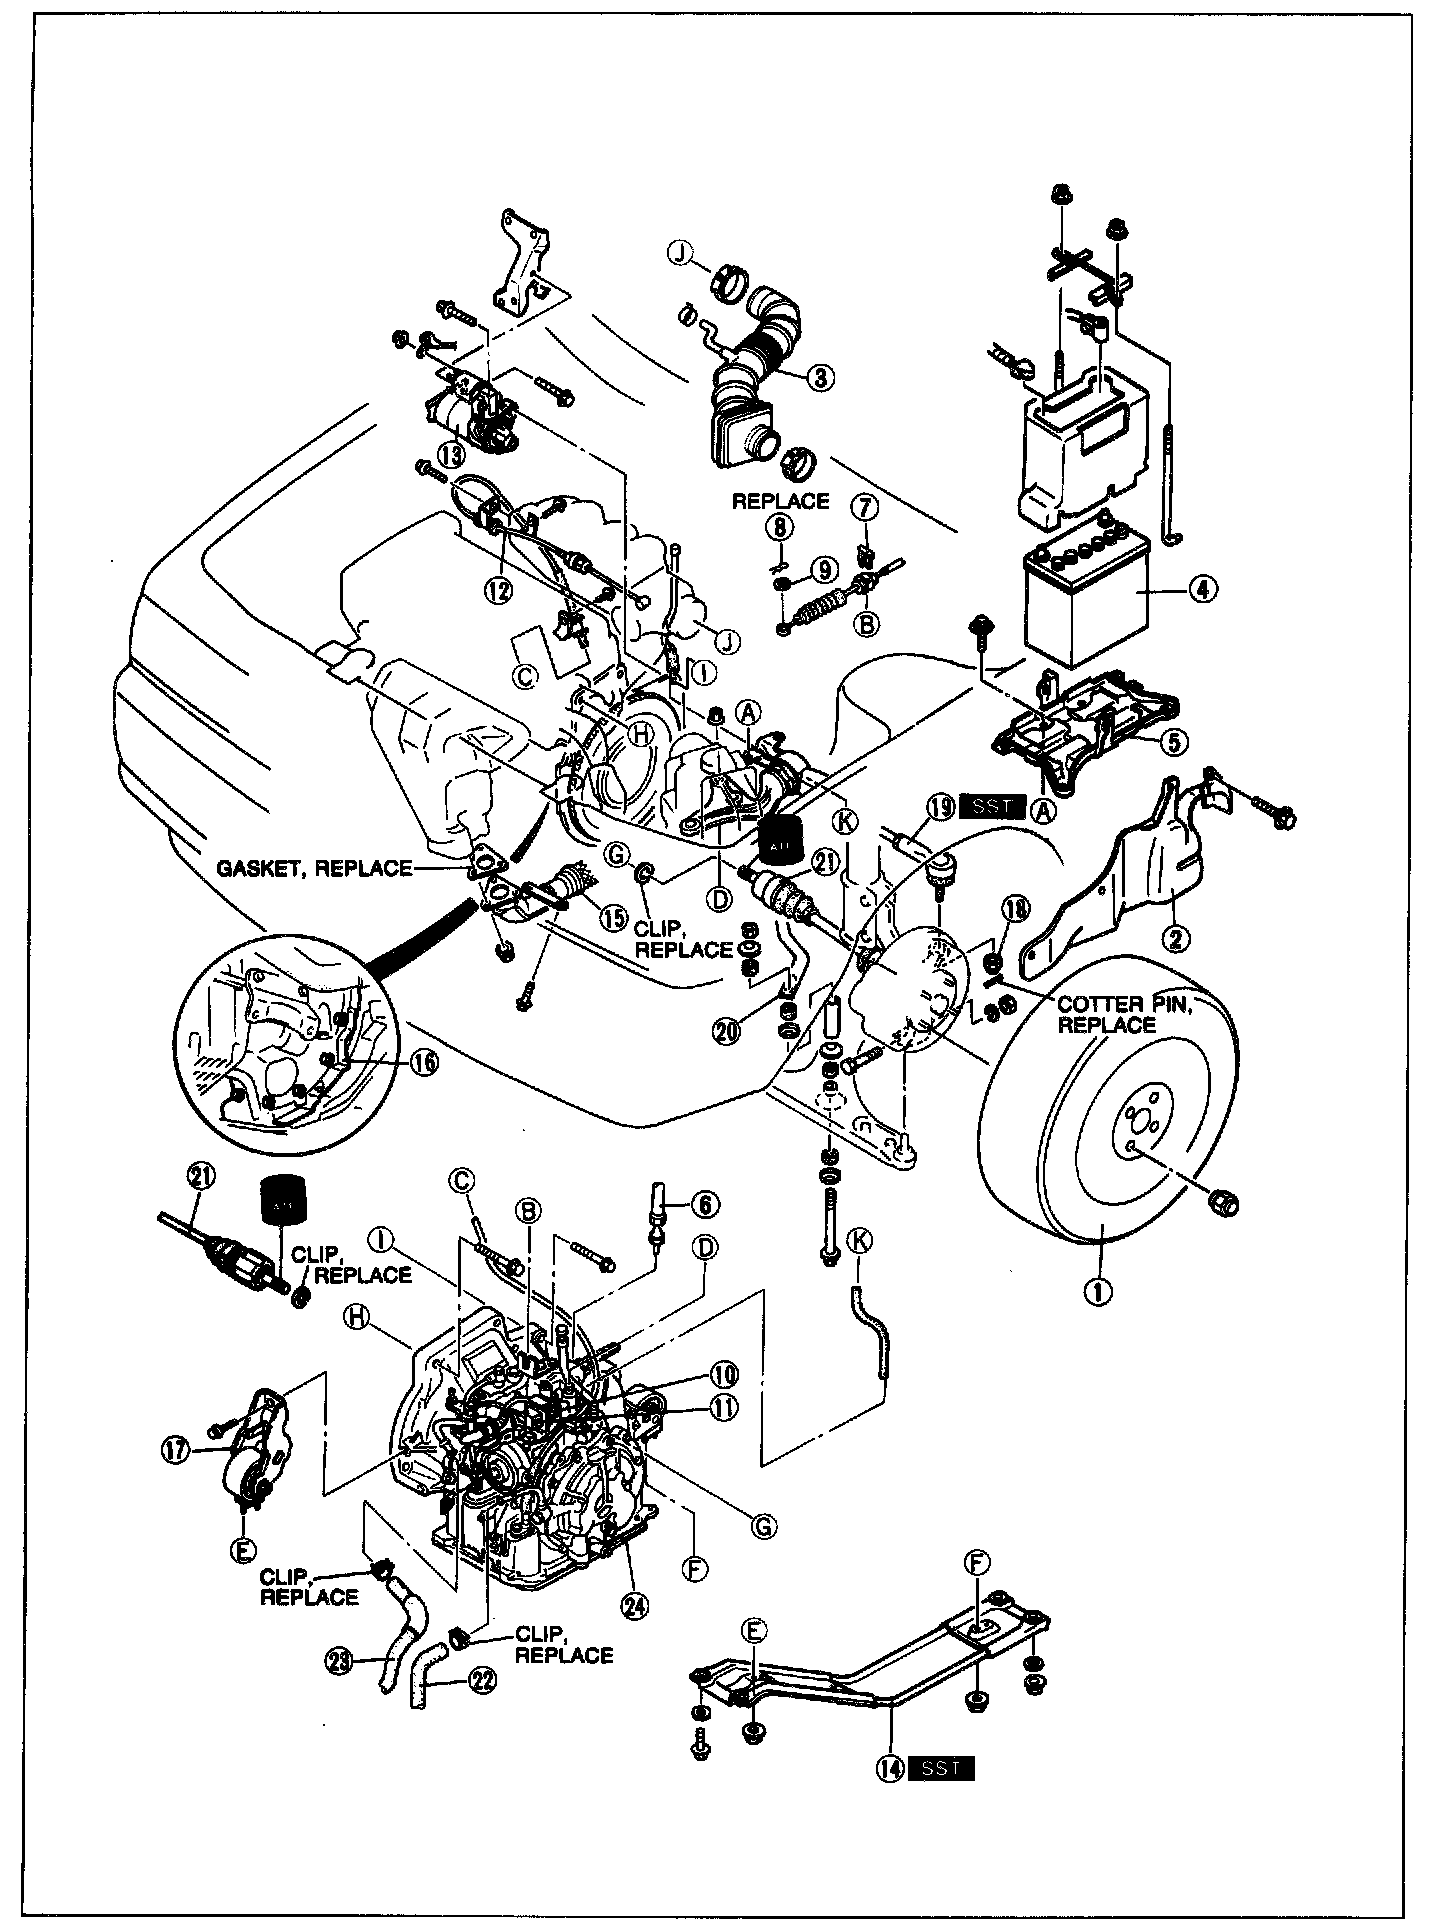
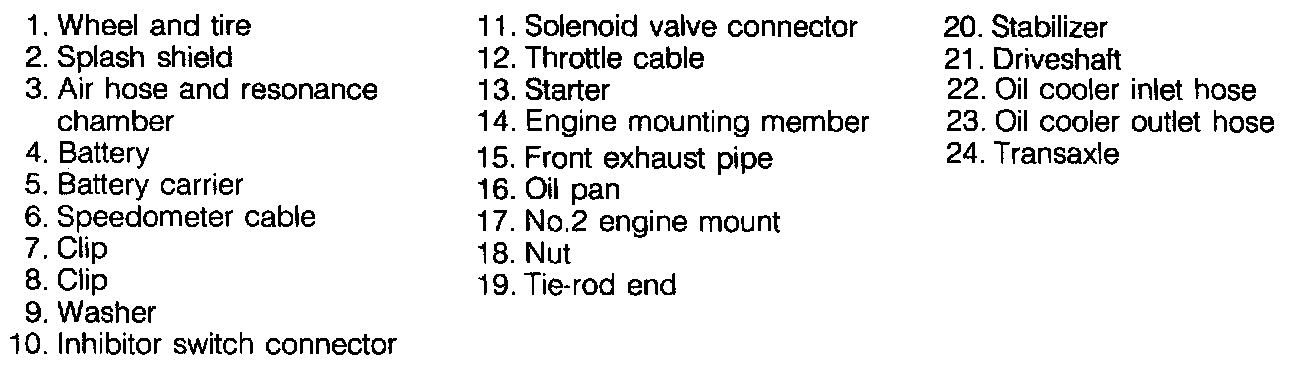
4. Remove in the order shown in the figure, referring to Removal Note.
CAUTION: Do not turn the transaxle over before removing the oil pan.
Removal note
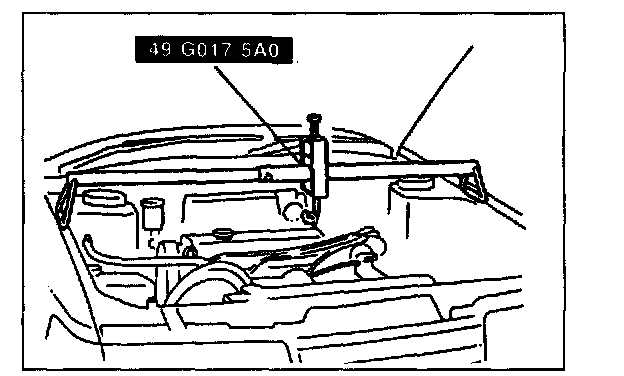
Engine mounting member
Suspend the engine with the SST before removing the engine mounting member.
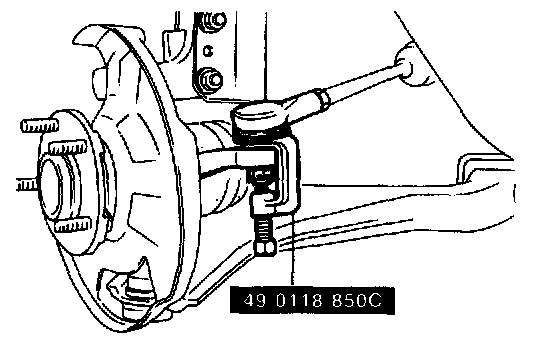
Tie-rod end
CAUTION:
- Do not damage the dust seal.
- Temporarily install the locknut to prevent thread damage.
- Do not reuse the cotter pin.
Remove the tie-rod from the knuckle with the SST.
Driveshaft
CAUTION: Do not damage the ball joint dust boot.
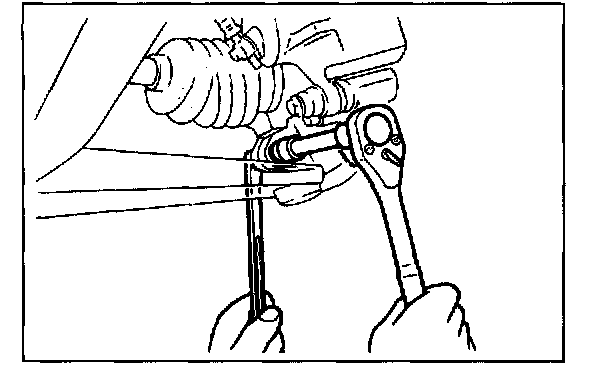
1. Remove the clinch bolts from the lower arm ball joints.
2. Pull the lower arms downward to separate them from the knuckles.
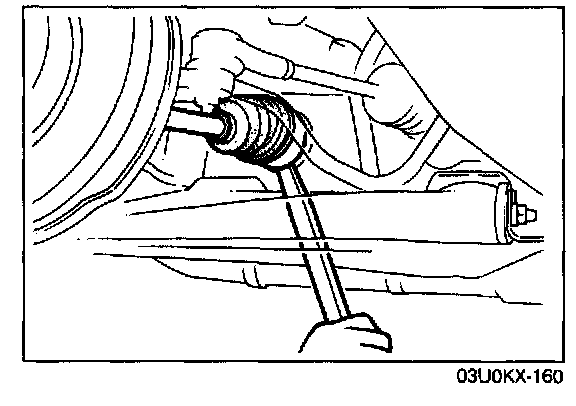
CAUTION: Do not damage the oil seal.
3. Separate the left driveshaft from the transaxle by prying with a bar inserted between the shaft and the transaxle case.
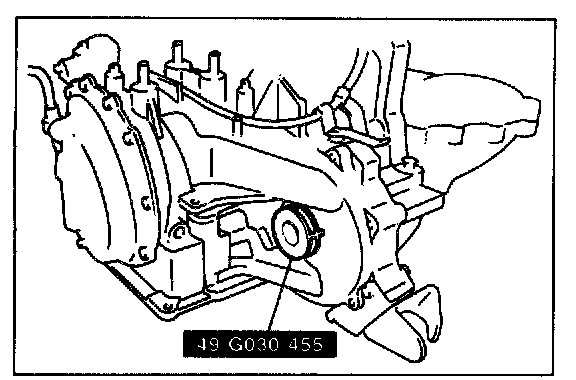
CAUTION: If the SST Is not installed, the differential side gears may become misaligned.
4. Slide the SST into the differential side gear.
Transaxle
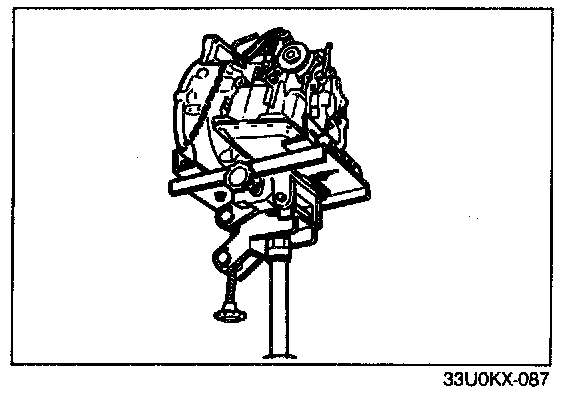
1. Lean the engine toward the transaxle by loosening the SST (engine support hook bolt).
WARNING: Do not allow the transaxle to fall from the lack.
2. Support the transaxle with a jack.
3. Remove the transaxle mounting bolts.
4. Remove the transaxle.