Evaporator Core: Service and Repair
Removal / Installation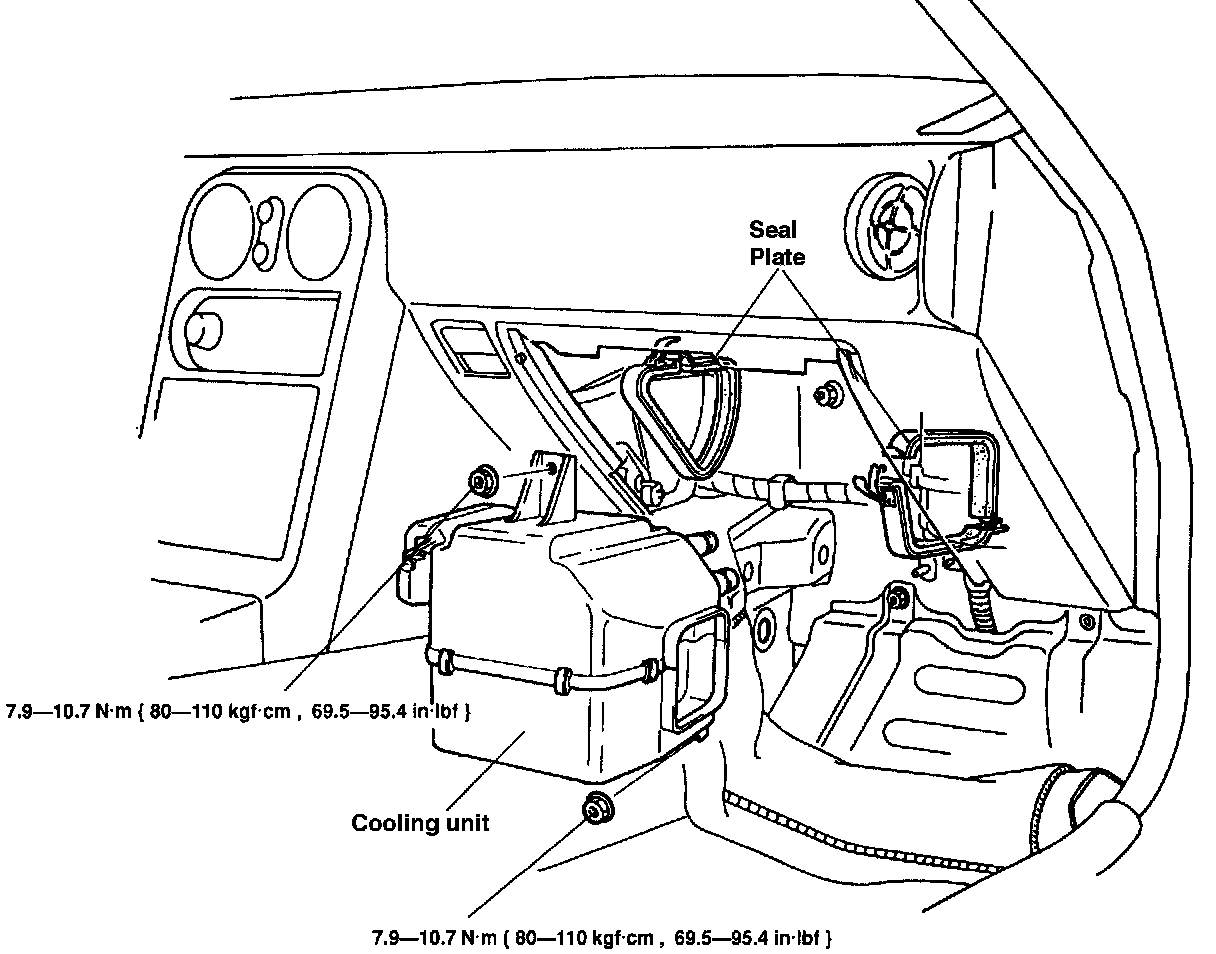
1. Discharge the refrigerant system.
2. Remove the glove compartment.
3. Remove in the order shown in the figure. Immediately plug all open fittings to keep moisture out of the system.
4. Install in the reverse order of removal.
- Position the unit so that its connections match those of the heater unit and blower unit.
- Apply clean compressor oil to the 0-rings before connecting the fittings; do not apply compressor oil to the fittings.
Tightening torque:
- Inlet pipe: 10-19 N.m { 1.0-2.0 kgf/m , 8-14 ft.lbf }
- Outlet pipe: 20-29 N.m { 2.0-3.0 kgf/m ,15-21 ft.lbf }
5. Charge the refrigerant system.
Disassembly / Assembly
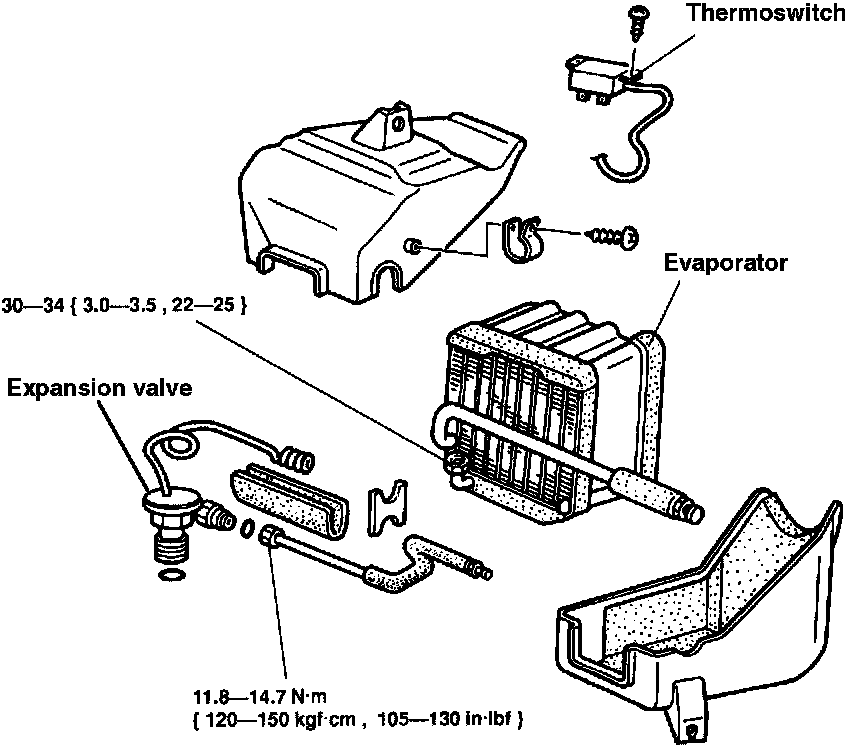
1. Disassemble in the order shown in the figure.
2. Assemble in the reverse order of disassembly.
Assembly note
Expansion valve
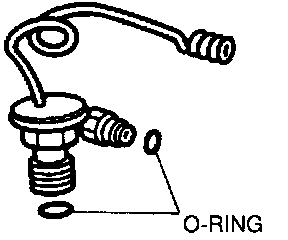
- Apply clean compressor oil to the 0-rings before connecting the fittings; do not apply compressor oil to the fittings.
Evaporator Inspection
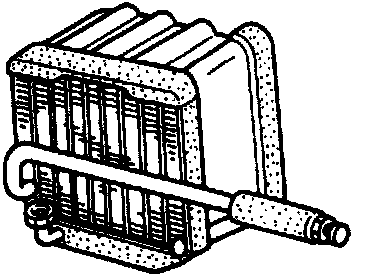
1. Check the evaporator fins for blockage. If the fins are clogged, clean them with compressed air. Do not use water to clean the evaporator.
2. Check the fittings for cracks and other damage. Replace the evaporator if necessary.
When installing a new evaporator, add 50 ml { 50 cc, 1.7 fl.oz } of compressor oil to the A/C compressor.