Valve Body: Service and Repair
1. Disconnect negative battery cable.2. Raise and support vehicle.
3. Loosen oil pan attaching bolts and drain fluid into a suitable container.
4. Remove oil pan and gasket.
5. Disconnect lock-up solenoid and ATF thermosensor connectors.
6. Remove oil strainer, then the O-ring from oil strainer.
7. Separate solenoid connector harness from harness clip.
8. Remove bracket and bolts, Fig. 13 and 14.
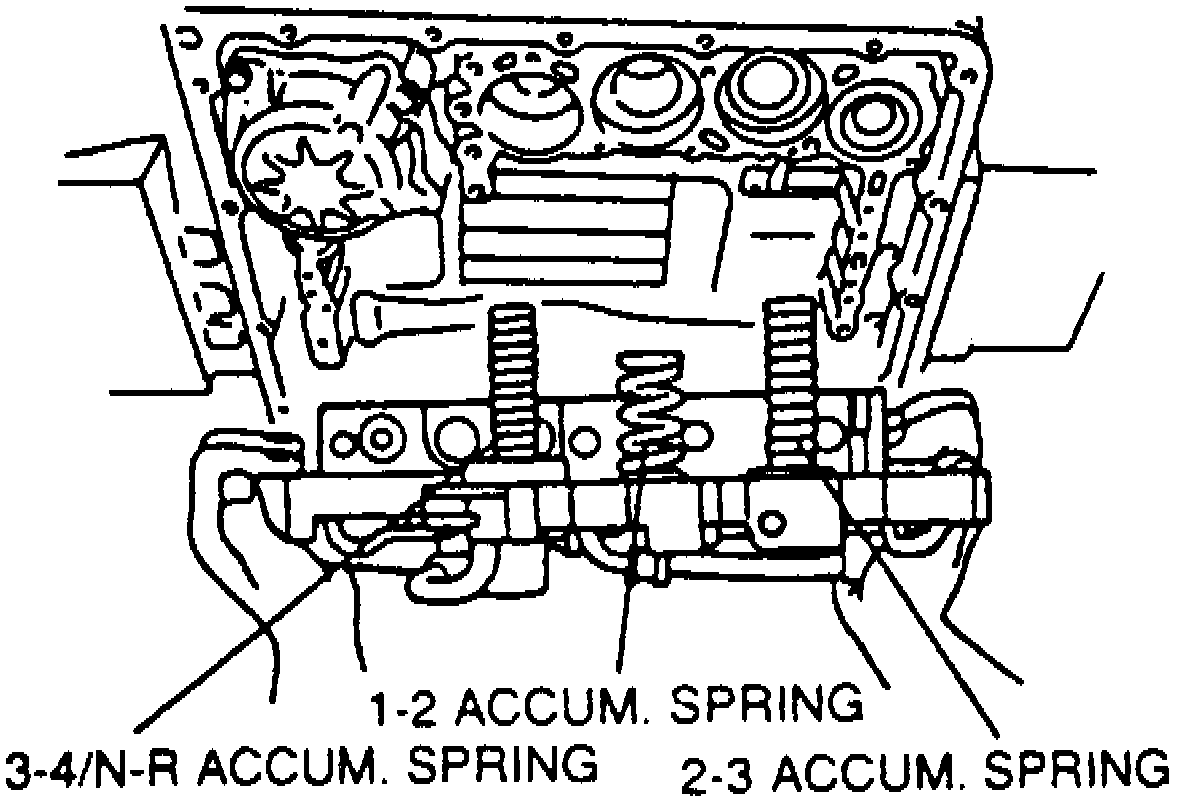
9. On R4A-EL, RA4AX-EL and R4AX-EL transmissions, remove control valve body and accumulator springs.
10. On RA4A-EL and RB4A-EL transmissions, proceed as follows:
a. Remove clip, then disconnect solenoid valve connectors.
b. Carefully remove control valve body assembly and accumulator springs.
11. Reverse procedure to install noting the following:
a. On RA4A-EL and RB4A-EL transmissions, refer to Fig. 15 when installing accumulator springs.
b. Torque control valve body attaching bolts to 61-78 in.lb.
c. On R4A-EL, RA4AX-EL and R4AX-EL transmissions, torque oil pan bolts to 52 - 69 in.lb.
d. On RA4A-EL and RB4A-EL transmissions, torque oil strainer and oil pan bolts to 61 - 78 in.lb.
Fig. 13 Control Valve Body Bracket & Bolts:
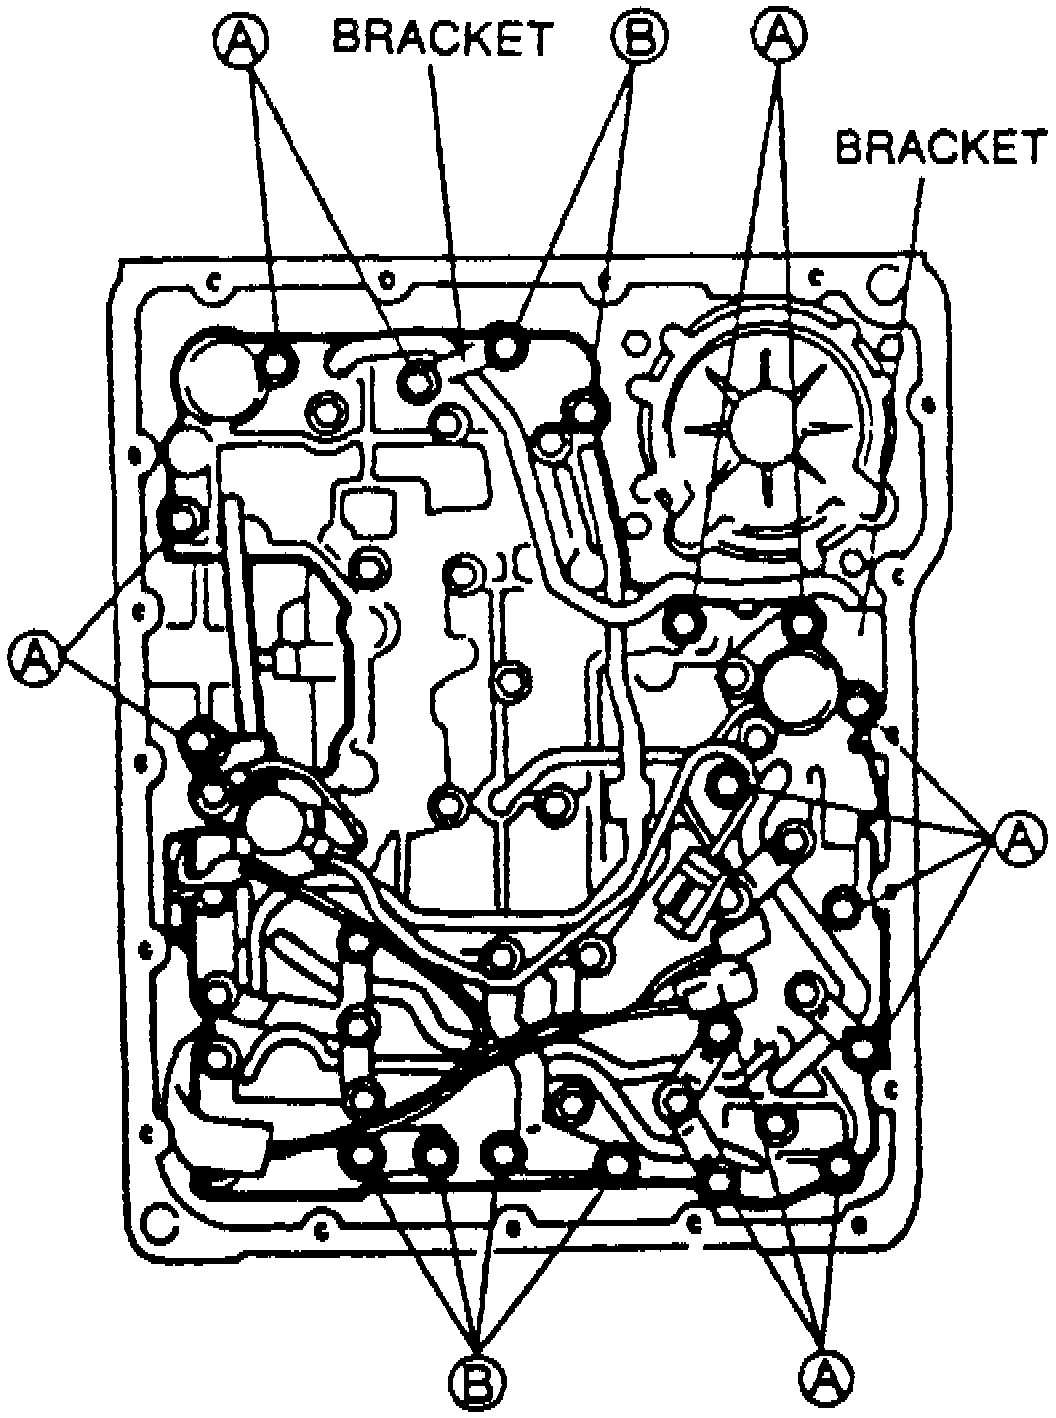
Fig. 14 Control Valve Body Bracket & Bolts:
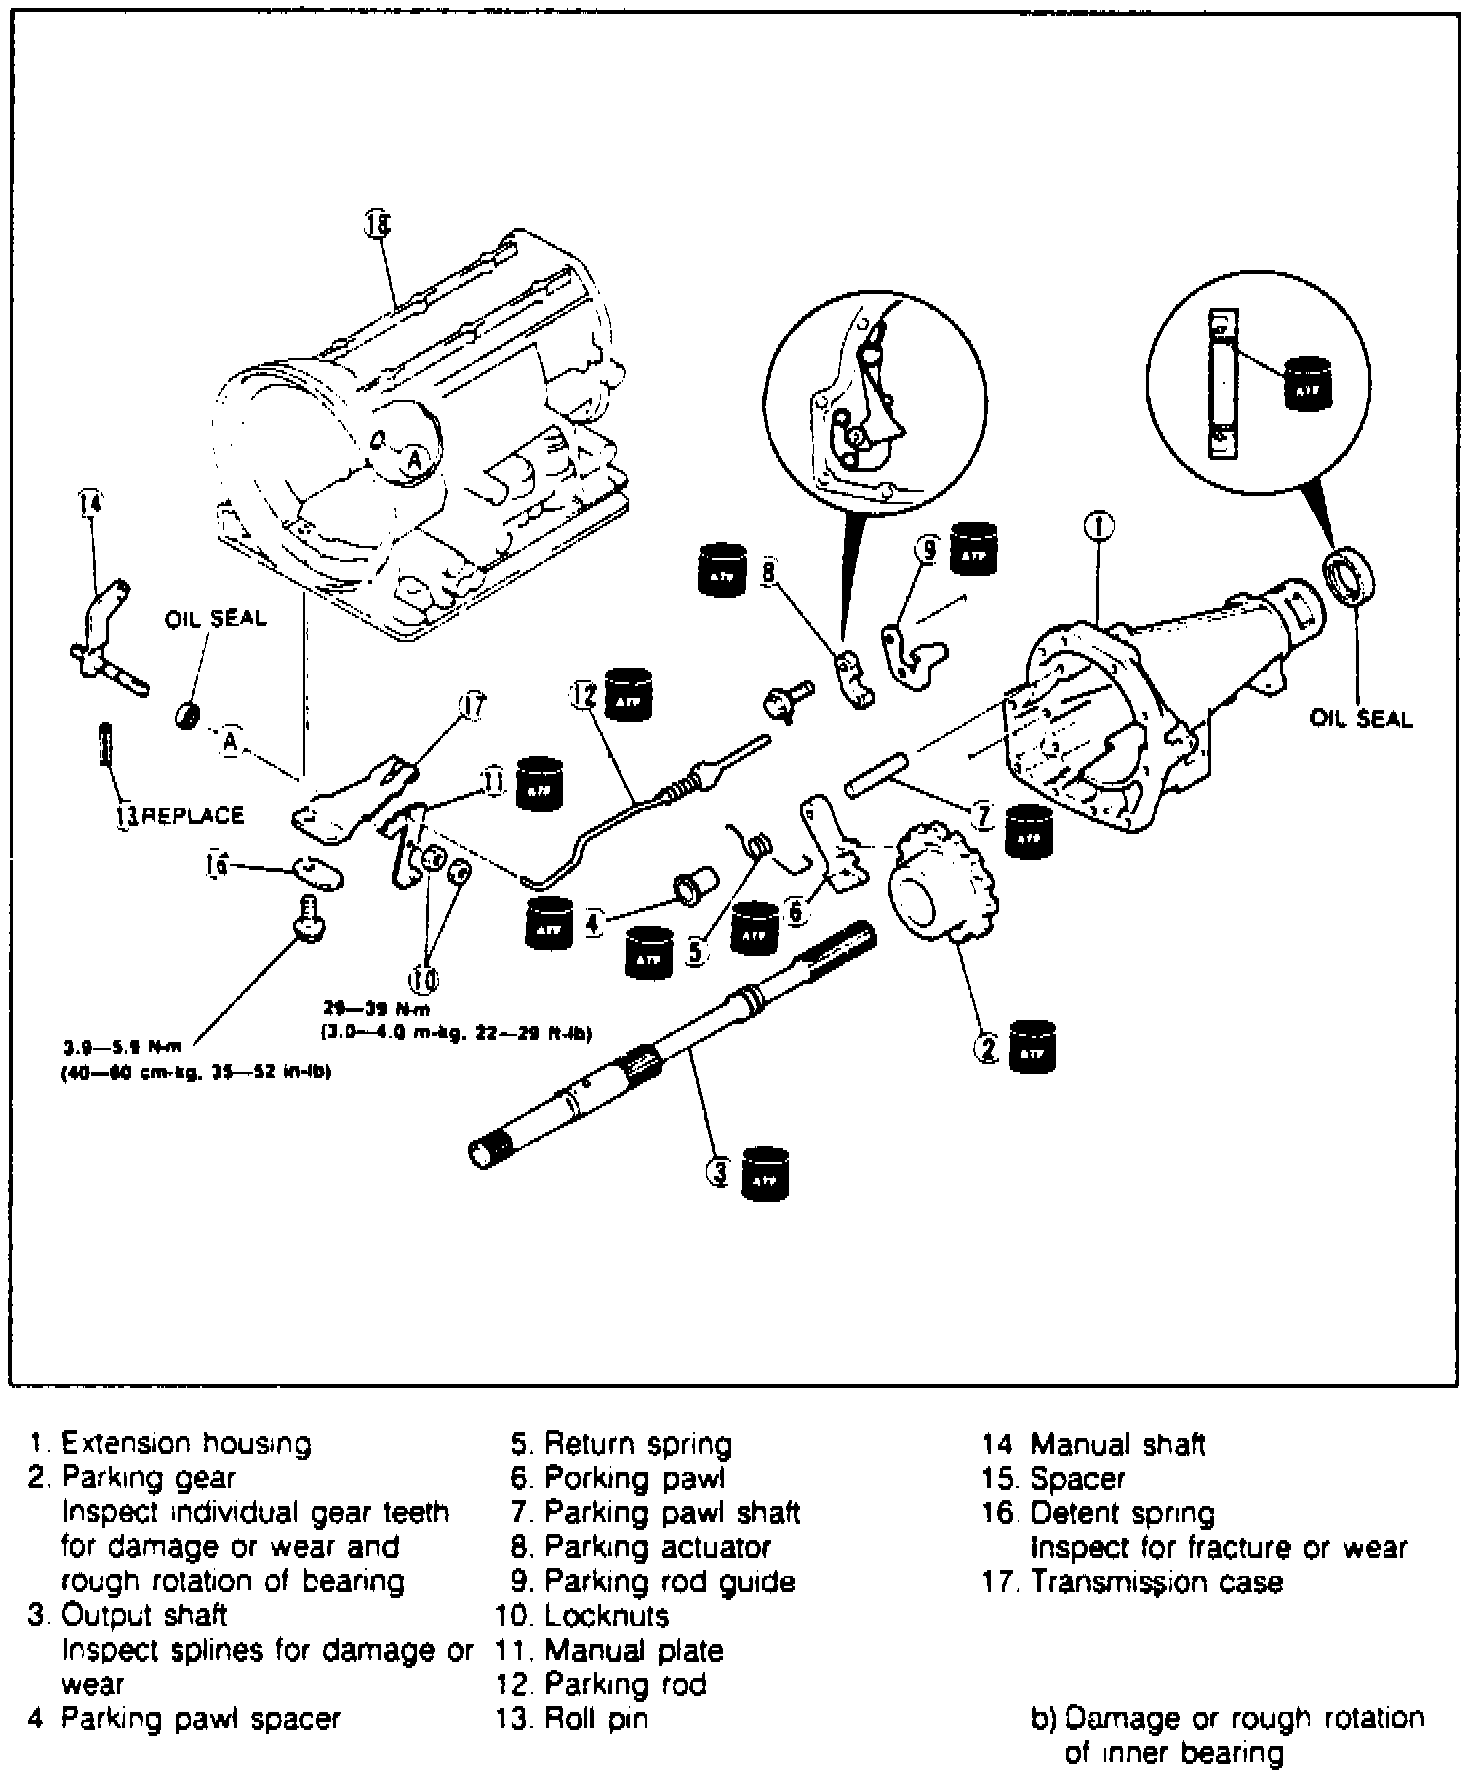
Fig. 15 Accumulator Spring Installation: