Removal
NOTE- Before disassembling the A/C compressor clutch assembly for repair, it is important to check the A/C clutch air gap. This will help determine if the clutch is not engaging or if the compressor is failing internally.
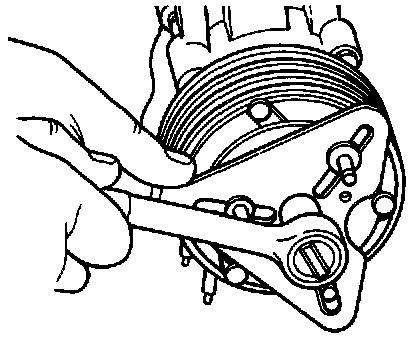
1. Remove the clutch hub retaining bolt. Use universal spanner wrench.
NOTE
- Note the location of coil electrical connection for proper orientation during clutch coil installation.
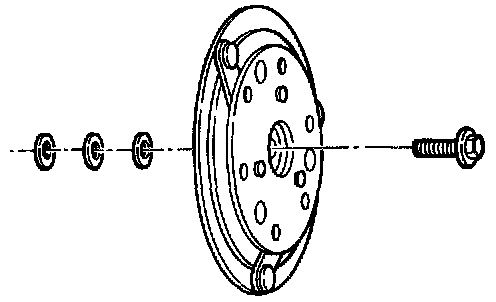
2. Remove clutch hub and shims from compressor shaft.
NOTE
- If hub cannot be pulled from compressor shaft, screw an 8mm bolt into shaft hole of clutch hub to force hub from shaft.
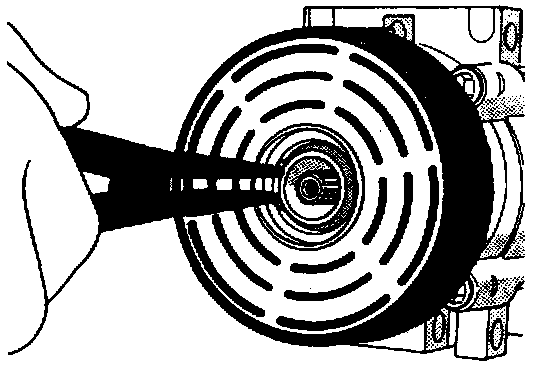
3. Remove the pulley retaining snap ring and remove pulley.
4. Install shaft protector tool 49 UN01 047 on the nose opening of the compressor.
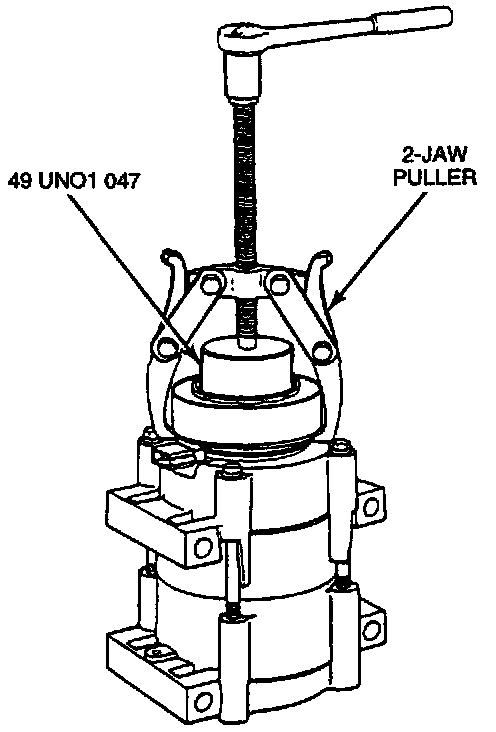
5. Install 2-jaw puller on the compressor with tip of the puller forcing screw in the center pilot. Place the jaws of the puller around the back edge of the field coil.
Tighten the puller forcing screw to pull coil from compressor.
NOTE
- Do not use air tools.