Rear
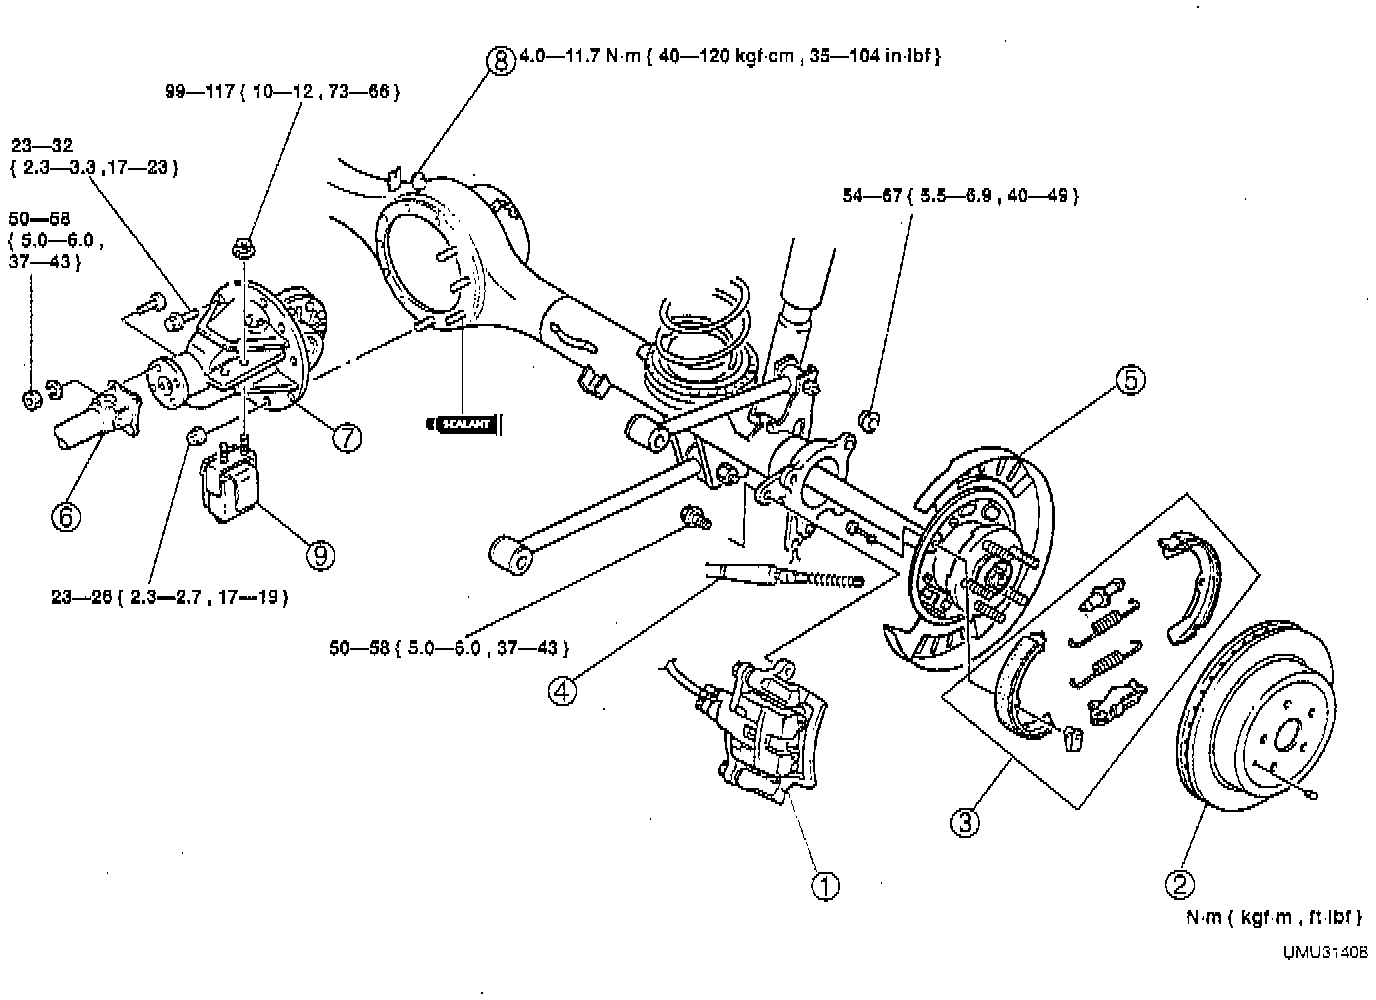
NOTE: When installing the differential, install it within 10 minutes after applying the sealant. Allow the sealant to set at least 30 minutes after installation before filling the differential with the specified oil.Part 1 Of 2:
Part 2 Of 2:
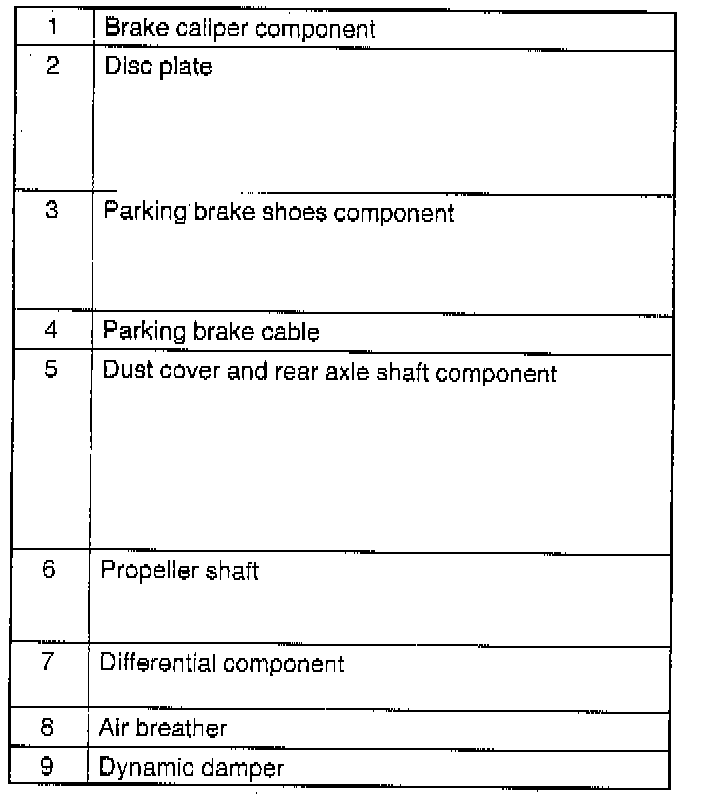
REMOVAL / INSTALLATION
1. Remove in the order indicated in the illustration, referring to removal note.
2. Install in the reverse order of removal indicated in the illustration, referring to installation note.
Removal Note
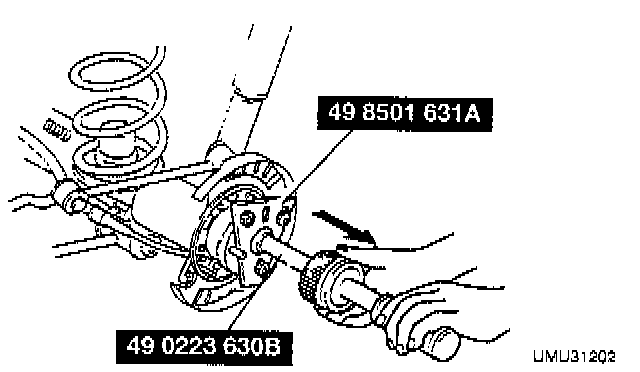
Rear Axle Shaft (5)
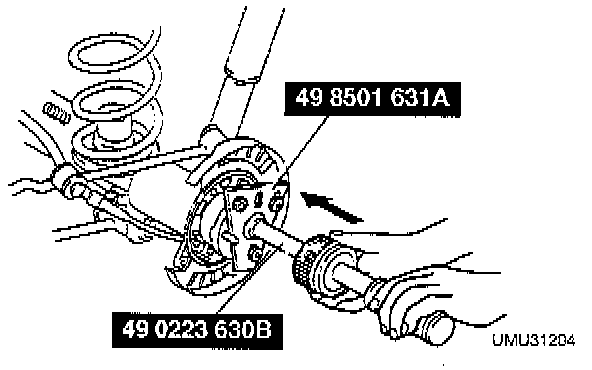
Remove the dust cover and rear axle shaft component by using the Special Service Tools (SSTs).
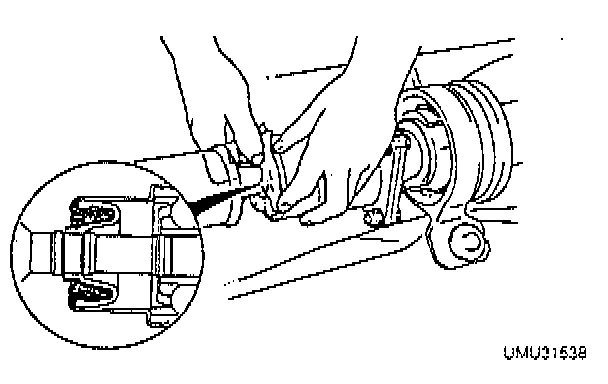
Propeller Shaft (6)
1. Push a rag into the double-offset joint to hold the propeller shaft straight and to prevent damage to the boot.
2. Remove the rear propeller shaft.
Installation Note
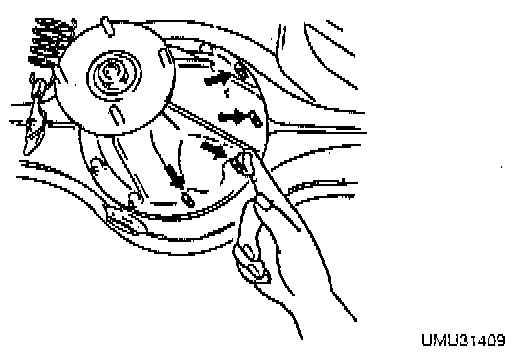
Differential (7)
1. Apply sealant to the stud threads, carrier, and housing faces.
2. Tighten the nuts and bolts to 23 - 26 Nm (17 - 19 ft. lbs.).
Propeller Shaft (6)
1. Push a rag into the double-offset joint to prevent damage to the boot.
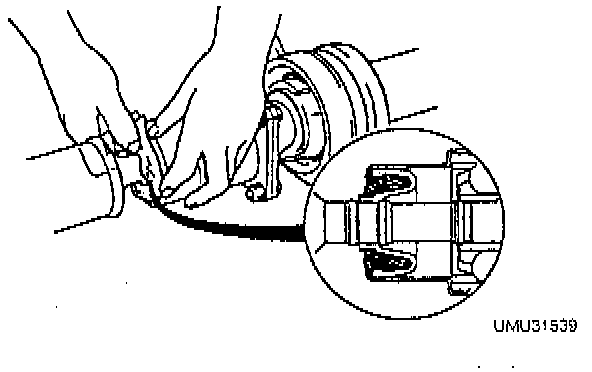
NOTE: New propeller shafts are equipped with an insulator to prevent damage to the boot.
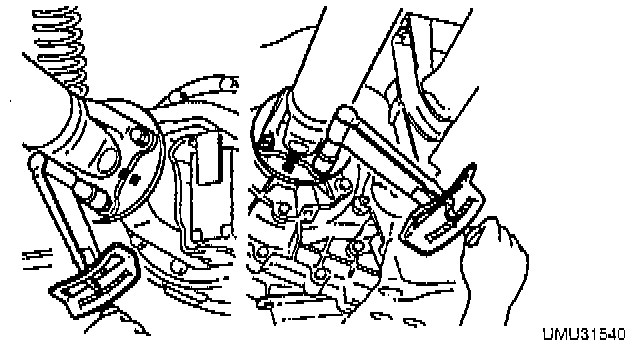
2. Align the marks and install the propeller shaft. Tighten to 50 - 58 Nm (37 - 43 ft. lbs.).
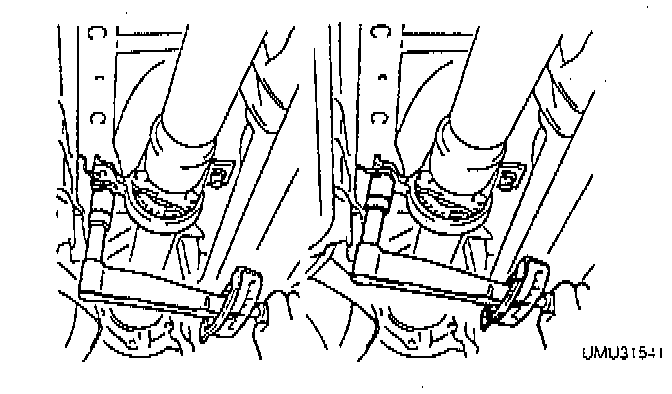
3. Install the center bearing support component by using the removed bolts and spacers. Tighten to 37 - 52 Nm (27 - 39 ft. lbs.).
4. Remove the rag or insulator from the double-offset joint, and check the boot for damage.
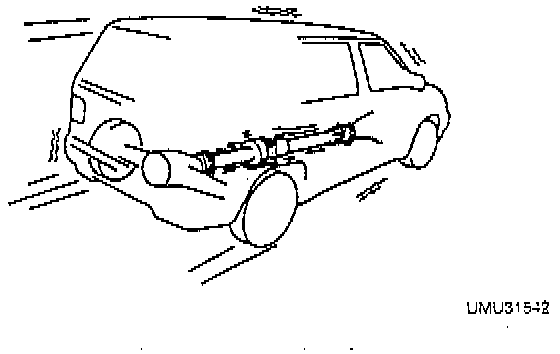
5. Verify that there is no abnormal noise or vibration when driving the vehicle.
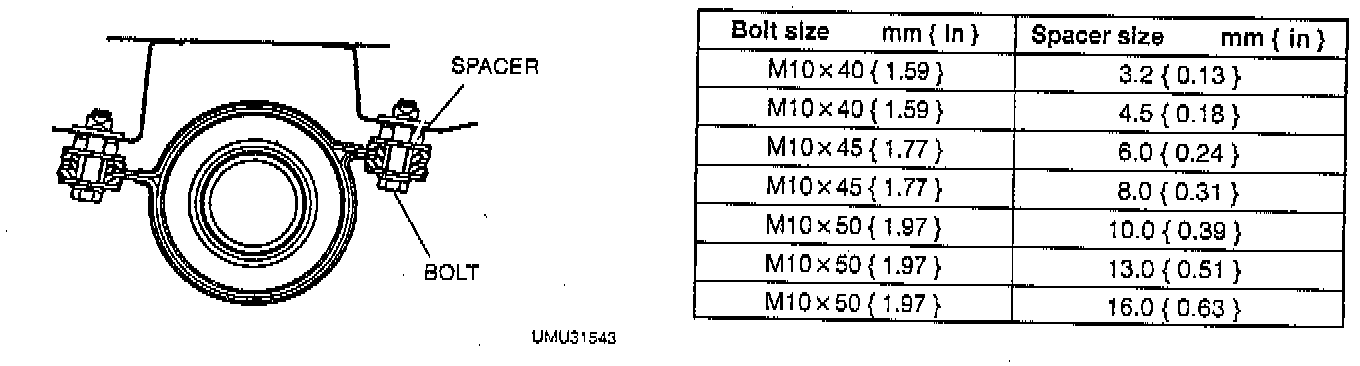
6. If noise or vibration seems to be the result of incorrect propeller shaft alignment angle, replace the bolts.and spacers at the center bearing support with new ones. Bolts and spacers used on one side must have the same dimensions as those used on the other side.
Rear Axle Shaft (5)
Install the dust cover and rear axle shaft component by using the SSTs.