Campaign - Windshield AS1 Marking
BULLETIN NUMBER:SSP42
DATE:
April 2000
TITLE:
"AS1" Windshield Marking [Special Service Program #SSP42]
MODELS:
1998-1999 B-Series Trucks
Dealer Letter For Special Service Program:
CONDITION OF CONCERN
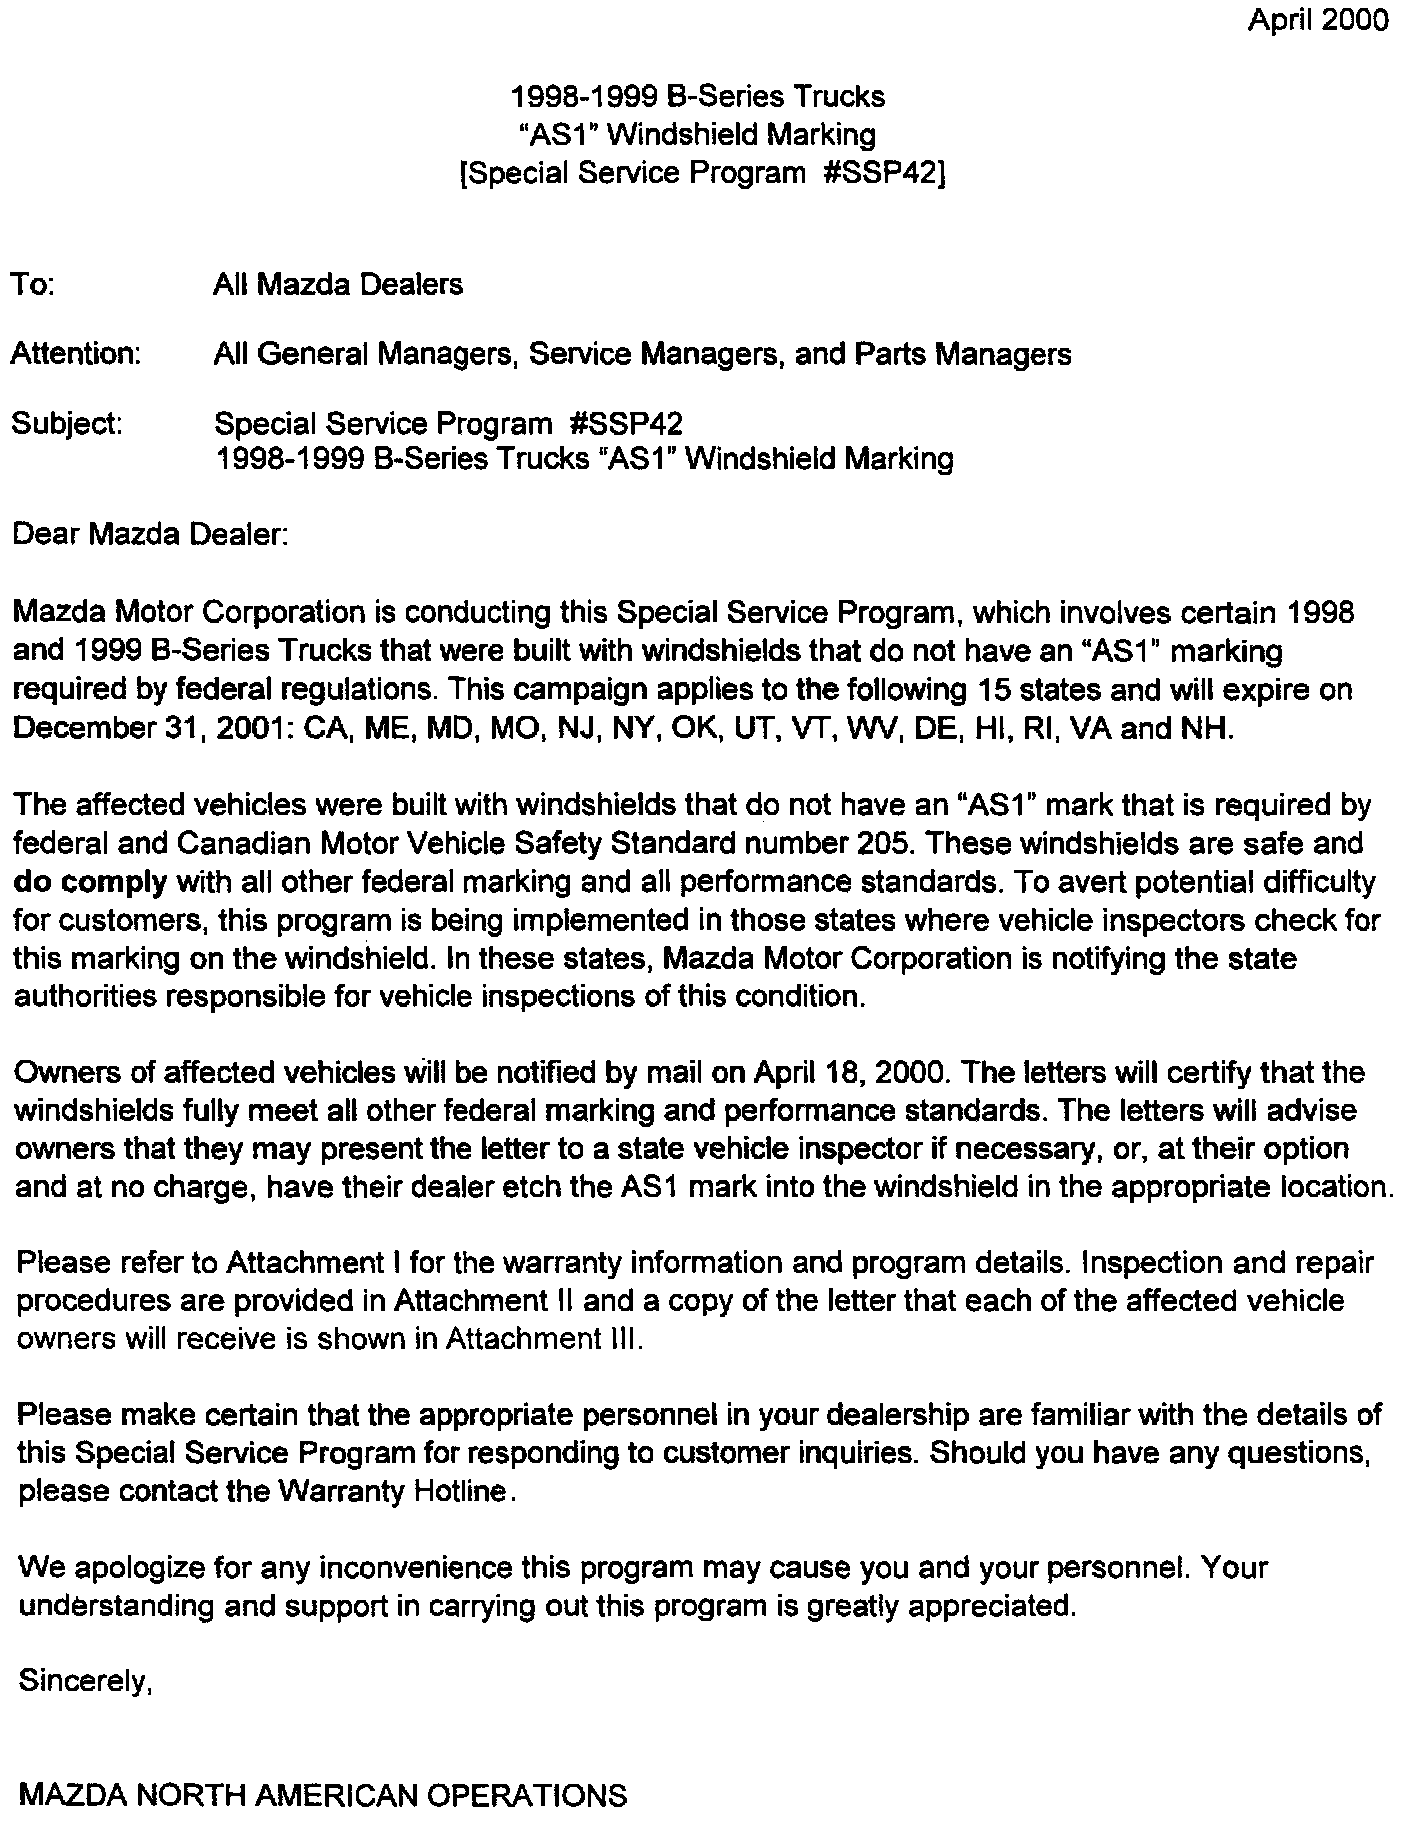
The affected vehicles were built with windshields that do not have an "AS1" mark that is required by federal and Canadian Motor Vehicle Safety Standard number 205. These windshields are safe and do comply with all other federal marking and all performance standards. This program is being implemented to avert any difficulty during a state vehicle inspection when the windshield is checked for this marking.
SUBJECT VEHICLES
All 1998-1999 B-Series Trucks built from 7/23/98 to 9/22/98. The Special Service Program will be conducted in these 15 affected states where window marking is part of an annual vehicle inspection: CA, ME, MD, MO, NJ, NY, OK, UT, VT, WV, DE, HI, RI, VA and NH.

REQUIRED PARTS
An initial kit will be drop-shipped to dealers a week before owner notification. The quantity shipped to each dealer will be based on the number of vehicles registered~in each dealer's area.
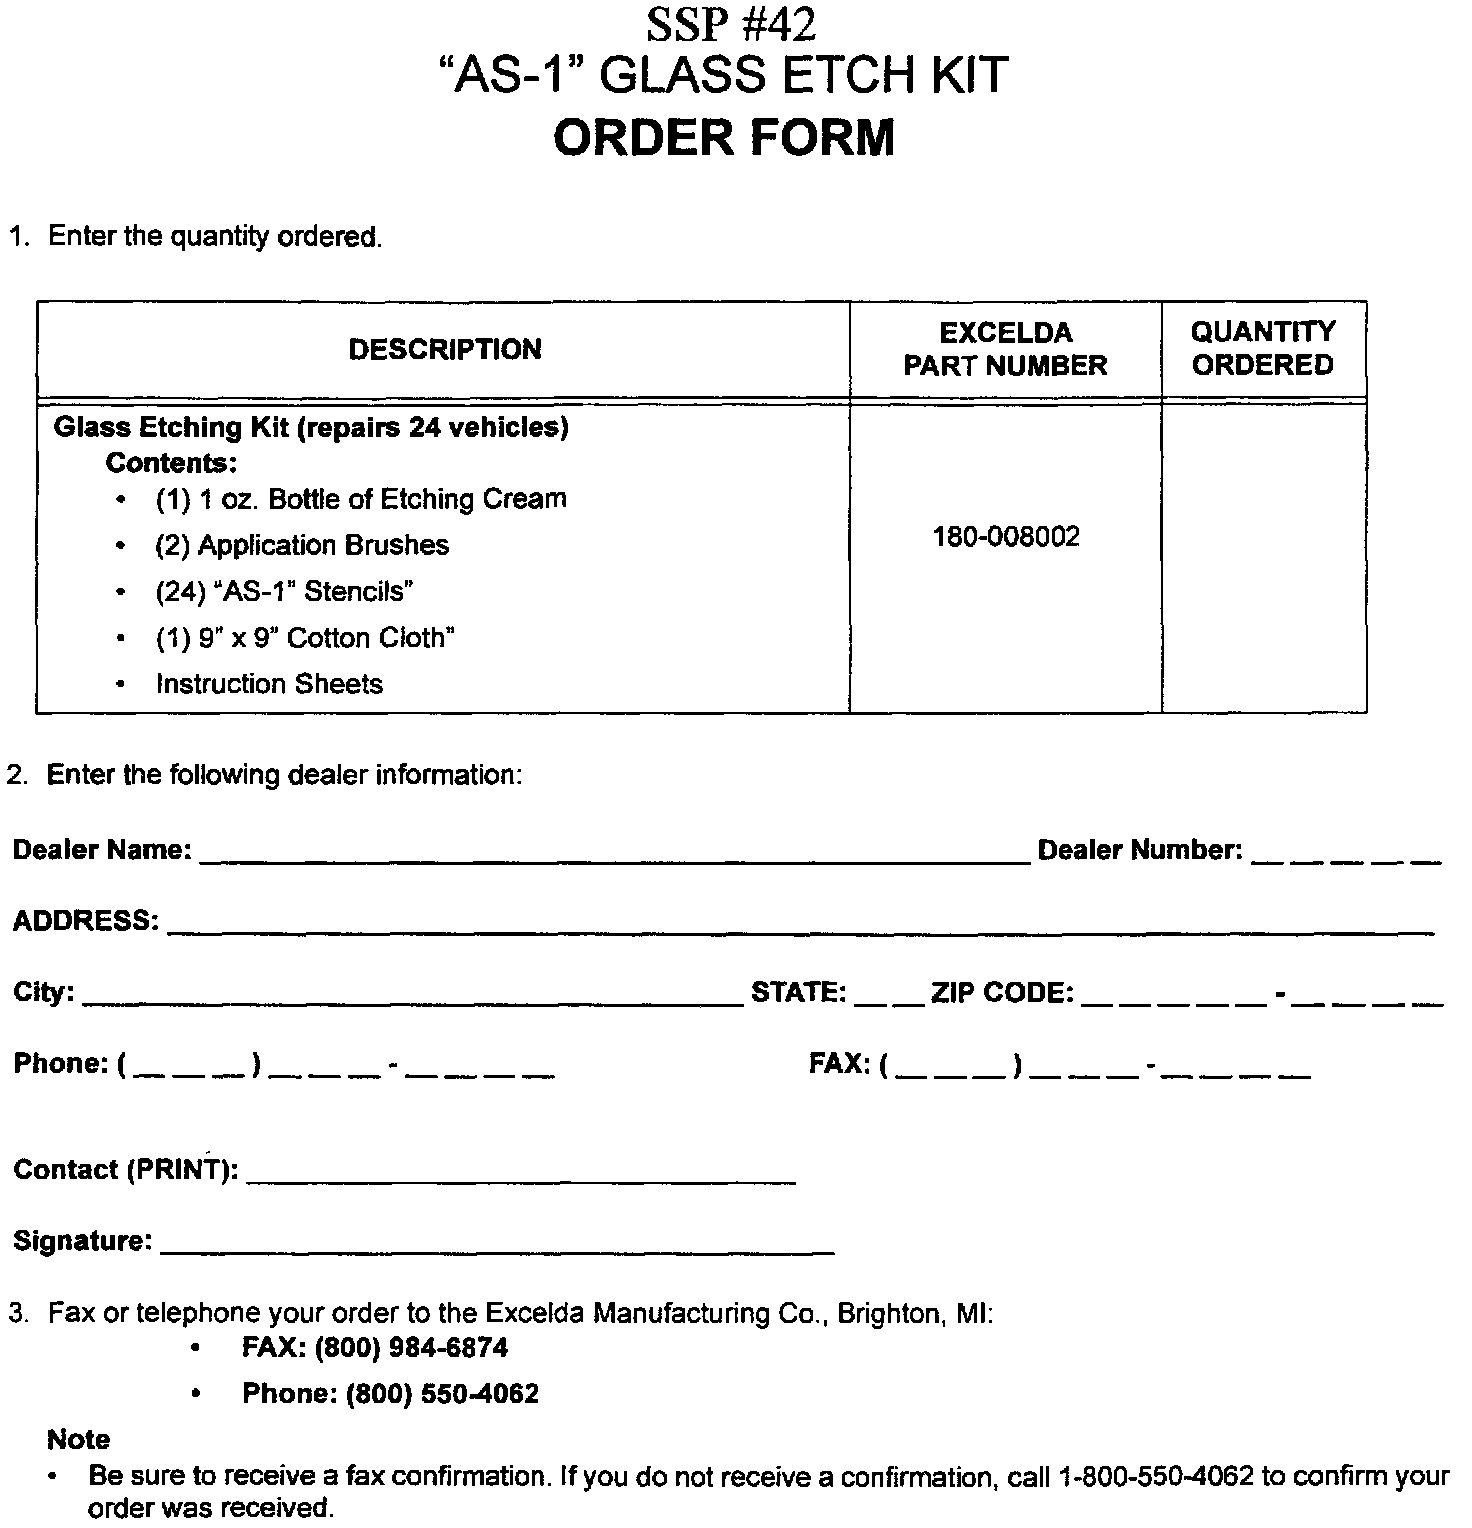
To order additional Etching Kits, please submit a Fax Order to Excelda Manufacturing Co., or phone your order to 800-550A062. (See Attachment II for Fax Order Form/Ordering Instructions) All orders will be shipped the same day the order is received. Replacement parts ordered will be shipped directly from our supplier, Excelda Manufacturing Co. and are free of charge to the dealer.
Campaign labels are supplied at no charge and are available in 8 1/2" X 11" sheets containing 18 labels. Please use M-Net to order labels.
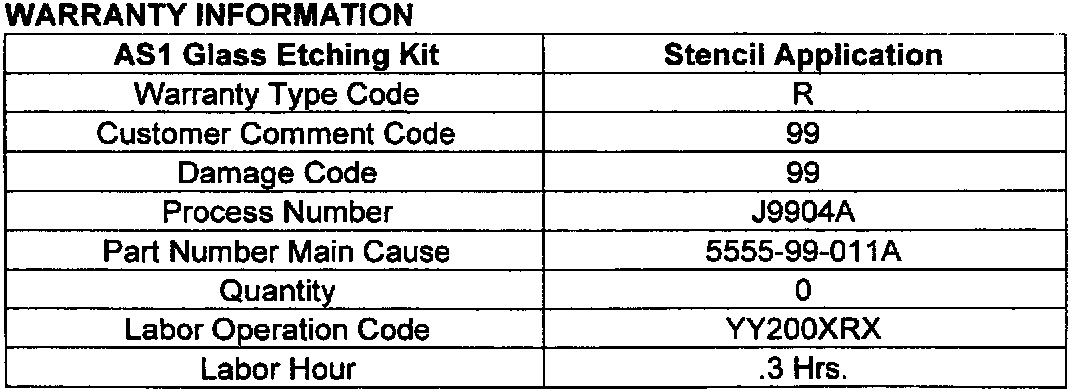
WARRANTY INFORMATION
REPAIR PROCEDURE
A. VEHICLE INSPECTION PROCEDURE
1. Using MDCS, perform a warranty status inquiry and check for the following conditions:
- #SSP42 is not listed (vehicle is not affected); return vehicle to customer
- #SSP42 is listed followed by "D" (done); return vehicle to customer.
- #SSP42 is listed followed by "N" (not done); proceed to STEP 2.
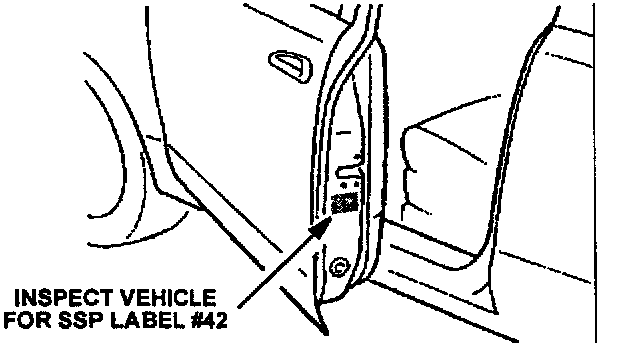
2. Check the vehicle for SSP Label #42 attached to the driver's side door. Refer to illustration below.
- If the SSP Label #42 is present and the vehicle history shows the SSP as not done, contact the Warranty Department. They will update the vehicle history.
- If the SSP Label #42 is not present, proceed to "B. PREPARATION".
B. PREPARATION
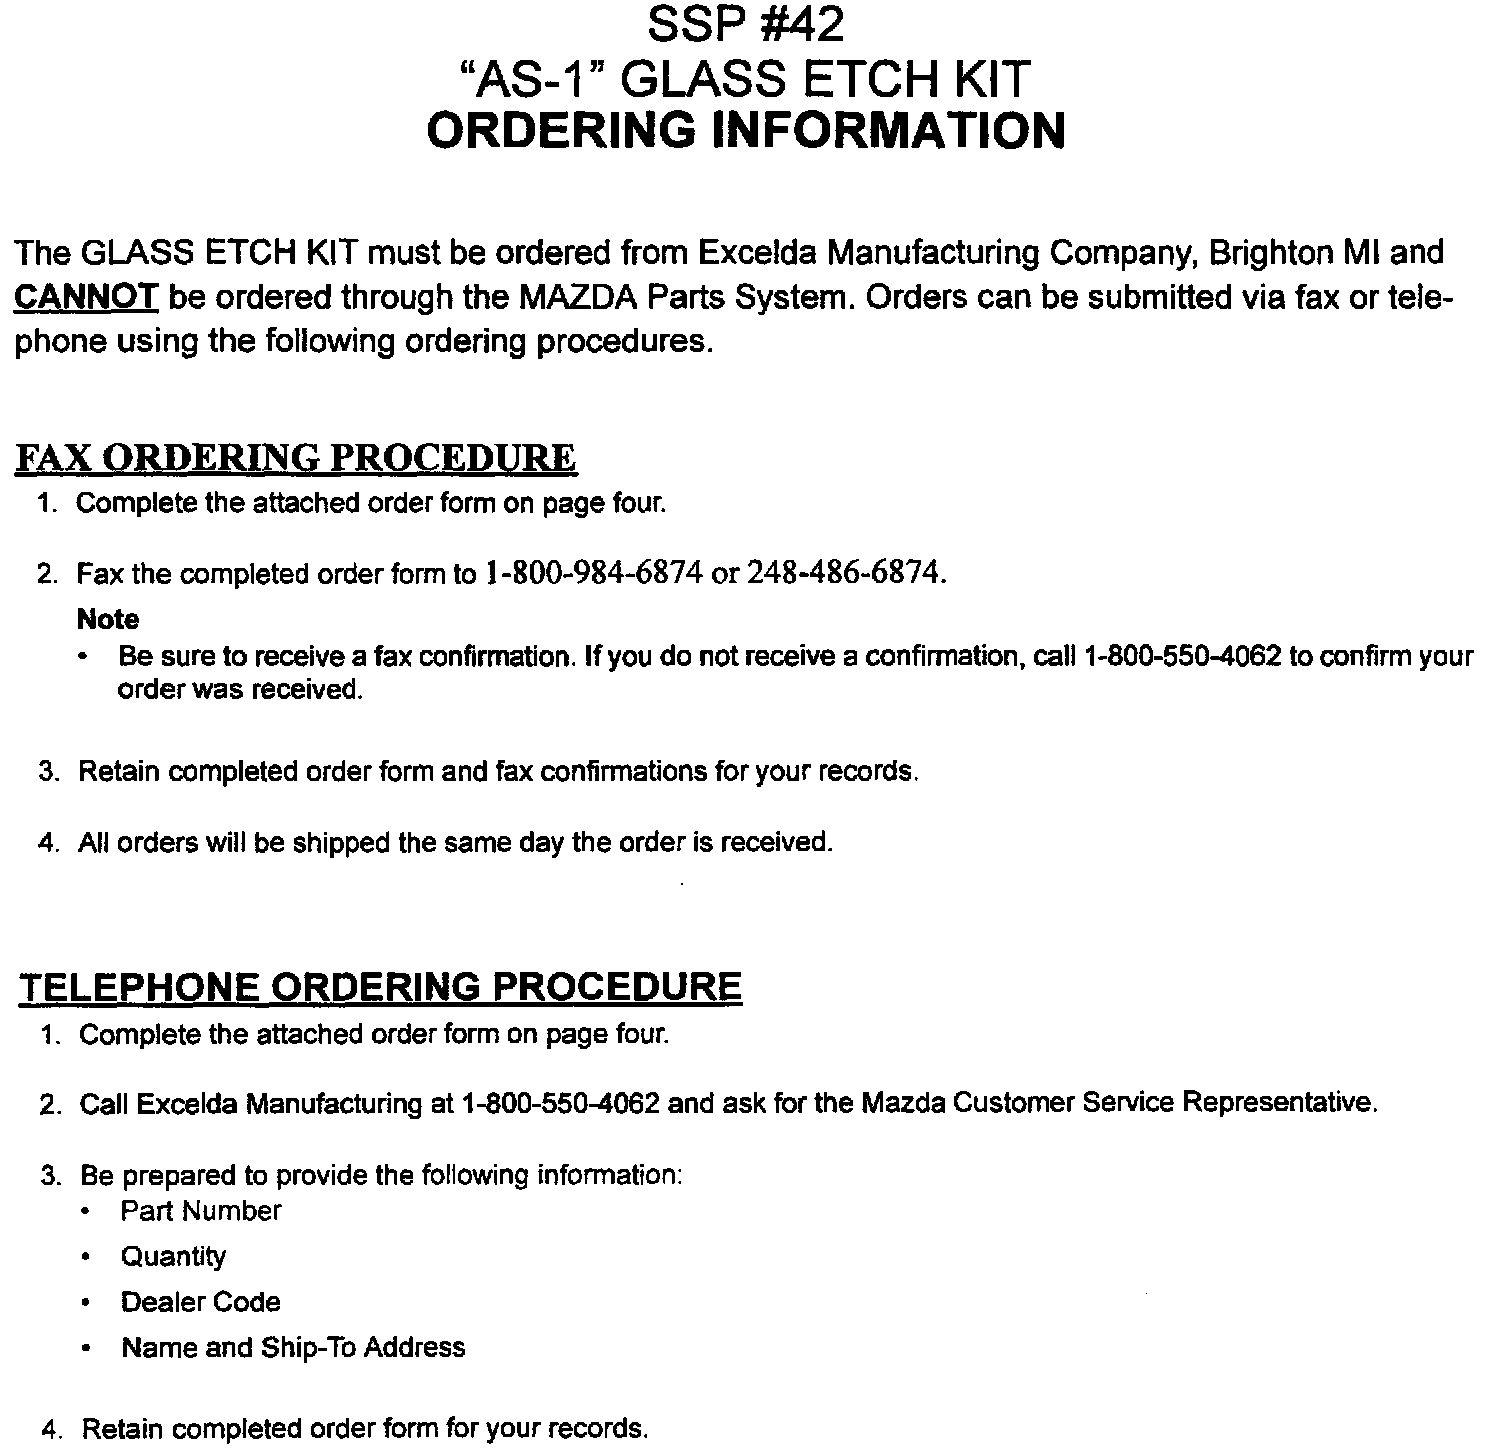
- A Glass Etch Kit (PIN 180-008002) is required for this SSR It is NOT available from the Mazda Parts System. Refer to page three for order information.
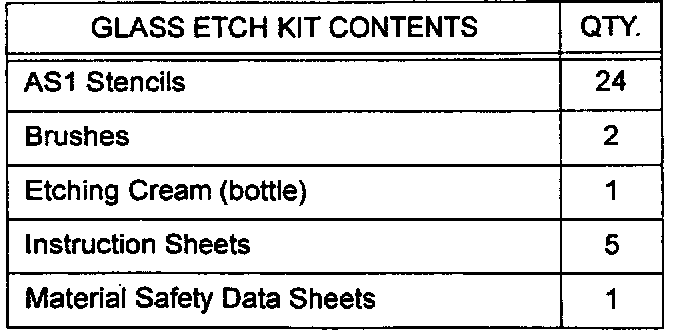
- This kit is not intended for retail sale.
Note:
This kit can be used on up to 24 vehicles. Retain brushes and etching cream until all stencils have been used or all vehicles have been completed.
1. Wear rubber or neoprene gloves and safety glasses.
2. Perform work in well-ventilated area.
3. Use drop cloth or equivalent to protect hood and leaf screen from accidental drips/spillage of etching cream.
4. Allow windshield to reach room temperature (approximately 70°F).
Caution
Failure to allow windshield to reach room temperature will affect transfer of stencil and could neutralize etching cream.
5. Clean and dry outside surface of windshield, in area of trademark.
Caution
Moisture on windshield will neutralize etching cream.
APPLICATION OF STENCIL
1. Remove the white backing sheet from the frosted AS1, blue field stencil.
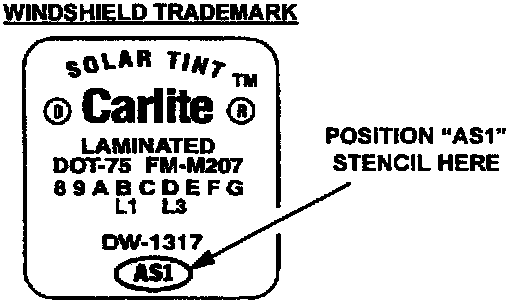
2. Position AS1 stencil on windshield in the illustration.
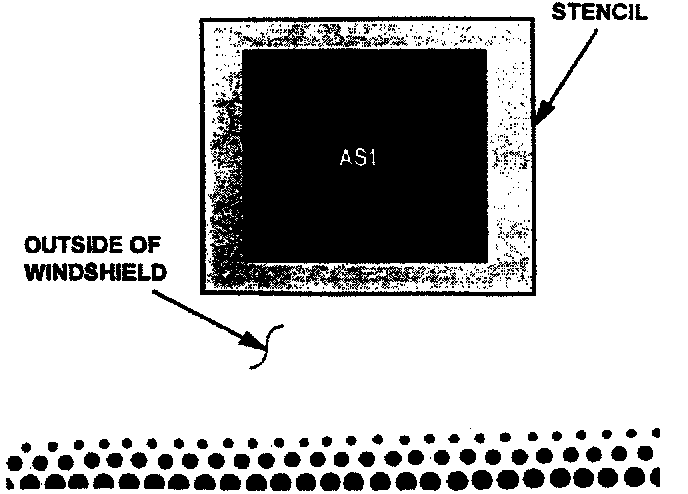
Place stencil on outside surface of windshield with blue (tacky) side touching windshield as shown in the illustration.
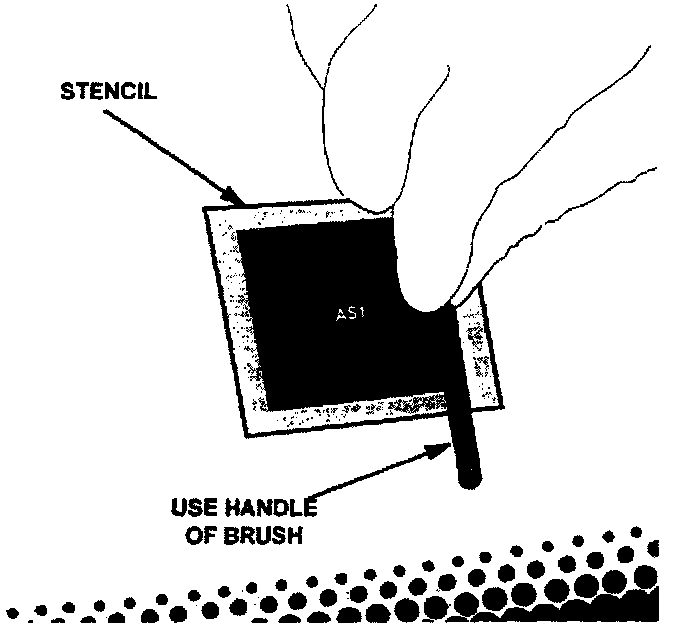
3. With smooth, even strokes, firmly rub over entire blue area of stencil as shown below. DO NOT DIG INTO STENCIL.
The entire blue field of the stencil will transfer from the sheet to the windshield. During this process you will see the sheet turning to clear as the stencil transfers.
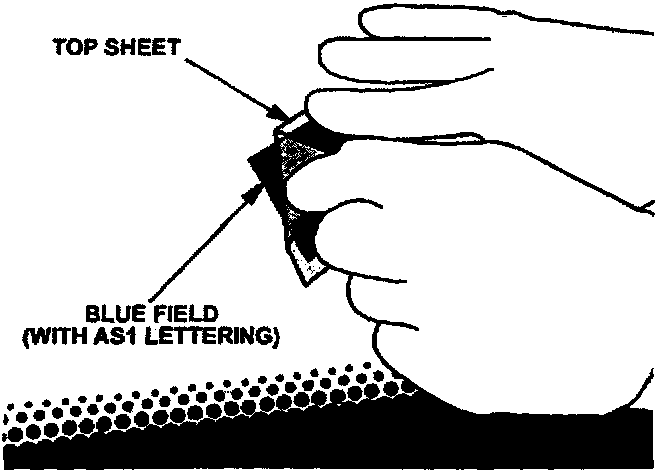
4. Slowly peel back clear top sheet as shown below. The AS1 lettering and surrounding blue field should remain on windshield.
If the entire blue field did not transfer to the windshield, remove the blue field With luke warm water. Be sure the windshield is completely dry and at room temperature (approximately 70°F), then return to STEP I of "APPLICATION OF STENCIL".
APPLICATION OF ETCHING CREAM
1. Shake/stir etching cream thoroughly.
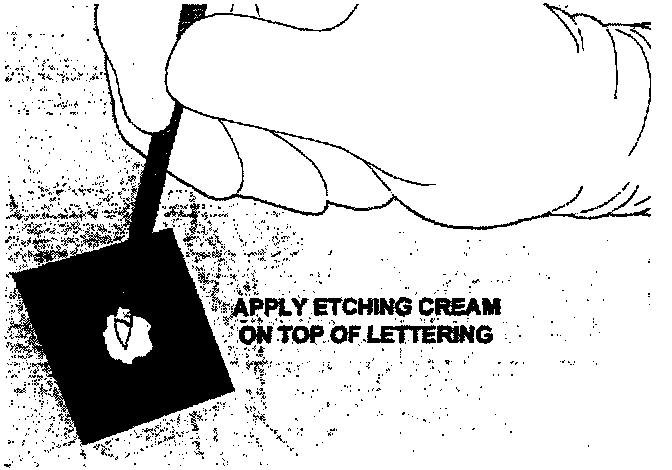
2. Using brush, cover AS1 lettering with a thick layer of etching cream as shown in the illustration. Use 2-3 vertical and 2-3 horizontal strokes to ensure complete coverage of the AS1 letters.
Caution
Do not get etching cream outside of the stencil, as damage to the windshield will occur.
3. Leave etching cream on the windshield for ONE (1) MINUTE ONLY. The AS1 lettering will blur if etching cream is left on the windshield longer than one (1) minute.
4. Wash off etching cream with a damp cloth or paper towel and luke warm water.
5. After all traces of etching cream have been washed away, clean windshield with glass cleaner to remove any remaining stencil pieces.
CLEAN-UP
1. Continue to wear protective gear during clean-up.
2. Clean brushes with luke warm water.
3. Dispose of unused or etching cream container in accordance with state and local regulations after all stencils have been used.
C. CAMPAIGN LABEL INSTALLATION
Complete an "Authorized Modifications Label" with the SSP number written on the sticker and affix to driver's side door under the door latch. Refer back to the illustration under "A. VEHICLE INSPECTION PROCEDURE" on page one.
SSP42 AS-1 GLASS ETCH KIT ORDERING INFORMATION:
SSP42 AS-1 GLASS ETCH KIT ORDERING FORM:
Owner Letter Special Service Program: