Compressor Shaft Seal: Service and Repair
Removal Note1. Remove the clutch from the A/C compressor.
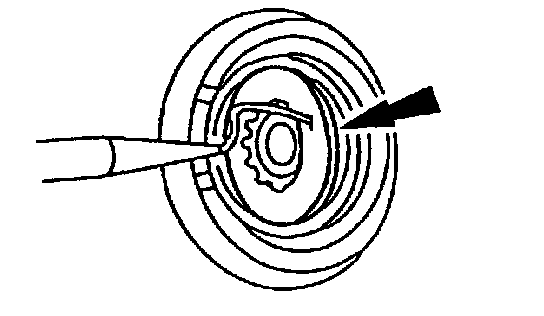
2. Remove the shaft seal felt from the nose of the A/C compressor.
3. Clean the compressor nose area with a lint-free cloth to remove any oil or dirt.
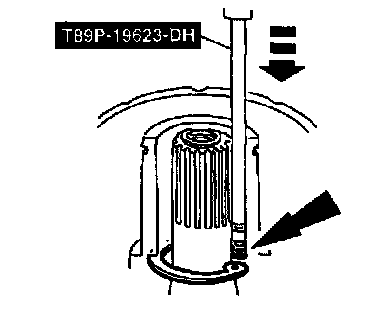
4. Insert the tip of Snap Ring Remover 412-063 (T89P-19623-DH) or equivalent into one of the snap ring eyes.
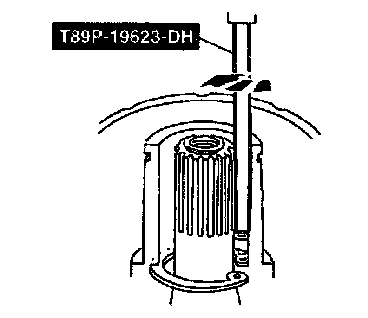
5. Rotate the Snap Ring Remover to position the tool tip and the snap ring eye closest to the compressor shaft.
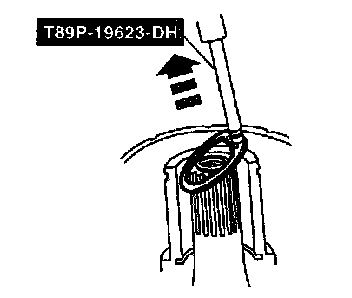
6. Pull the Snap Ring Remover up quickly while keeping the tool shaft against the side of the nose opening and remove the snap ring.
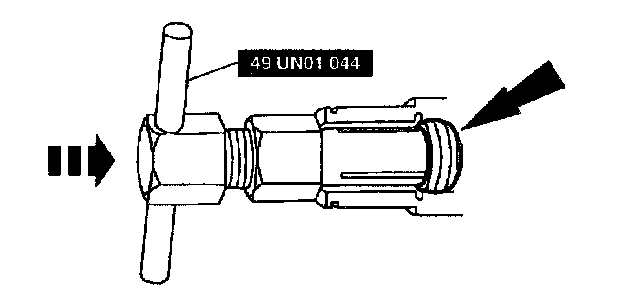
7. Engage Shaft Seal Remover SST 49 UN01 044 into the inside diameter of the shaft seal.
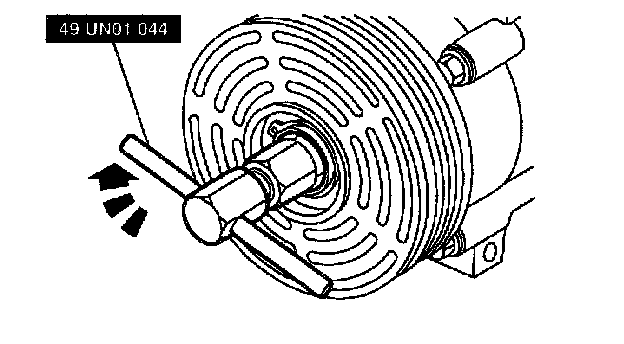
8. Turn the SST handle clockwise to expand the tool tip inside of the shaft seal.
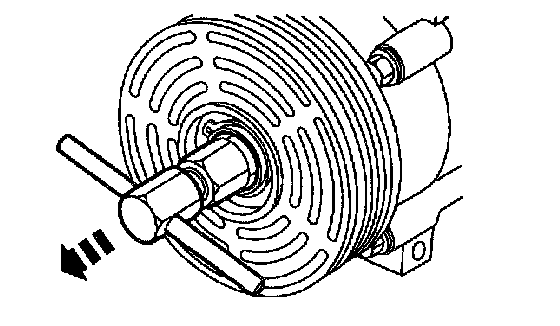
9. Pull the seal from the A/C compressor.
Installation Note
CAUTION: Do not allow dirt or other foreign materials to enter the A/C compressor.
1. Clean the compressor nose area.
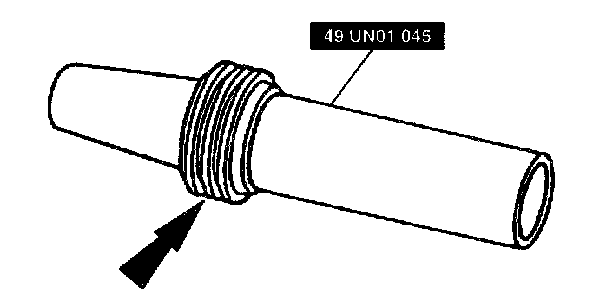
2. Place the shaft seal on the Shaft Seal Protector SST 49 UN01 045.
3. Lubricate the shaft seal and the SST with refrigerant oil.
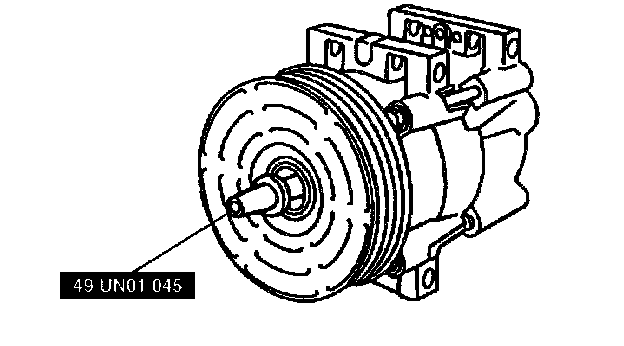
4. Position the shaft seal and the SST over the compressor shaft.
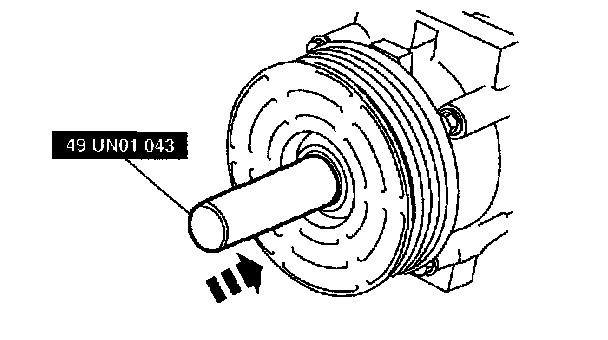
5. Push the shaft seal onto the compressor shaft with the Shaft Seal Replacer SST 49-UN01-143 until seated.
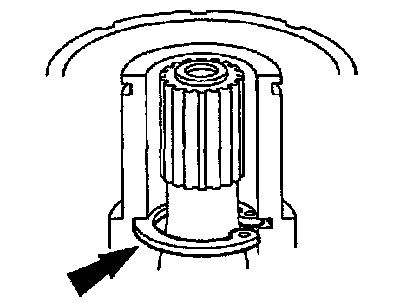
6. Install the shaft seal snap ring.
7. Conduct the compressor external leak test; rotor to A/C COMPRESSOR INSPECTION.