Control Arm Upper
CONTROL ARM UPPER REMOVAL / INSTALLATIONUpper Arm Removal-4x2
1. Raise the vehicle on a hoist.
2. Remove the wheel and tire assembly.
3. Remove the front disc brake rotor shield.
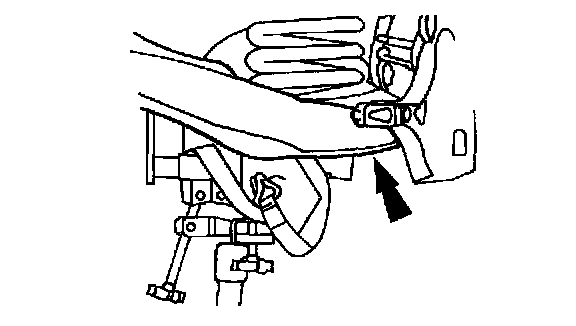
4. Use a suitable jack to support the front suspension lower arm.
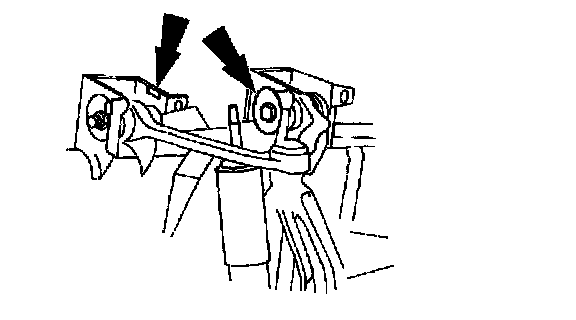
5. Mark the position of the front suspension upper arm adjustment cams.
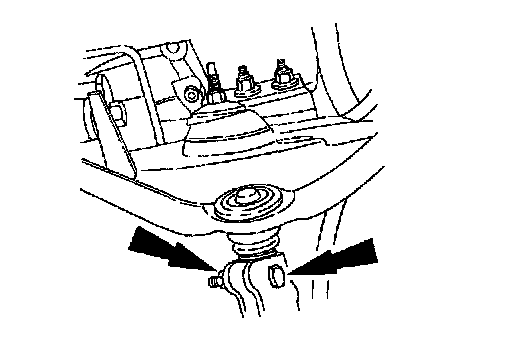
6. Remove the upper ball joint retaining nut and pinch bolt.
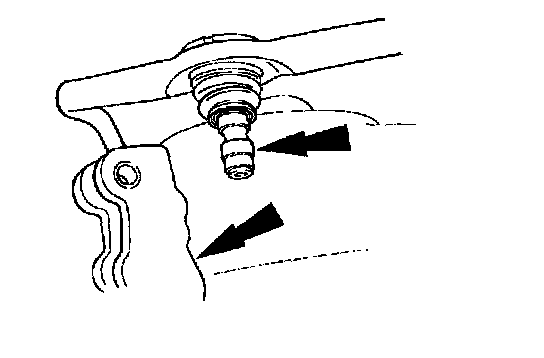
7. Separate the ball joint from the front wheel spindle.
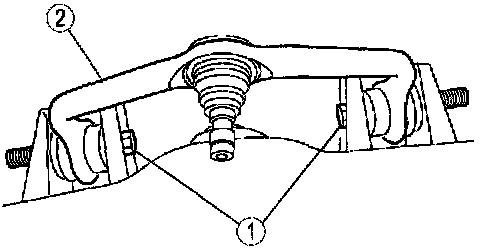
8. Remove the front suspension upper arm.
(1) Remove the two nuts and bolts.
(2) Remove the front suspension arm bushing joint.
Upper Arm Installation-4x2
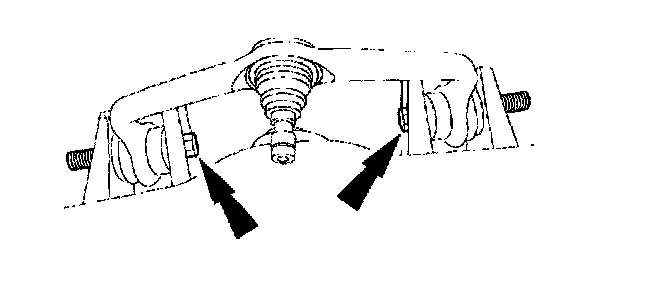
1. Align the marks made during removal on the front suspension upper arm adjustment cam.
Note:
^ The forward front suspension upper arm nut must be tightened first while the arm is held at the curb position ride height.
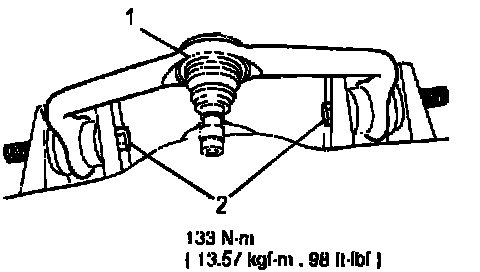
2. Install the front suspension upper arm.
(1) Position the front suspension upper arm.
(2) Install the two bolts and nuts.
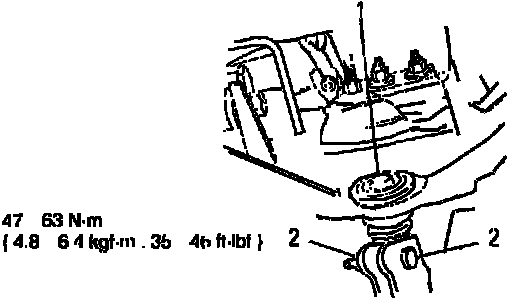
3. Install the upper ball joint into the front wheel spindle.
(1) Position the upper ball joint in the front wheel spindle.
(2) Install the pinch bolt and nut.
4. Remove the front disc brake rotor shield.
5. Install the tire and wheel assembly.
6. Inspect and adjust the front end alignment.