Removal and Installation
MAIN CONTROL VALVE BODYRemoval and Installation
1. Remove the battery and tray.
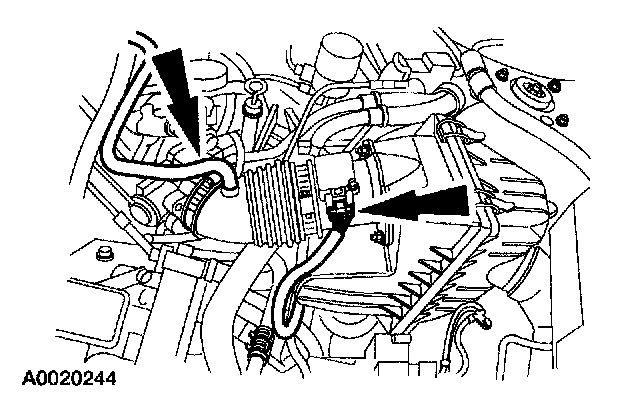
2. Disconnect the breather tube and mass air flow (MAF) sensor.

3. Remove the intake tube and air cleaner cover.
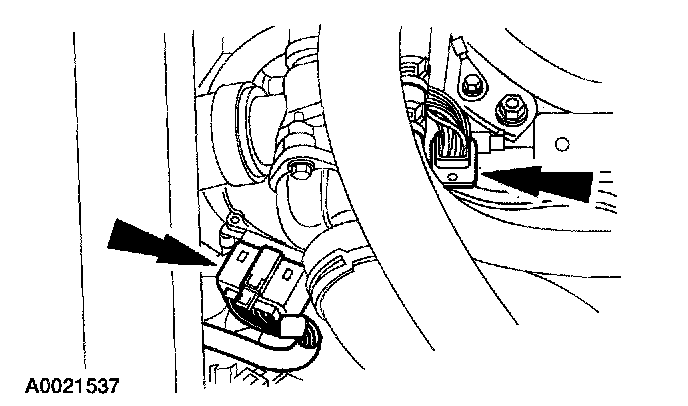
4. Disconnect the transaxle wiring harness electrical connector, and TR sensor connector.
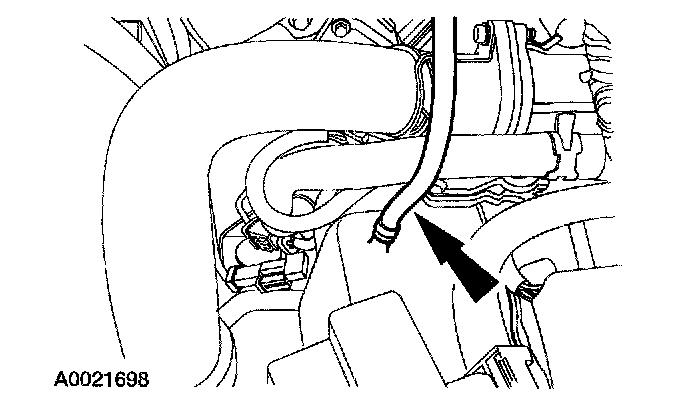
5. Remove the vent tube hose.
6. With the vehicle in NEUTRAL, position it on a hoist.
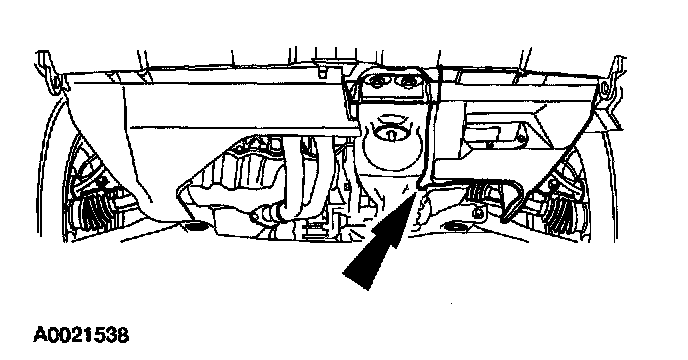
7. Remove the splash shield.
Note: Do not discard the gasket. It is a reusable type. Inspect the gasket for damage. Install a new gasket as necessary.
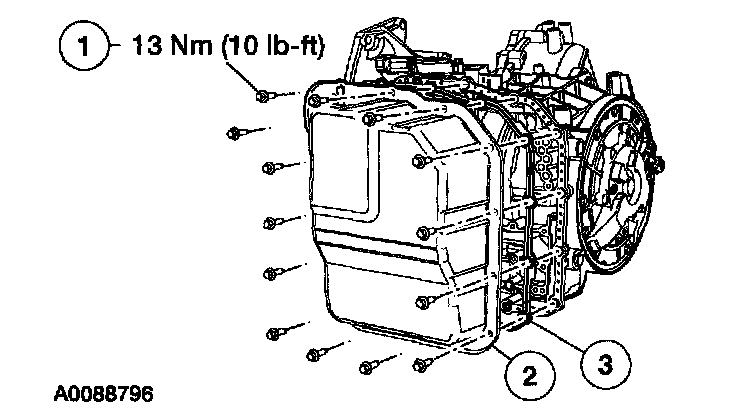
8. Remove the main control cover and gasket.
1. Remove the bolts.
2. Remove the main control cover.
3. Remove the gasket.
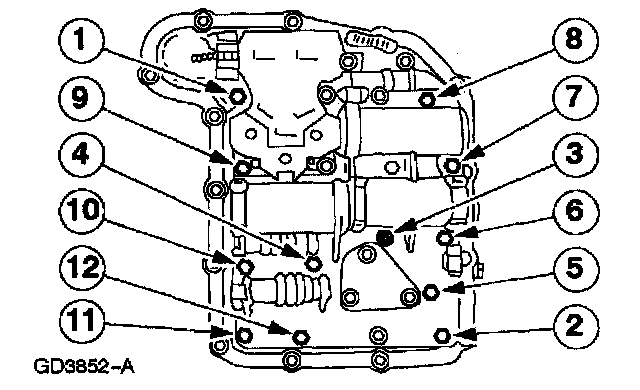
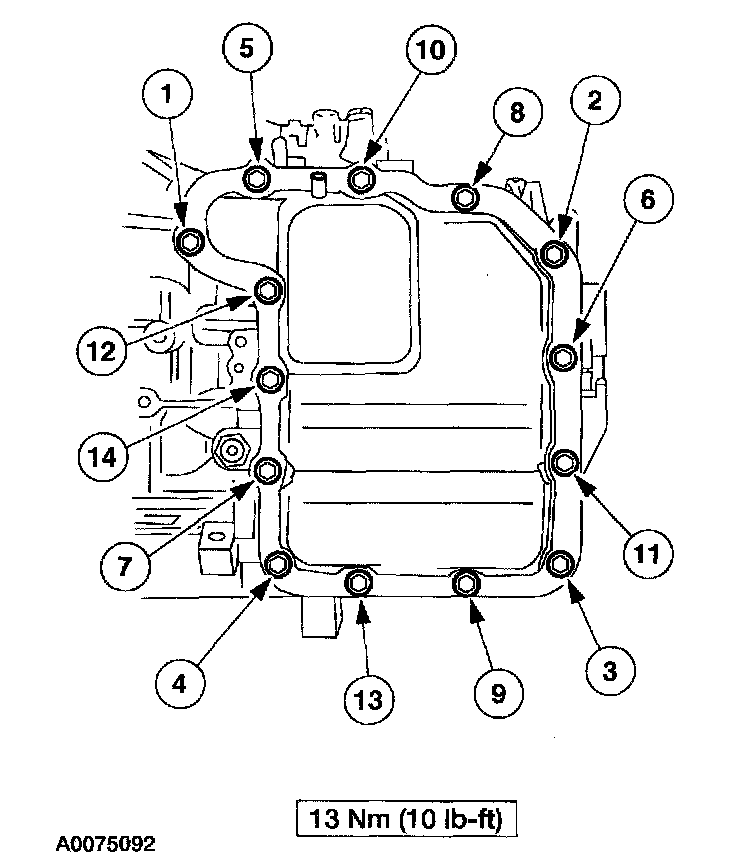
9. Remove the main control valve body bolts in the sequence shown.
Note: Do not damage the manual valve.
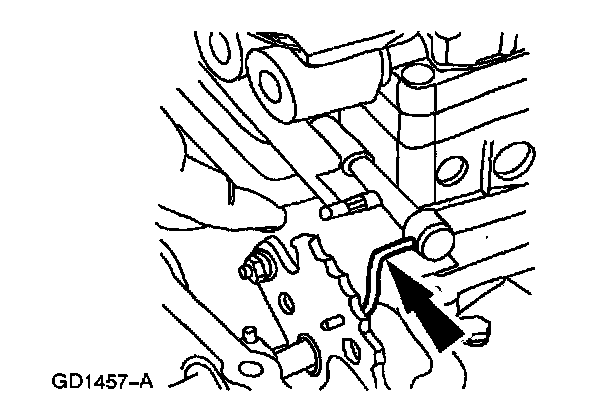
10. Lift the main control valve body while disconnecting the manual valve link.
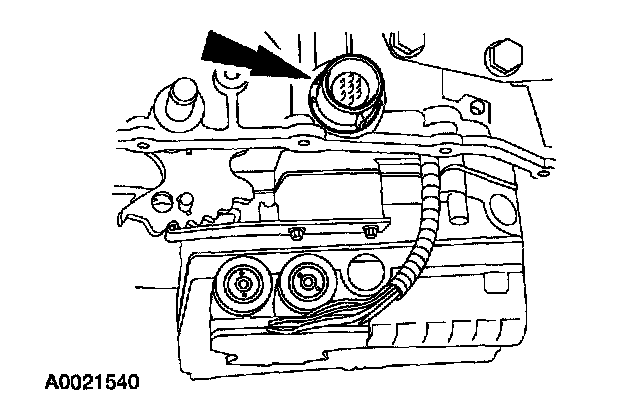
11. Depress the retaining tabs and push the solenoid valve body electrical connector down through the transaxle case.
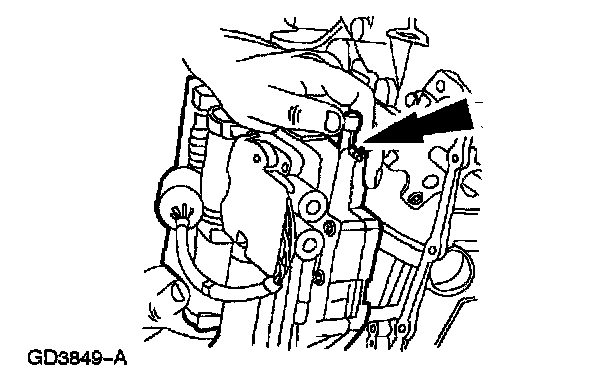
12. Make sure the manual valve control lever does not fall out of the main control valve body while removing from the vehicle.
Note: Inspect the solenoid valve body harness connector O-ring seal for damage. If damaged, install a new O-ring seal, before installing the connector into the case.
Note: Tighten the main control cover in the indicated sequence.
Note: Check transaxle fluid and adjust as necessary using specified fluid.
13. To install reverse the removal procedure.