Headliner: Service and Repair
HEADLINER REMOVAL/INSTALLATION1. Disconnect the negative battery cable.
2. Partially peel back the seaming welt.
3. Remove the following parts:
1. A-pillar trim
2. Front scuff plate inner
3. Rear scuff plate inner
4. Front seat belt lower anchor installation bolt (Driver side)
5. B-pillar lower trim
6. Front seat belt upper anchor installation bolt
7. B-pillar upper trim
8. Trunk box
9. Seat side box
10. Trunk end trim
11. Third-row seat
12. Third-row seat belt lower anchor installation bolt
13. Trunk side trim
14. Roof side trim
15. Second-row seat belt upper anchor installation bolt
16. C-pillar trim
17. Third-row seat belt upper anchor installation bolt
18. D-pillar trim
19. Front map light
20. Sunvisor
21. Assist handle
22. RES unit cover (Vehicles with RES)
4. Disconnect the roof harness connector.
5. Disconnect the rear washer hose.
6. Remove the sunroof seaming welt. (Vehicles with sunroof)

7. Remove the fasteners.
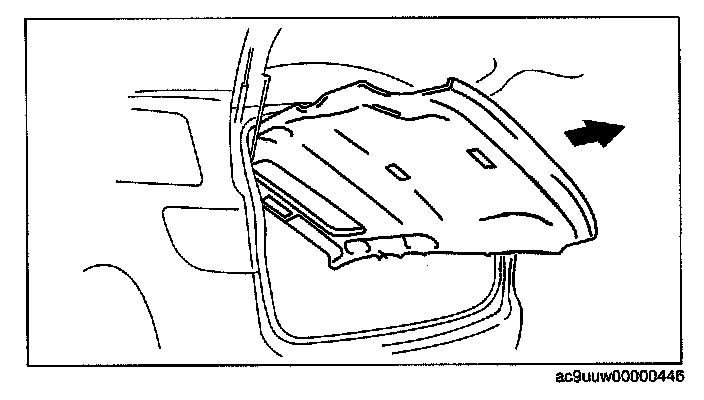
8. Take the headliner out from the opened liftgate.
9. Install in the reverse order of removal.