Antenna - Keyless Entry: Service and Repair
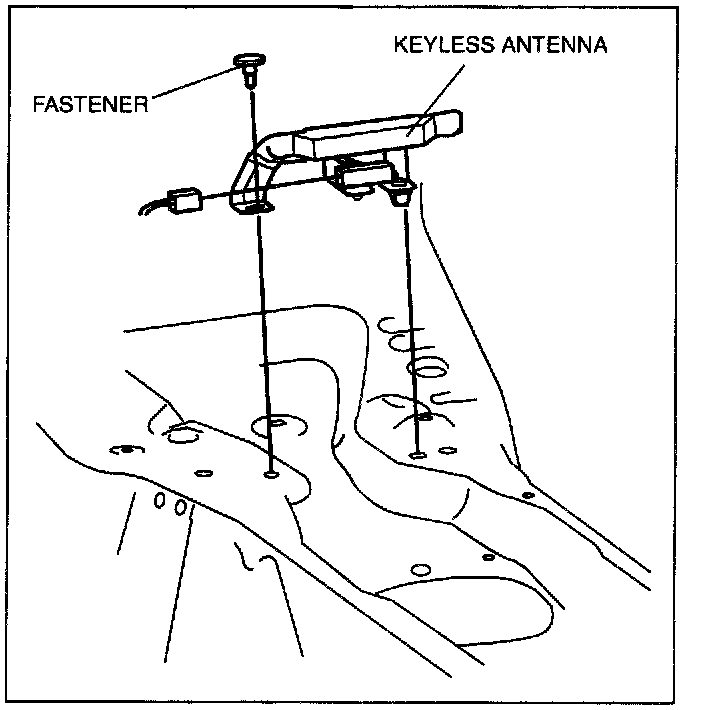
KEYLESS ANTENNA REMOVAL/INSTALLATION[ADVANCED KEYLESS SYSTEM]Driver-side/Passenger-side Door

1. Disconnect the negative battery cable.
2. Remove the door trim.
3. Remove the screws.
4. Disconnect the connector, then remove the keyless antenna.
5. Install in the reverse order of removal.
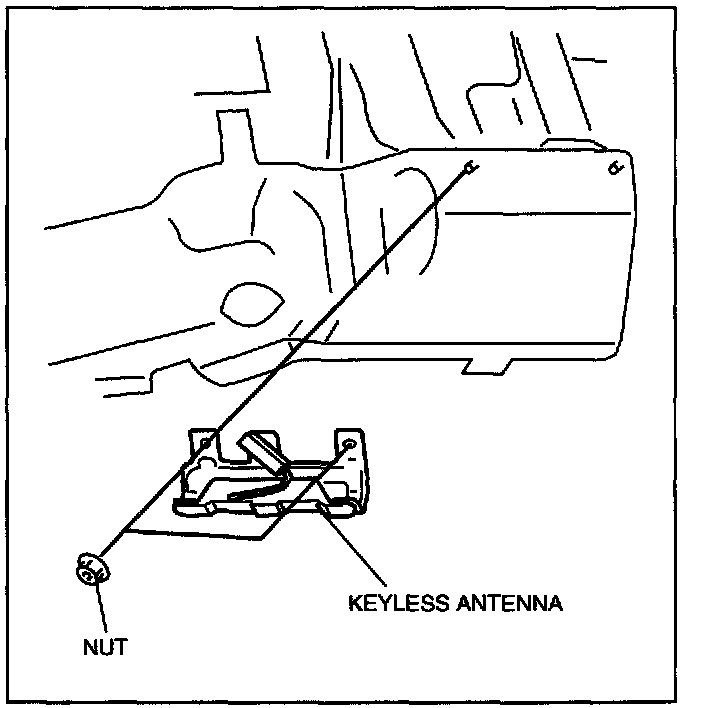
Exterior, Rear
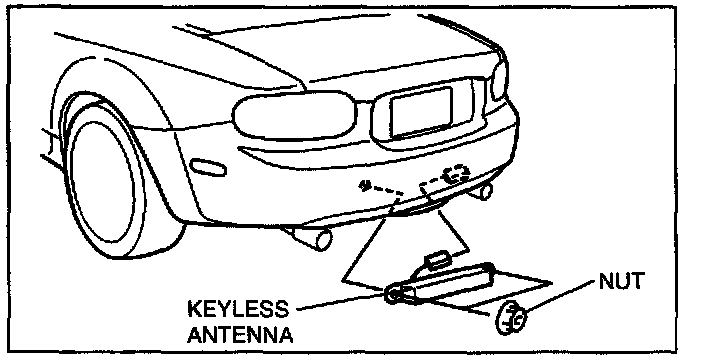
1. Disconnect the negative battery cable.
2. Remove the nuts.
3. Disconnect the connector, then remove the keyless antenna.
4. Install in the reverse order of removal.
Interior, Front
1. Disconnect the negative battery cable.
2. Remove the scuff plate.
3. Remove the side panel.
4. Partially peel back the floor covering so that the foot support can be removed.
5. Remove the foot support.
6. Disconnect the connector, then remove the screws.
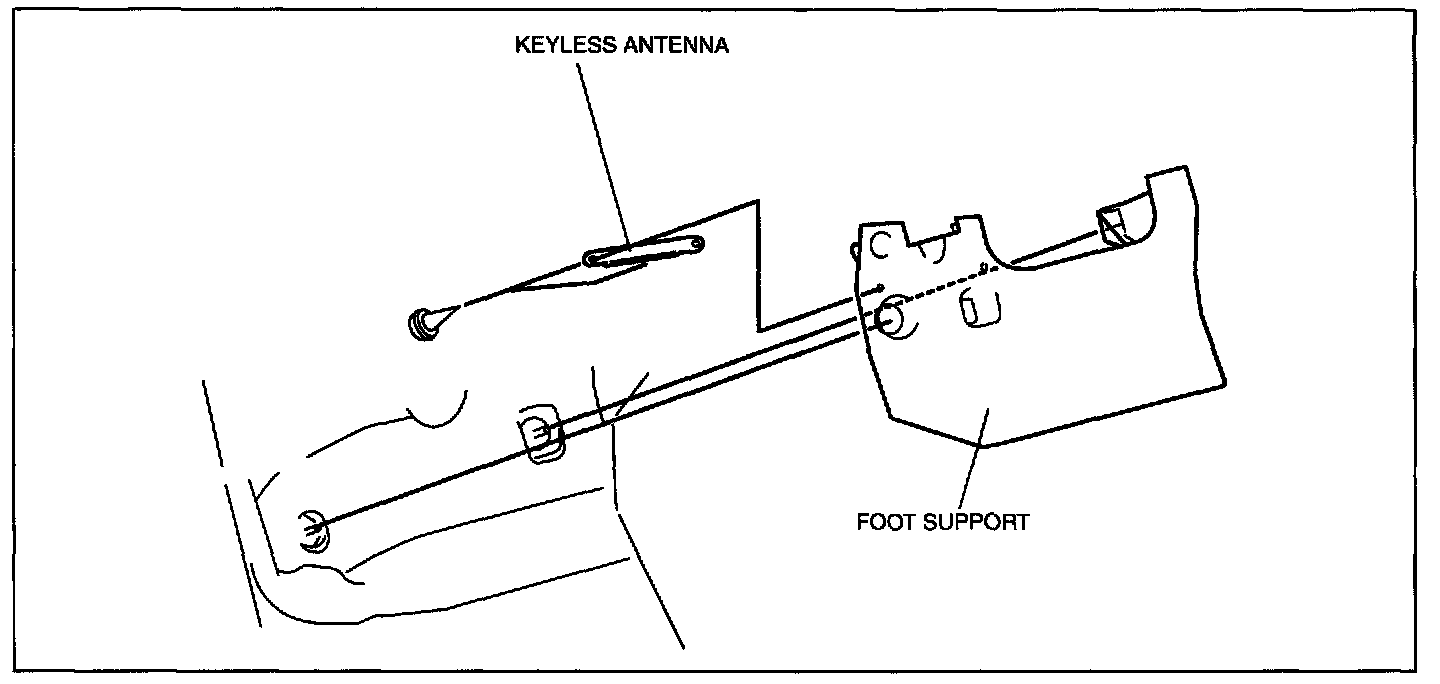
7. Remove the keyless antenna.
8. Install in the reverse order of removal.
Interior, Middle
1. Disconnect the negative battery cable.
2. Remove the console.
3. Remove the side wall.
4. Remove the console panel.
5. Remove the clips.
6. Disconnect the connector, then remove the keyless antenna.
7. Install in the reverse order to removal.
Interior, Rear
1. Disconnect the negative battery cable.
2. Remove the console.
3. Remove the back trim.
4. Remove the nuts.
5. Disconnect the connector then remove the keyless antenna.
6. Install in the reverse order of removal.
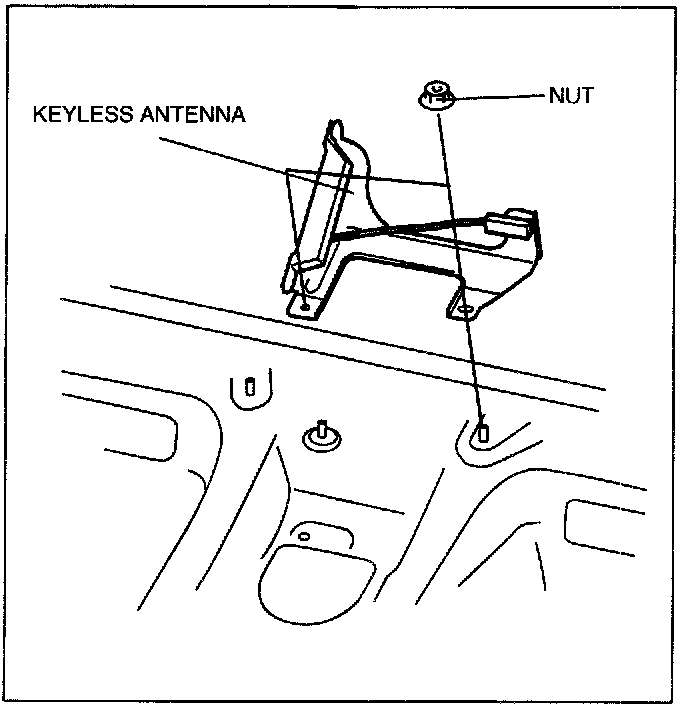
Interior, trunk
1. Disconnect the negative battery cable.
2. Remove the trunk side trim.
3. Remove the nuts.
4. Disconnect the connector, then remove the keyless antenna.
5. Install in the reverse order of removal.